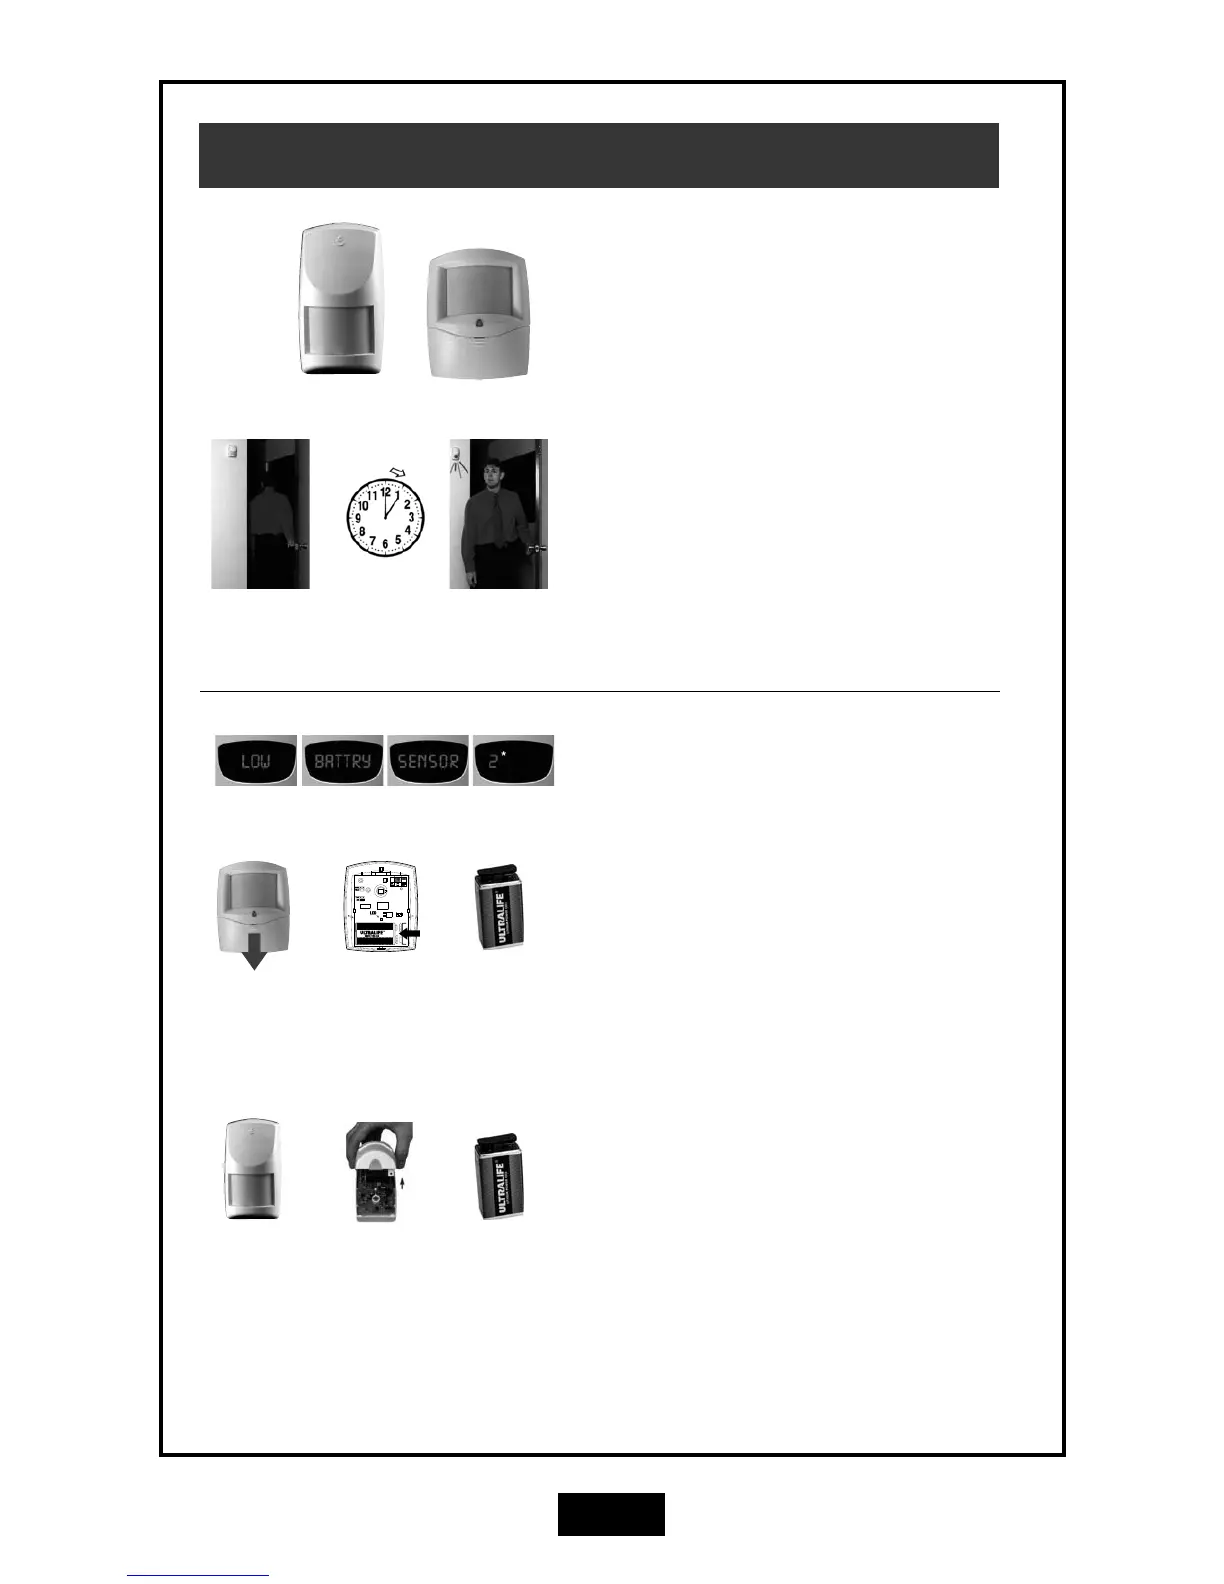
Motion Sensors (PIR)
BATTERY REPLACEMENT
The R12 and R15 use an Ultralife U9VL 9V battery.
Insert the new
battery. Ultralife
U9VL 9V battery
* Example device
number
OPERATION
The R12 and R15 PIR motion sensors can be added
to the system to provide protection in additional
rooms.
Maximum detection range is 40ft for the R12 and
50ft for the R15.
BATTERY SAVING TIMER
The R12 and R15 PIRs have a unique battery sav-
ing feature which means you must wait 5 minutes
between activations.
To test a PIR, leave the room for at least 5 minutes
and then re-enter. The red light in the PIR will flash
to indicate that it has sensed your motion into the
room. If you don't see the red light you may not
have waited long enough - try again.
Leave the
room.
Wait 5
minutes.
Red light
indicates motion
sensed.
Slide battery
compartment
cover down.
R12
The R12 has a sliding battery compartment on the
front of the sensor. Slide the battery compartment
cover downwards to expose the battery.
Insert a new Ultralife U9VL 9V battery and then test
the sensor.
Remove the
battery by
pushing in the
direction of
the arrow.
Insert the
new battery.
Ultralife U9VL
9V battery
Unclip cover
at the bottom.
R15
The R15 battery is inside the sensor. Carefully lift
off the sensor's cover by unclipping at the bottom
using a flat-bladed screwdriver or blunt knife.
Insert a new Ultralife U9VL 9V battery and then test
the sensor.
Remove the
cover.