Step Perform on each controller
• Connect controller A port e2a to NSM A e0a on
shelf 1.
• Connect controller A port e10b to NSM B e0b
on shelf 1.
• Connect controller A port e2b to NSM B e0b on
shelf 2.
• Connect controller A port e10a to NSM A e0a
on shelf 2.
100 GbE cable
• Connect controller B port e2a to NSM B e0a on
shelf 1.
• Connect controller B port e10b to NSM A e0b
on shelf 1.
• Connect controller B port e2b to NSM A e0b on
shelf 2.
• Connect controller B port e10a to NSM B e0a
on shelf 2.
100 GbE cable
2. To complete setting up your system, see
Step 5: Complete system setup and configuration.
Step 5: Complete system setup and configuration
You can complete the system setup and configuration using cluster discovery with only a
connection to the switch and laptop, or by connecting directly to a controller in the system
and then connecting to the management switch.
Option 1: If network discovery is enabled
If you have network discovery enabled on your laptop, you can complete system setup
and configuration using automatic cluster discovery.
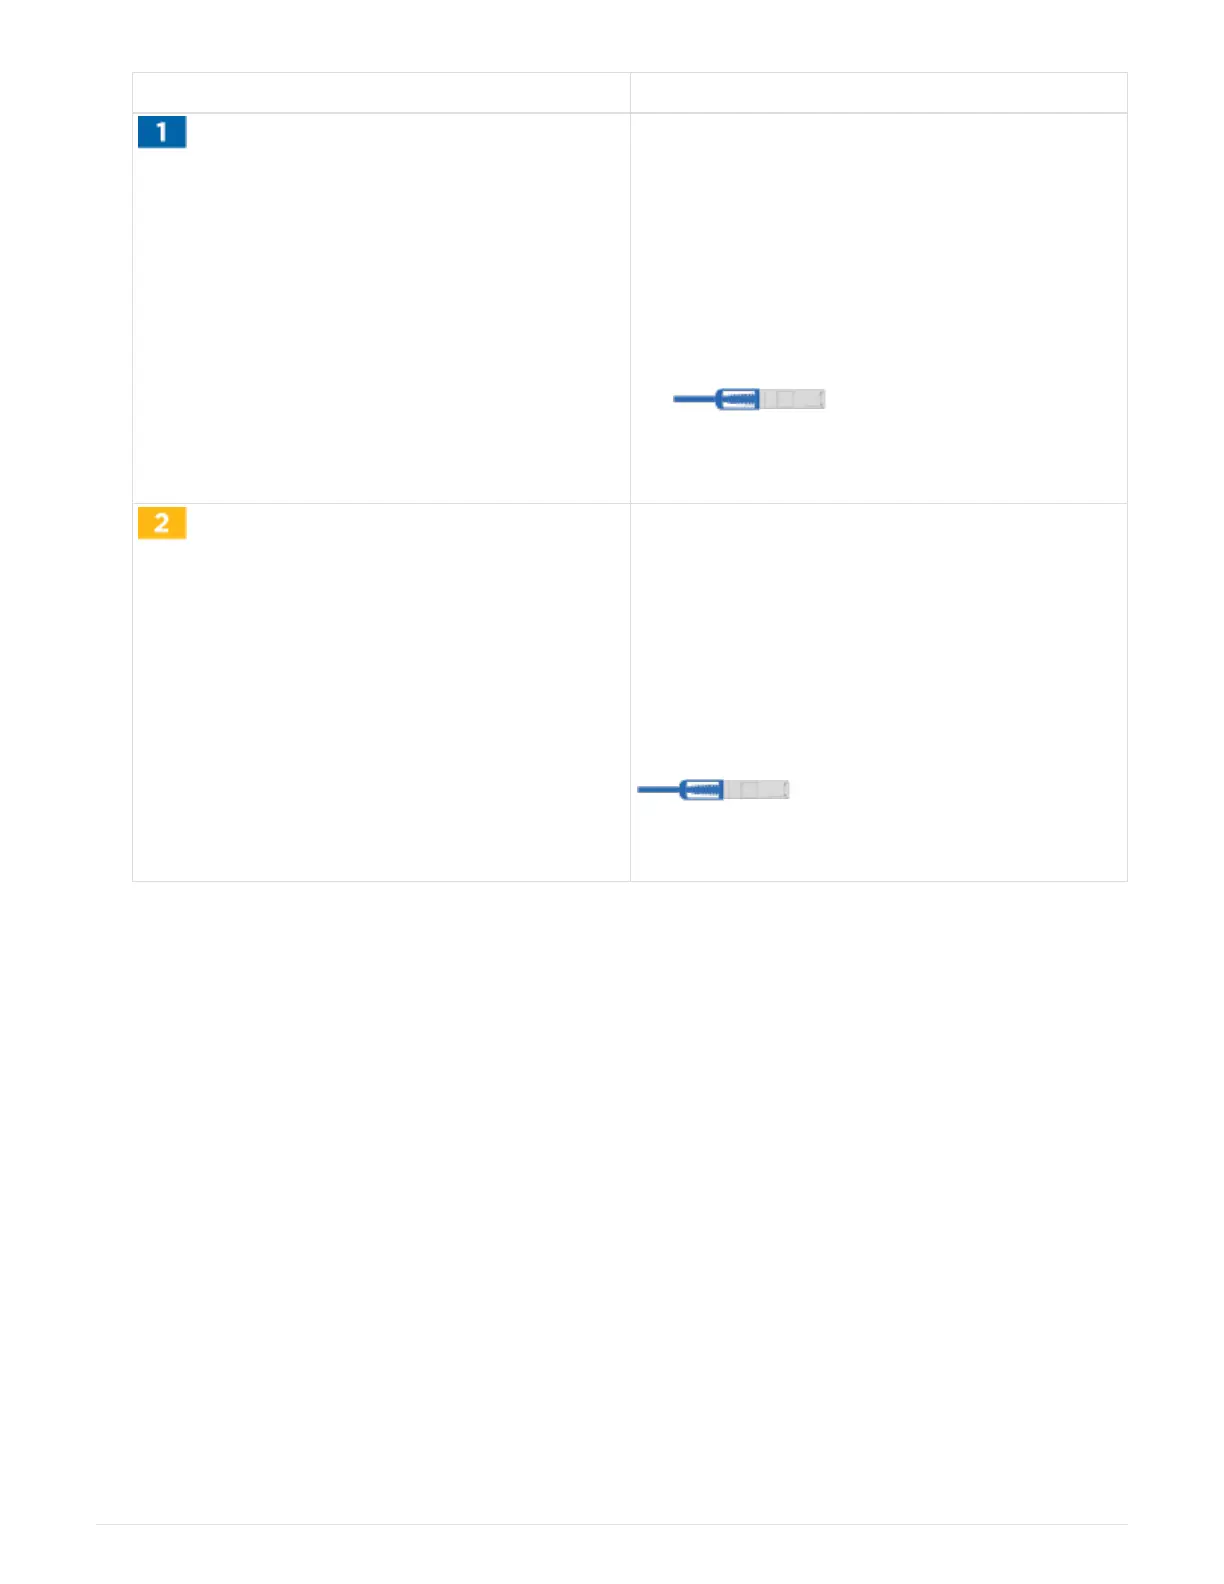
1. Use the following animation or drawing to set one or more drive shelf IDs:
The NS224 shelves are pre-set to shelf ID 00 and 01. If you want to change the shelf IDs, you must create
a tool to insert into the hole where button is located.
Animation—Setting SAS or NVMe drive shelf IDs
12