12
1. Set the Access Point/Extender switch to Access Point .
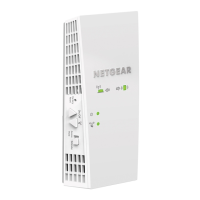
2. Plug the extender into an electrical outlet and wait for the
Power LED to light green.
If the Power LED does not light, press the Power On/Off button.
3. Connect a computer or mobile device to the extender using a WiFi or
Ethernet connection:
• WiFi. On your WiFi-enabled computer or mobile device, open the
WiFi connection manager and locate and connect to the extender
network called NETGEAR_EXT.
When your WiFi-enabled computer or mobile device is connected
to the extender, the Client Link LED lights.
• Ethernet. Use an Ethernet cable to connect the Ethernet port on
the extender to an Ethernet port on your computer.
Note: If you want to use an Ethernet connection, you must do
this before you connect your extender to your modem router or
router.
4. Launch a web browser and visit www.mywifiext.net.
The NETGEAR installation assistant displays.
5. Use an Ethernet cable to connect your router to an Ethernet port on
the extender.
Note: Do not connect your extender directly to your DSL or cable

 Loading...