9
WARNING:
CHECK ALL GAS SUPPLY FITTINGS FOR LEAKS BEFORE EACH USE. DO NOT USE THE PIZZA OVEN UNTIL
ALL CONNECTIONS HAVE BEEN CHECKED AND DO NOT LEAK. DO NOT SMOKE WHILE LEAKTESTING.
NEVER LEAKTEST WITH AN OPEN FLAME.
ALWAYS CHECK FOR LEAKS AFTER EVERY PROPANE (LP) TANK CHANGE
GENERAL
Although gas connections on the pizza oven are leak-tested prior to shipment, a complete leak test must be performed at the
installation site. Before each use, check all gas connections for leaks using the procedures listed below. If the smell of gas is
detected at any time, you should immediately check the entire system for leaks.
BEFORE TESTING
Make sure all packing materials have been removed from the pizza oven including tie-down straps.
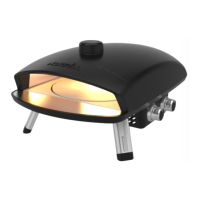
CREATE THE SOAPY WATER
Prepare a 50/50 solution of water and ammonia-free dish
detergent, to be applied using a spray bottle or brush.
STEP 1
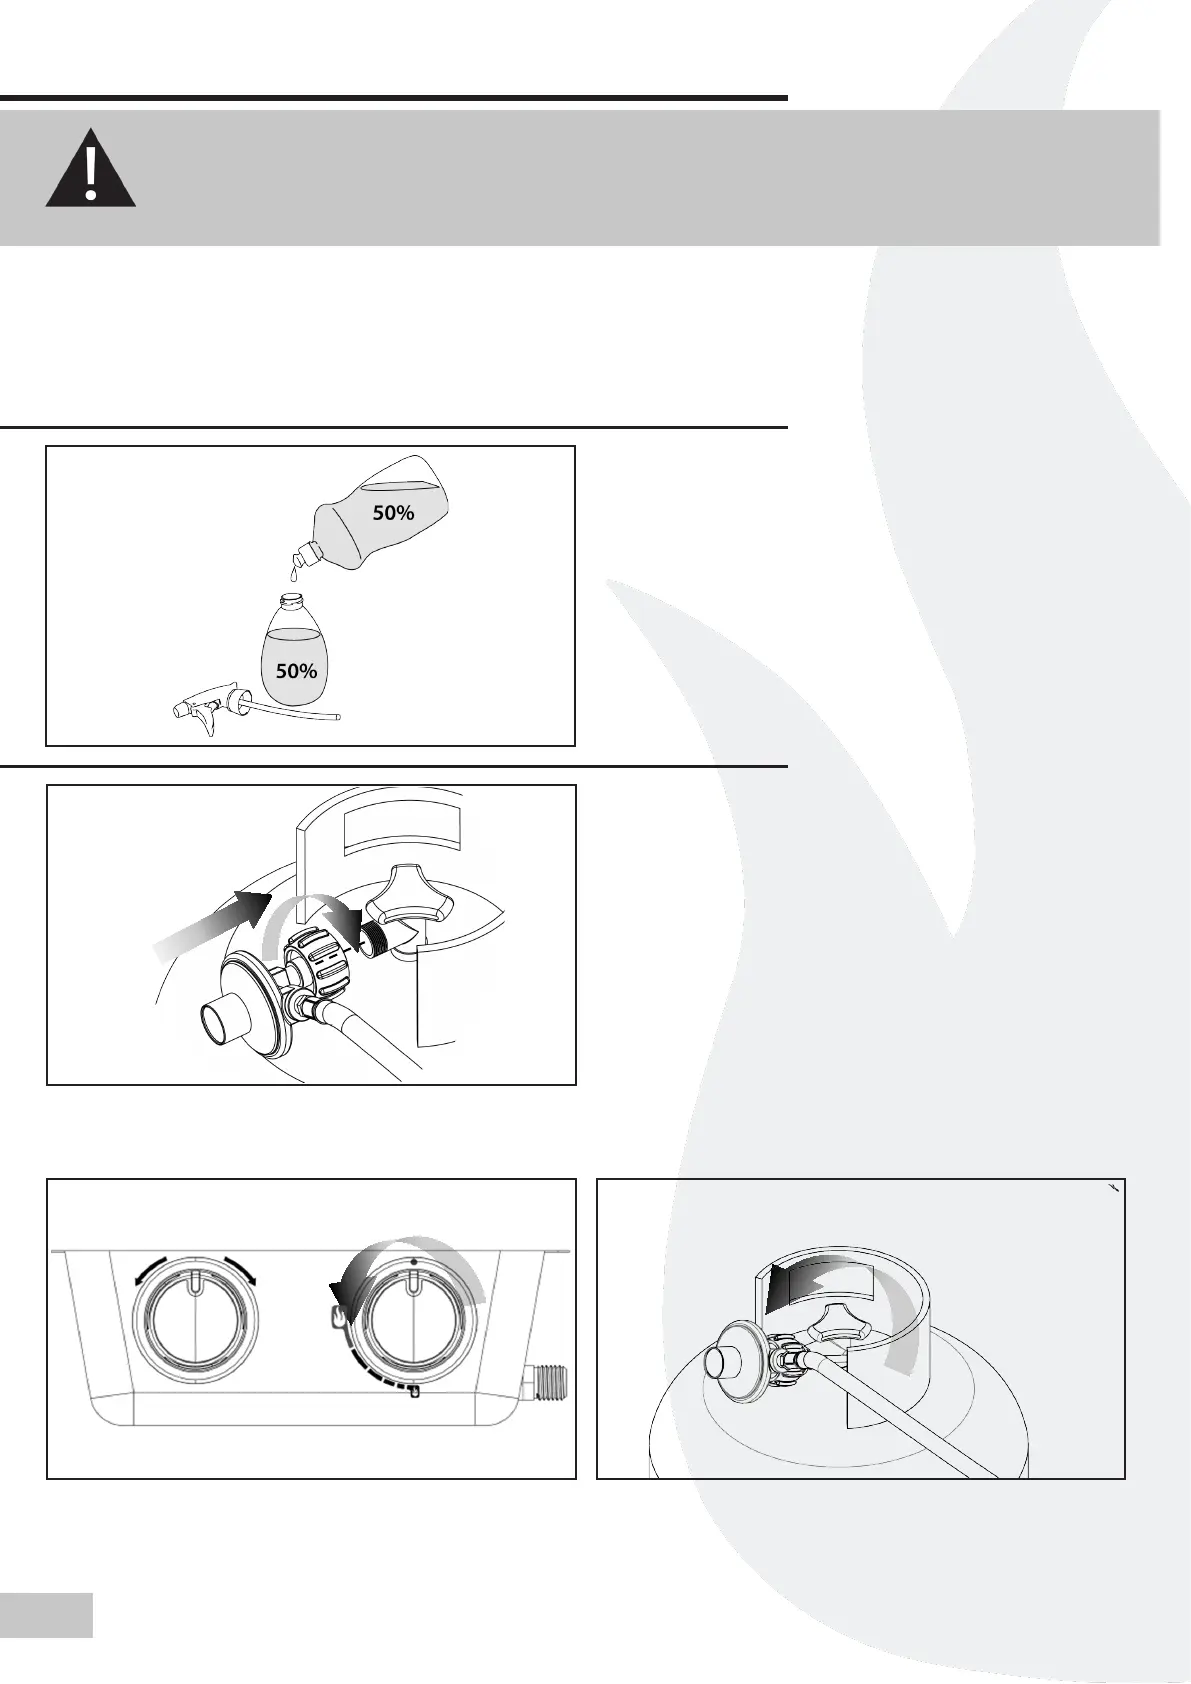
CONNECTING THE LIQUID PROPANE LP CYLINDER
The cylinder valve should be in the CLOSED position. If not, turn
the valve clockwise until it stops.
Make sure the cylinder valve has the proper type-1 external
male thread connections per latest ANSI Z21.81 standard.
Make sure the valve is in the OFF () position.
Inspect the valve connections and regulator assembly.
Remove debris and inspect the hose for damage. Remove the
protective plug from the regulator connector. When connecting
the regulator assembly to the valve, use your hand to tighten
the nut clockwise until it stops. Use of a wrench could damage
the quick-coupling nut and result in a hazardous situation.
Slowly open the cylinder valve fully by turning the valve
counterclockwise.
STEP 2
LEAK TEST