2 — Nexsan E-Series E48/E60/E48X/E60X Quick Start Guide
CAUTION:
The Nexsan storage system is heavy and requires two people to lift it and slide it onto the
mounting rails. Do NOT attempt to mount the system onto the rails by yourself.
When removing the system from the packaging, DO NOT lift the enclosure by any plastic parts
or module handles on the chassis. Lift the enclosure ONLY by the bottom edges of the chassis.
NOTE:
The packaging that the system ships in is reusable and should be retained for future re-shipment.
Preparing the system
Remove the PSUs from the storage system or storage expansion.
CAUTION: Handle the PSUs and RAID Controllers/Expansion Controllers ONLY by the
handles and outer coverings. DO NOT touch any internal components or connectors.
Doing so may harm the electronics inside.
Removing the power supply
units (PSUs)
1
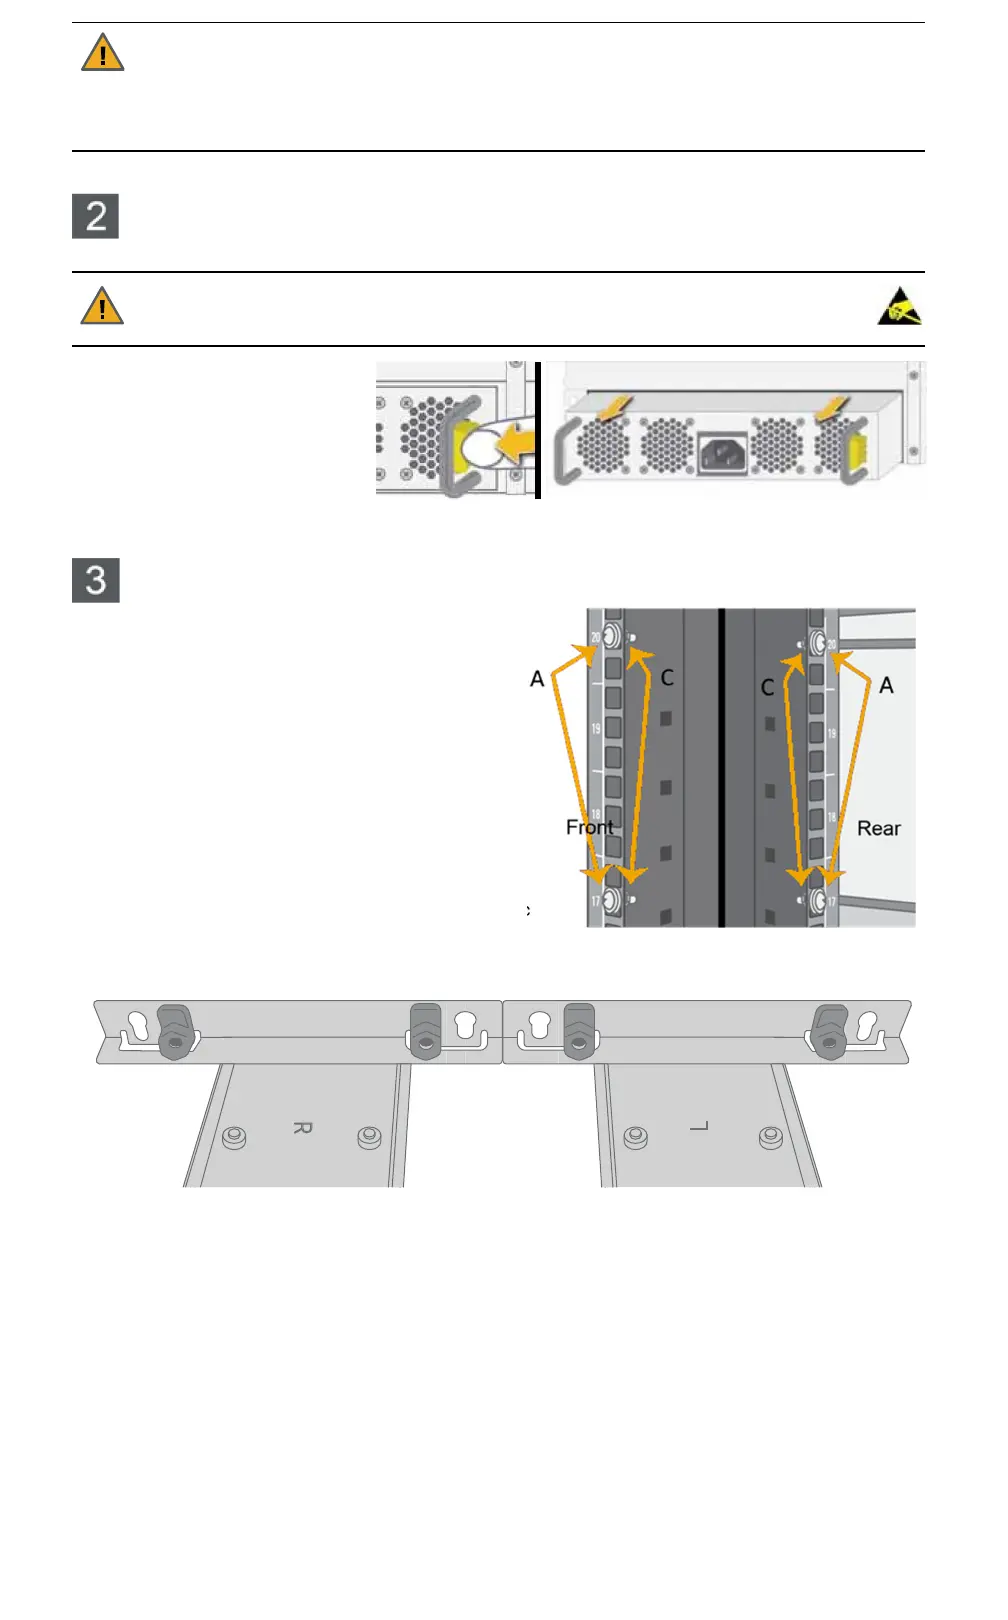
Press the spring lock tab inward.
2
Carefully remove the PSU from
the enclosure. Support the weight
of the PSU with your free hand
while removing it.
NOTE:
Due to the close fit, a firm steady pressure is required to remove the PSU.
Attaching the rails to the rack
NOTE:
It is good practice to install equipment in a rack
from the bottom up.
NOTE:
The rails are labeled “L” (left) and “R” (right) on
the outside surfaces. When installing them into the rack,
be sure to place them on the correct sides and with the
tapered end of the rail facing forward.
1
Attach the rack nuts to the front of the rack on both
sides. The rack nuts should be mounted on the inside
of the rack.
2
Attach the rack nuts to the rear of the rack on both
sides.
3
Extend the rail slides to fit your rack. The rails can be
adjusted to between 26" (66cm) and 36" (91.4cm).
4
For square-hole racks only: For each of the four plastic
brackets, place the bracket nut into the bracket and
then snap the bracket into the appropriate place on the front of the mounting rail, as shown:
 Loading...