5
Setting the IP Address
Once the IP camera is installed, you need to set the IP address from a computer. By default, all Nextiva IP
cameras are Dynamic Host Configuration Protocol (DHCP) enabled. If you have a DHCP server, the IP
camera automatically obtains a valid IP configuration. If the DHCP configuration fails, the IP camera assigns
itself a temporary IP address based on the Automatic Private IP Addressing (APIPA) format.
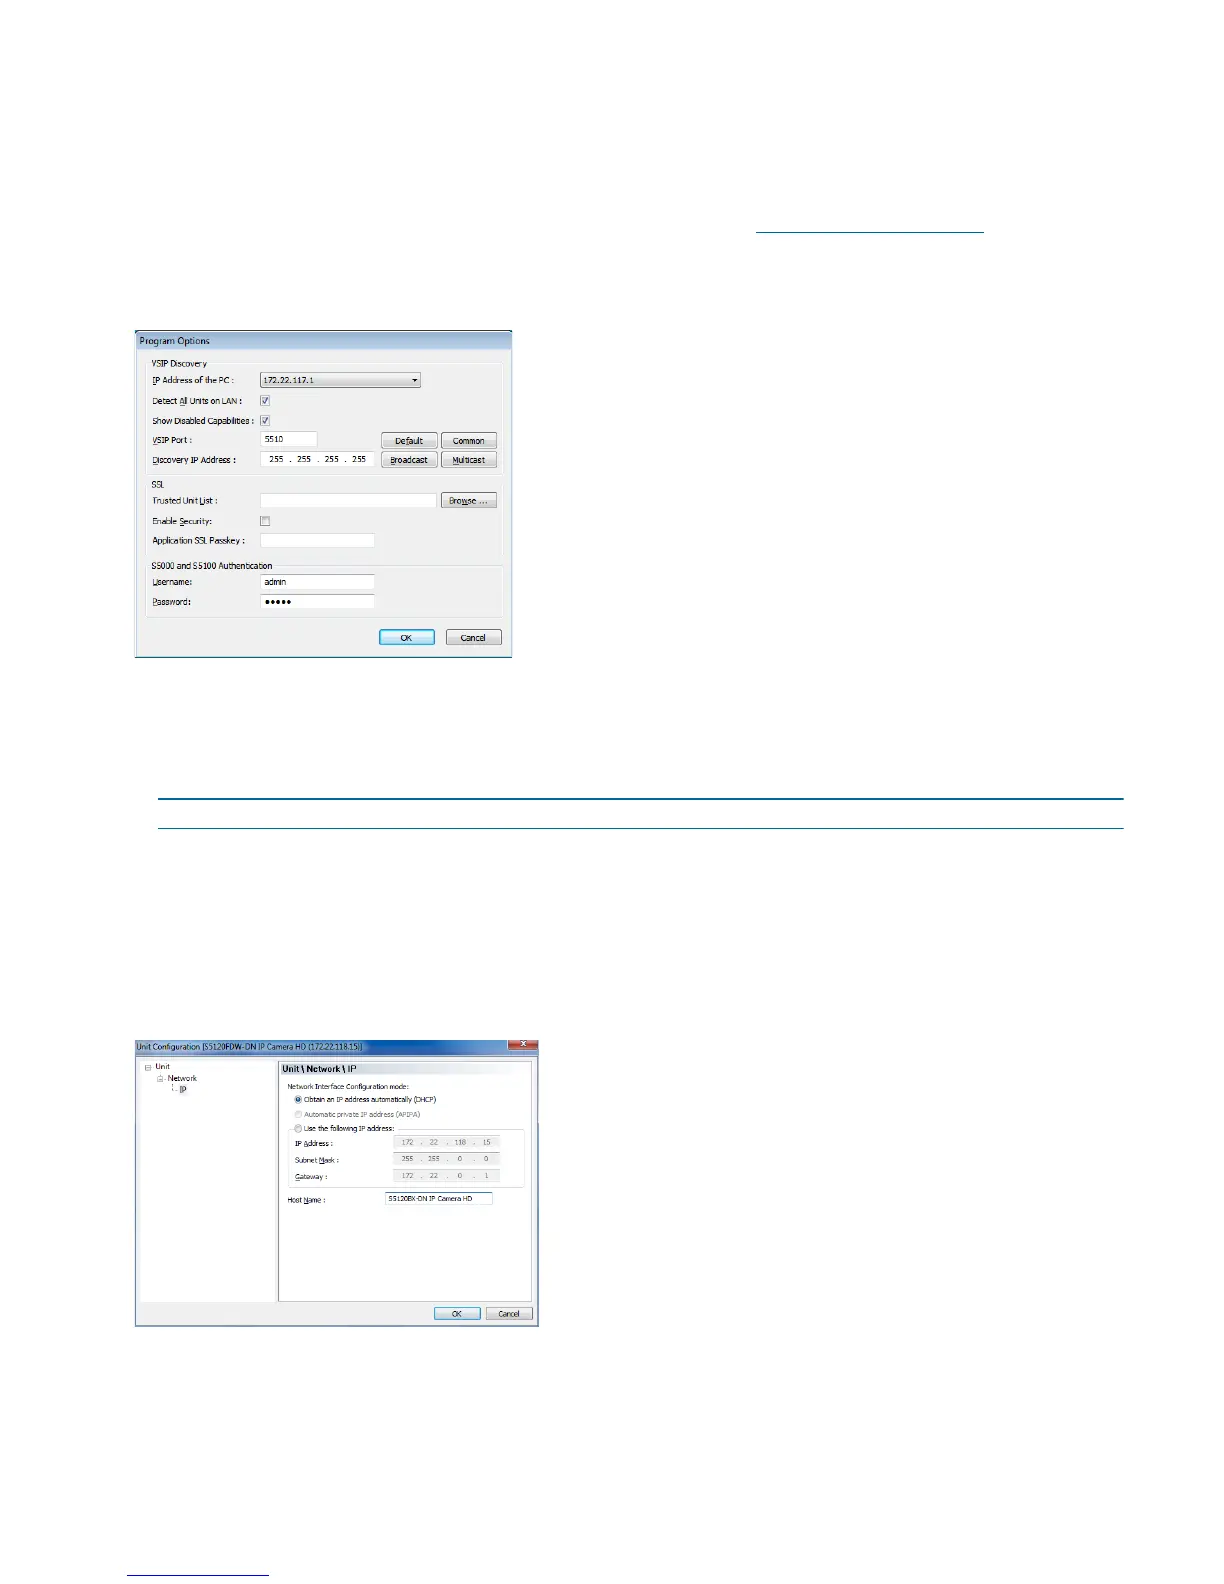
► To configure SConfigurator:
1. On a computer, download the latest version of SConfigurator from www.verint.com/manuals
.
2. Extract the executable file (SConfigurator.exe) to the desktop.
3. Double-click SConfigurator.exe to start SConfigurator.
4. In the General tab, click Program Options.
5. Select the IP address of the correct LAN interface from IP Address of the PC list.
6. Select Detect All Units on LAN.
7. Ensure that the Discovery IP Address is 255.255.255.255; otherwise, click Broadcast.
8. In the S5100 Authentication section, type the username and password for the Nextiva IP camera.
NOTE: The default username and password for the Nextiva S5100 is admin.
9. Click OK.
► To set the IP address of an IP camera in DHCP mode:
1. Open SConfigurator.
2. Select the Units tab, then click Discover. In a DHCP environment, the Address column displays the IP
address assigned by a DHCP server.
3. Select the Nextiva IP camera model, and click Configure.
4. In the tree view, expand the Network node and click IP.
 Loading...