1. Make sure the Nexus™ Aw 4x4 products are all listed in the
Connected Devices window and have flashed when tested. For more
information, see Part 1: Confirm Network Connectivity
.
2. Click on the first product in the list and drag it onto the mapping
image in the center of the screen. A shape representing the display
product shows on the mapping image. The product displays the
pattern on the mapping image.
3. Drag, rotate, and resize the shape on the mapping image until it is in
the position needed for the presentation layout.
4. Repeat Steps 2 thru 3 for every Nexus™ Aw 4x4 product.
5. Complete Parts 1 and 2.
6. Click on File in the ArKaos Media Mapper.
7. Click on Save As.
8. Save the file.
Remember the location of the file because the file must be loaded into
the ArKaos software.
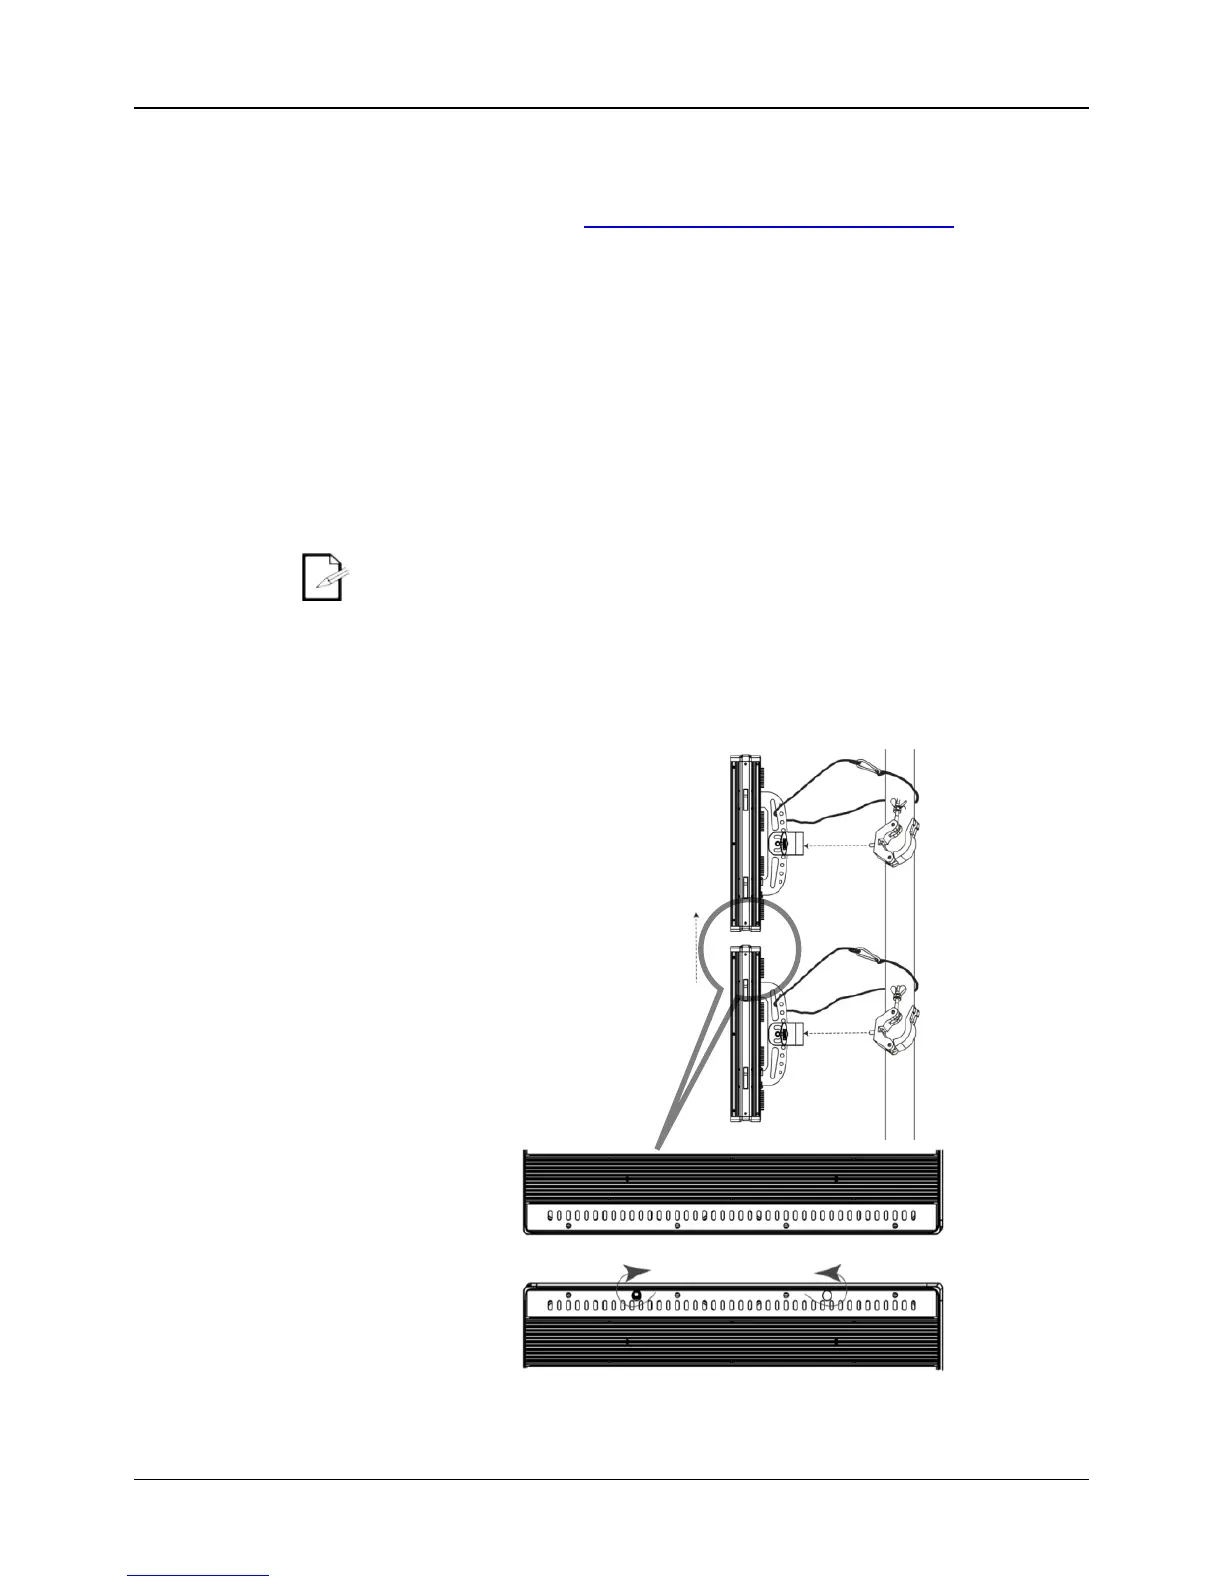
locks are for product alignment only and are not weight bearing. DO NOT
hang product using only the coffin locks.
Product
 Loading...