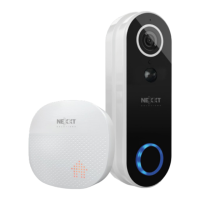
4. Preliminary steps
4.1 Installation of the mounting bracket to a wall or door frame
Optional
installation
Wall
RESET ON/0FF
Method 1: 3M self-adhesive mount
1. Carefully remove the existing doorbell
before proceeding, if any.
2. Determine the location of the doorbell,
preferably one that offers the best viewing
angle and Wi-Fi reception.
3. If you need to aim the doorbell to the left or
right of the wall where it is mounted, you will
have to also install the angled bracket that
comes with the doorbell.
4. To do so, attach the angled bracket to the
tamper-proof plate using the supplied
screws.
5. Next, remove the adhesive lm protecting
the double-faced sticker. Carefully press it
against the mounting plate or angled bracket.
6. Finished by xing the plate or bracket to a
smooth surface or to the wall.
Optional
installation
Wall
RESET ON/0FF
Method 2: Screw mount
1. Carefully remove the existing doorbell
before proceeding, if any.
2. Determine the location of the doorbell,
preferably one that offers the best viewing
angle and Wi-Fi reception.
3. If you need to aim the doorbell to the left or
right of the wall where it is mounted, you will
have to also install the angled bracket that
comes with the doorbell.
4. To do so, attach the angled bracket to the
tamper-proof plate using the supplied
screws.
5. Proceed to mark the two mounting holes
with a pencil and drill the pilot holes. Then
insert the anchors until ush with the surface.
7. Drive the screws into the anchors you
already installed and tighten them to secure
the mounting plate or angled bracket in place,
making sure that it is also at against the wall.
English
6 7
 Loading...