OK
ENGLISH Instructions translated from Italian
1 - GENERAL WARNINGS
- Important safety instructions. It is important for you to comply with these instruc-
tions for your own and other people's safety. Keep these instructions. • Children must not
play with the appliance. • Packaging materials must be disposed off in accordance with local regu-
lations. • Handle the product with care, taking care to avoid crushing, denting or dropping it, or
allowing contact with liquids of any kind. Keep the product away from sources of heat and naked
ames. Failure to observe the above can damage the product, and increase the risk of danger or
malfunction.
2 - PRODUCT DESCRIPTION AND INTENDED USE
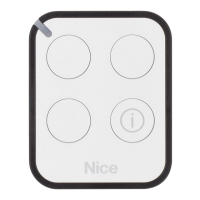
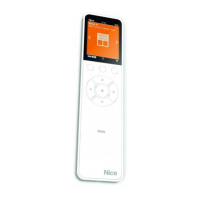
Era P View is a multifunctional radio transmitter from Nice's Era-P product family; it is designed for
controlling outdoors awnings, sun screens, shutters, gates and entrance doors, lights and electri-
cal equipment in general. Furthermore, it can arm/disarm Nice's Home System alarm system.
– All uses other than the intended use described and use in environmental conditions
other than those described in this manual should be considered improper and forbidden!
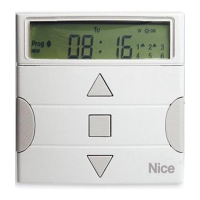
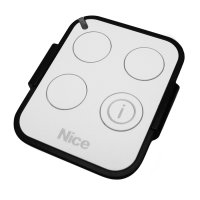
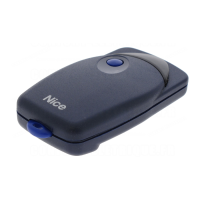
Era P View is a one-way radio transmitter, equipped with a 2.2" LCD graphic display. Features:
- simple, intuitive graphic interface (g. 1).
- three keys (g. 1) for controlling immediate functions and browsing menus.
- ve-key joystick (g. 2).
- clock/calendar for setting scheduled commands.
It can be used for:
- individually controlling up to 99 devices grouped into 20 zones, 20 groups and 20 scenes.
- personalising the name and type of the various devices it controls.
- personalising the name and function assigned to a given control, so that the commands are
clearly associated with the devices they control.
- activating automatic summer/winter time (for areas in which such a standard applies)
- automatically calculating the time of sunrise/sunset (astro function).
Menus:
• Easy user: controls a small number of devices, groups of scenes in a simple, intuitive manner;
quitting this menu can be password protected.
• Advanced user: controls all devices, groups and scenes; access to user settings (names of
devices, create/edit zones, groups, scenes, etc. - see par. 4.1)
• Installer: access to all programming and conguration functions; can be password protected.
3 - FUNCTIONAL SPECIFICATIONS
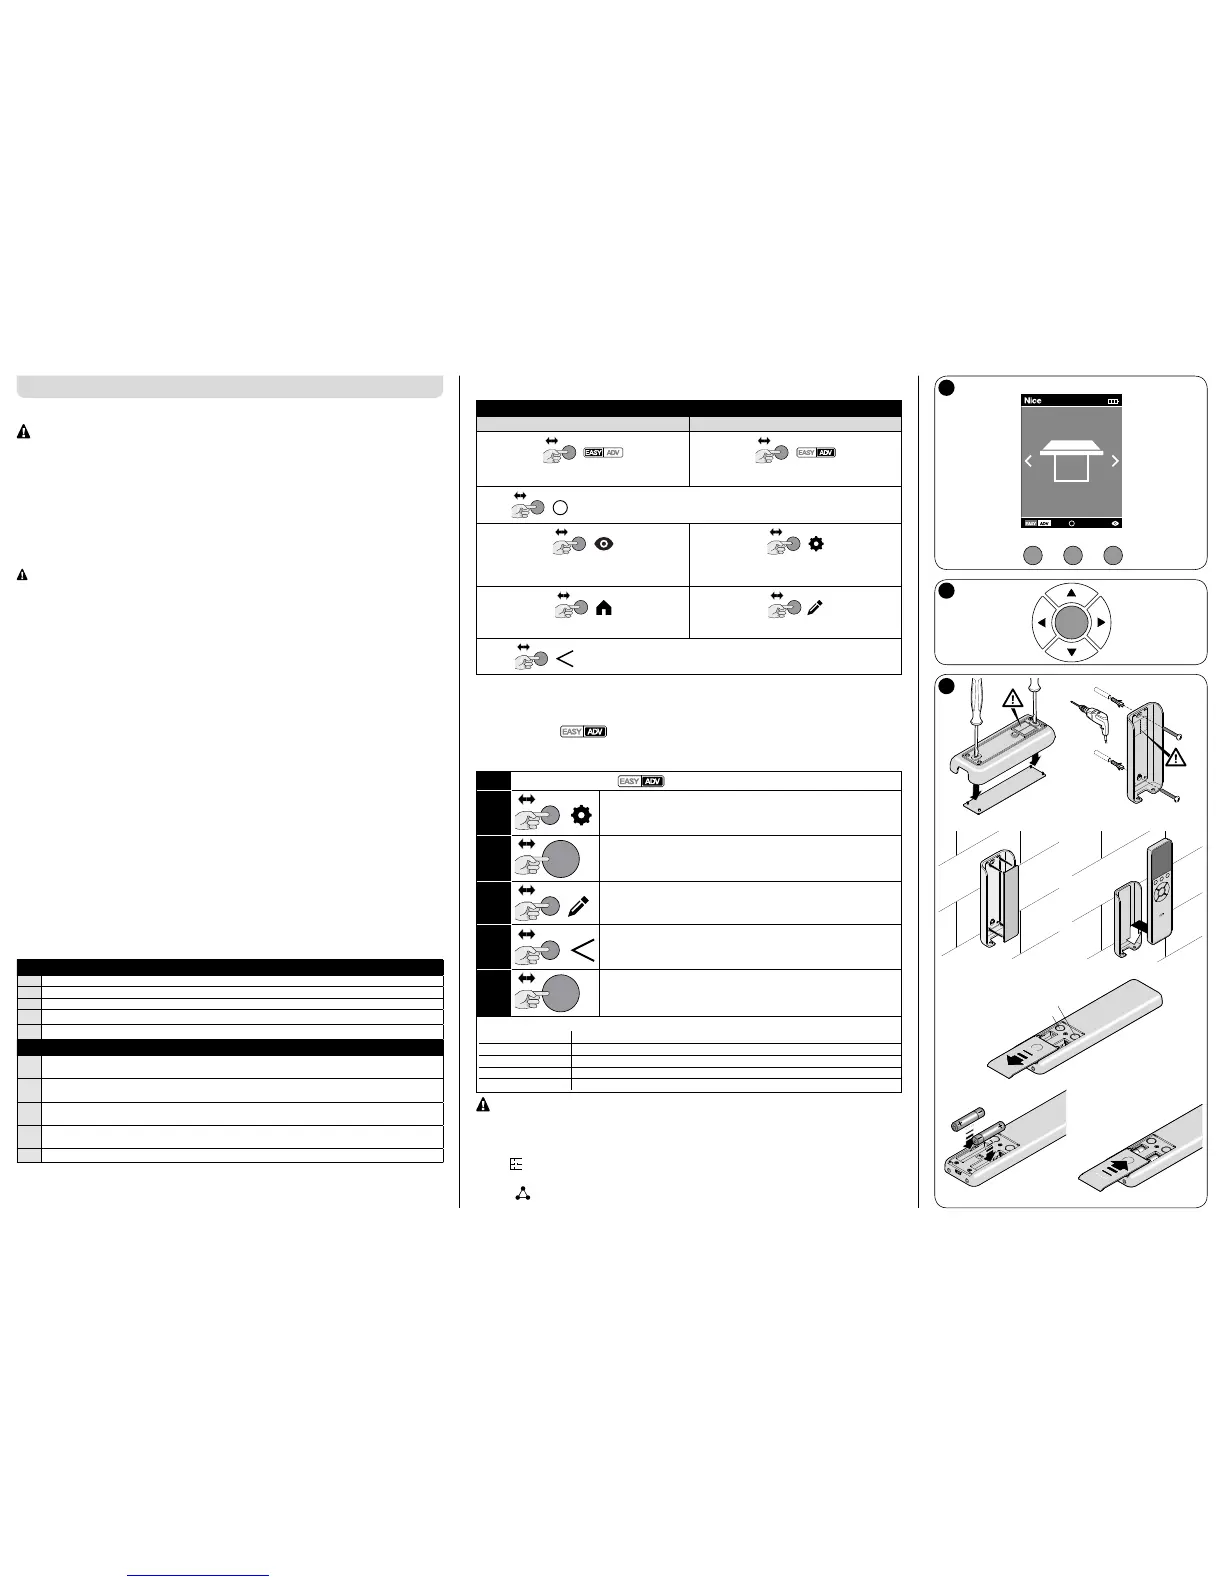
Era P View runs off two batteries which must be inserted as shown in g. 3-e/f/g, or off a USB
power supply; in the latter case, you can use rechargeable batteries and enable the charging the
option.
To switch the unit on, press any key, remove it from its wall support or hold your hand next to it (its
internal sensors detect your presence).
Standby: if you do not use the unit for a few seconds, it will automatically go into standby to avoid
draining its batteries.
First power on: the unit will prompt you to specify the user language, date and time (required by
its functions).
It then displays the Homepage:
Homepage (g.1)
A current time (not displayed if the time and date have not been set)
B battery charge
C selects ‘Easy’ or ‘Adv’ user mode: press the function key below it
D opens the scheduled events page: press the function key below it
E opens the programming options page: press the function key below it
Function keys (g. 2)
▲
- moves the cursor (selection) up
- in the Homepage, this key selects ‘Scenes’
▼
- moves the cursor (selection) down
- in the Homepage, this key selects ‘Devices’
t
- moves the cursor (selection) left
- in the Homepage, this key selects ‘Zones’
u
- moves the cursor (selection) right
- in the Homepage, this key selects ‘Groups’
OK conrm
• The three function keys (C/D/E - g. 1) have different meanings (or may not even display)
depending on the current page:
Homepage
Easy user ADV user
= =
switch from ‘Easy’ to ‘ADV’ switch from ‘ADV’ to ‘Easy’
=
open the ‘Events’ page (par. 4.3)
= =
displays the Easy user menu opens the ‘Options’ menu (installer only)
=
=
back to Homepage opens the ‘Modify’ menu
=
back to previous page
4 - PROGRAMMING ON THE RECEIVER (advanced user)
Era P View must be memorised in the device it is to control; since it can control many devices, you
can assign a set of information to each of them to make it easier to identify them in normal use.
4.1 - Menu ADV
This menu provides all the options described in Chapter 3.
4.1.1 - Conguring a device for control:
01.
Homepage ADV
02.
=
¨
‘Options’ menu: select ‘Install devices’
03.
OK
¨
‘Setting’ menu: select a free channel
04.
=
¨
‘Setting’ menu > Channel ... :
complete every item in the menu* and select ‘Save’
05.
=
¨
‘Setting’ menu:
select the channel you have just programmed to send a command
06.
OK
¨
‘Registration’ menu:
use the ‘▲ - OK - ▼‘ keys to send a command
* items:
Type type of device being controlled
Name common name to assign to the device (optional)
Zone area in which the device is located (optional)
Exposure
orientation of device relative to compass points (optional)
Set of commands type of command to associate with the device (table 1)
On completion of he conguration, memorise the 'code', which is different for each
device: this must be done separately for each device; refer to the device's user manual
(also on www.niceforyou.com).
Once you have congured the individual devices, you can create sets of devices:
Zones
:
makes it easy to identify a device; must be dened during the device's congura-
tion.
Gr
oups
: sets which allow you to control multiple devices at once; a group can only contain
devices which have the same ‘set of commands’ (Table 1).
1
2
3
15:55
Tent Outside
Outside tents / Zone / East
 Loading...