EasyManua.ls Logo

Nieco FH94 Gas User Manual

Nieco FH94 Gas
36 pages
To Next Page IconTo Next Page
Page #1 background imageLoading...
Page #1 background image
WARNING:
Improper installation, adjustment, alteration, maintenance can cause property damage, injury,
or death. Read the installation, operating and maintenance instructions thoroughly before
installing or servicing this equipment.
CAUTION:
In a prominent location, post instructions to be followed in the event the user smells gas. This
information shall be obtained by consulting your local gas supplier.
IMPORTANT: RETAIN THIS MANUAL IN A SAFE PLACE FOR FUTURE REFERENCE
Broiler must be kept free of combustible materials, and the flow of ventilation air must not be
obstructed. Operating personnel must not perform any maintenance or repair functions.
Contact your Nieco Authorized Service Agent for service or repair.
Model FH94 Gas
Owner’s Manual
Fill in the information bellow and have it handy when calling your authorized service agency for assistance.
The serial number is on the broiler rating plate on the back of the unit.
Purchased from: __________________________________________________________
Date of Purchase: _________________________________________________________
Model No.: _______________________________________________________________
Serial No.: _______________________________________________________________
Question and Answer IconNeed help?

Do you have a question about the Nieco FH94 Gas and is the answer not in the manual?

Nieco FH94 Gas Specifications

General IconGeneral
BrandNieco
ModelFH94 Gas
CategoryBroiler
LanguageEnglish

Summary

General Information and Safety

Critical Safety Precautions

Explains safety words, symbols, and critical precautions for safe operation.

Installation Procedures

Gas Connection Requirements

Specifies gas supply pressure requirements and shutoff procedures during testing.

Electrical Connection and Grounding

Details electrical grounding requirements and connection procedures according to codes.

Broiler Power Controls

Touch Screen Control Panel Overview

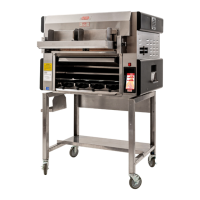
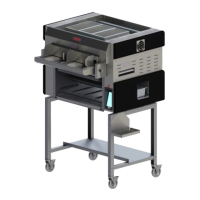
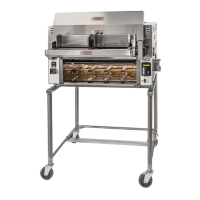
Describes the touch screen's role in controlling broiler operation and cook chambers.

Touch Screen Interface Navigation

Manager Settings Access and Password

Details how to access controls for temperature, recipes, and calibration with a default password.

Broiler Ignition Procedures

Normal Automatic Ignition Process

Describes the automatic ignition process using the touch screen and main power switch.

Ignition Failure Troubleshooting

Ignition Failure Indicators and Actions

Explains the broiler's reset attempts and the ignition failure light indicator.

Manual Ignition Guide

Broiler Shutdown Procedures

Emergency Shutdown Protocols

Describes the automatic safety features for emergency shutdowns and power failures.

Basic Power Operations

Recipe Selection Guide

Selecting Recipes for Belt Lanes

Explains how to toggle and select recipes for each belt lane using the touch screen.

Manager Settings and Calibration

Temperature Settings Adjustment

Describes how to access and adjust the broiler's temperature settings.

Broiler Calibration Process

Outlines the steps for calibrating the broiler's temperature and cook times.

Recipe Settings Management

Guides the user on how to access and manage recipe settings.

Adjusting Recipe Cook Time

Adjusting Belt Speed for Cook Time

Explains how to increase or decrease belt speed to adjust recipe cook time and product temperature.

Adding and Editing Recipes

New Recipe Creation and Management

Details the process of adding, naming, and adjusting new recipes, including deleting them.

Daily Cleaning: Stripper Blade and Carbon

Removing Carbon from Shafts and Belts

Instructions for removing daily carbon build-up from shafts and belts.

Daily Cleaning: Carbon and Incendalyst

Removing Carbon from Belts and Plates

Instructions for removing carbon build-up from belts and plates using scraping tools.

Weekly Cleaning: Hood and Burners

Removing the Lower Burner

Instructions for opening the latch and lifting out the lower burners.

Related product manuals