Installation and Connection
___________________________
4
3
3
3 Installation and Connection
This chapter explains how to install and connect DS-Ri2/DS-Qi2 to a microscope system.
3.1
3.1 Check First
3.1.1
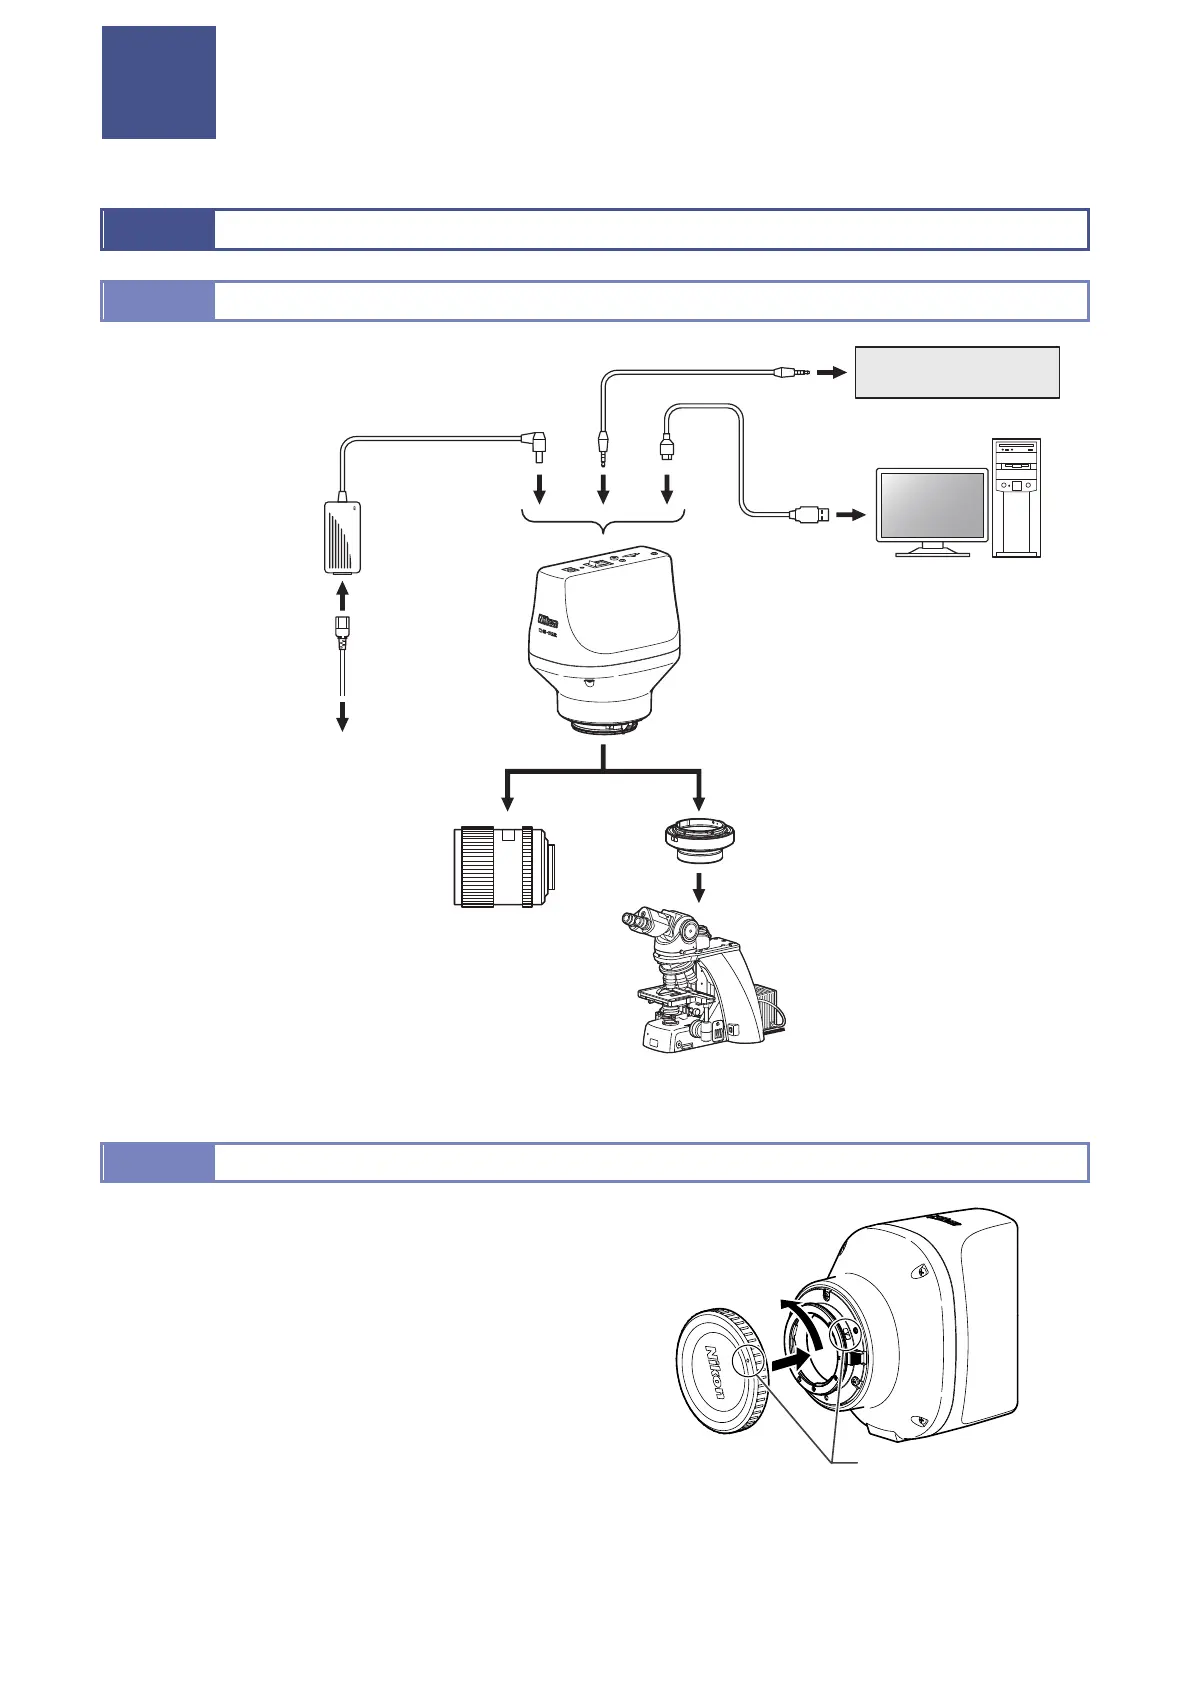
3.1.1 Overall Connection
DC IN 12V
POWER
EXT.I/O
USB(D)
Illustration of overall connection
3.1.2
3.1.2 Attaching / Removing the F-mount Cap
The F-mount cap or a dustproof cover is supplied with the
product. Be sure to put it to the F-mount to protect dust from
entering the product interior when any adapters are attached
for connecting this product with an optical device.
Attaching the F-mount cap
Align the mark on the cap with the mark on the F-mount and
turn the cap counterclockwise to attach the cap to the
F-mount.
Removing the F-mount cap
Turn the F-mount cap clockwise to remove it. You can
remove it without pressing the lens releasing button.
Attaching the F-mount cap
External device
PC
AC adapte
Power cord
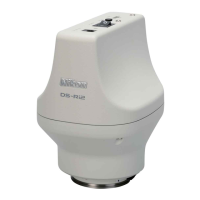
DS-Ri2
DS-Qi2
To AC socket
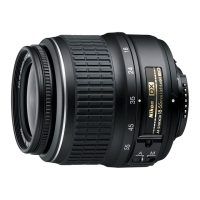
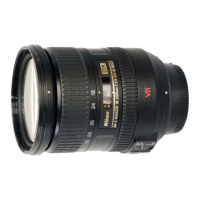
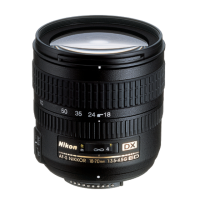
Optical lens (F mount)
F-mount adapter
(Select an adapter model
suitable for your microscope)
Microscope
(A camera port, tube, or
intermediate tube may be
required)
lignment marks
lign the alignment marks
and turn the cap
counterclockwise to
attach it.