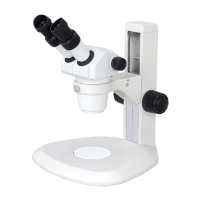
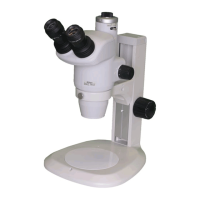
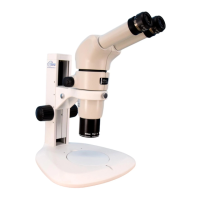
Chapter 2 Microscopy Procedures
14
3
Bring an objective into the optical path.
→ Step 3 in “2 Procedure for Microscopy Under Episcopic Illumination”
4
Turn on the illumination and adjust the brightness.
Turn on the LED power ON/OFF switch at the front of the
LED diascopic illumination base.
Turn on the LED brightness control selection switch on the
left of the base to assign control to the control box, and
then control the brightness using the remote controller.
(When the LED brightness control selection switch is off,
illumination can be controlled from the base using the LED
brightness control dial.)
Press the diascopic LED ON/OFF button on the remote
controller to turn on LED illumination. Check that the LED
ON/OFF indicator lights.
Press the diascopic LED brightness control buttons to
adjust the brightness. Press [+] to increase the brightness
and [-] to decrease the brightness.
TRL
CTRL
ON OFF
Turning on the LED power ON/OFF switch on the
base, and setting the illumination control right
to the control box
Illumination control
When the LED brightness control selection switch
is turned on, diascopic illumination can be turned
on or off, brightness can be controlled, and light
intensity can be monitored from the control box (a
P2-RC Remote Controller, or a PC (software:
NIS-Elements)). Note that illumination cannot be
controlled from the control box, even if the LED
brightness control selection switch is turned on,
unless the LED power ON/OFF switch on the base
is turned on.
To directly control the brightness using the LED
brightness control dial on the base, turn off the LED
brightness control selection switch.
For details about using the diascopic illumination
base, see Chapter 8, “8.1 P2-DBL LED Diascopic
Illumination Base.”
DISPLAY
BRIGHTNESS
ESCAPE
ALZ
−+
LIMIT
ZOOM
STEP
Z-RESET
Z-SPEED
ZOOM STEP
Coarse
FL Cube
ON/OFF
ON/OFF
ON/OFF
ON/OFF
Fine
Ex Fine
1x
0.5x
0.1x
+
−
Remote on/brightness control
Aperture diaphragm
The SMZ25 Zooming Body is equipped with an
aperture diaphragm. Turn the aperture diaphragm
dial counterclockwise (O side) to fully open the
aperture. (For details about using the aperture
diaphragm, see Chapter 7, “10 Using the Aperture
Diaphragm.”)
5
Set the optical path to 100% to the binocular part.
→ Step 5 in “2 Procedure for Microscopy Under Episcopic Illumination”
6
Adjust the depression angle of the tilting tube.
→ Step 6 in “2 Procedure for Microscopy Under Episcopic Illumination”
7
Adjust the diopter.
→ Step 7 in “2 Procedure for Microscopy Under Episcopic Illumination”
LED brightness
control selection
switch
Diascopic LED
ON/OFF button
LED ON/OFF
indicato
Diascopic LED
brightness control
button
LED power ON/OFF switch
 Loading...