Usage
Switch
On/Off
Only when the switch is at "OFF" state, can the multifunctional tool be switched on.
The data
of
power supply should be identical with that on the nameplate.
i
Switch
On:
Push the switch at I Position.
Switch Off:
Push the switch at 0 Position.
Adjustment
of
Speed
0.
You
can adjust the speed
of
tool steplessly. First
of
all, adjust
if
} at low speed, then increase gradually until the best speed
is
, I
~
reached.
Change
of
Accessories
You
can install accessories such as grinding wheel and cutting
piece on the multifunctional tool. They can be also installed on
the curved driving spindle
if
needed, however the milling head
can not
be
installed directly on the head.
Draw out the plug fom power supply before changing tool each time.
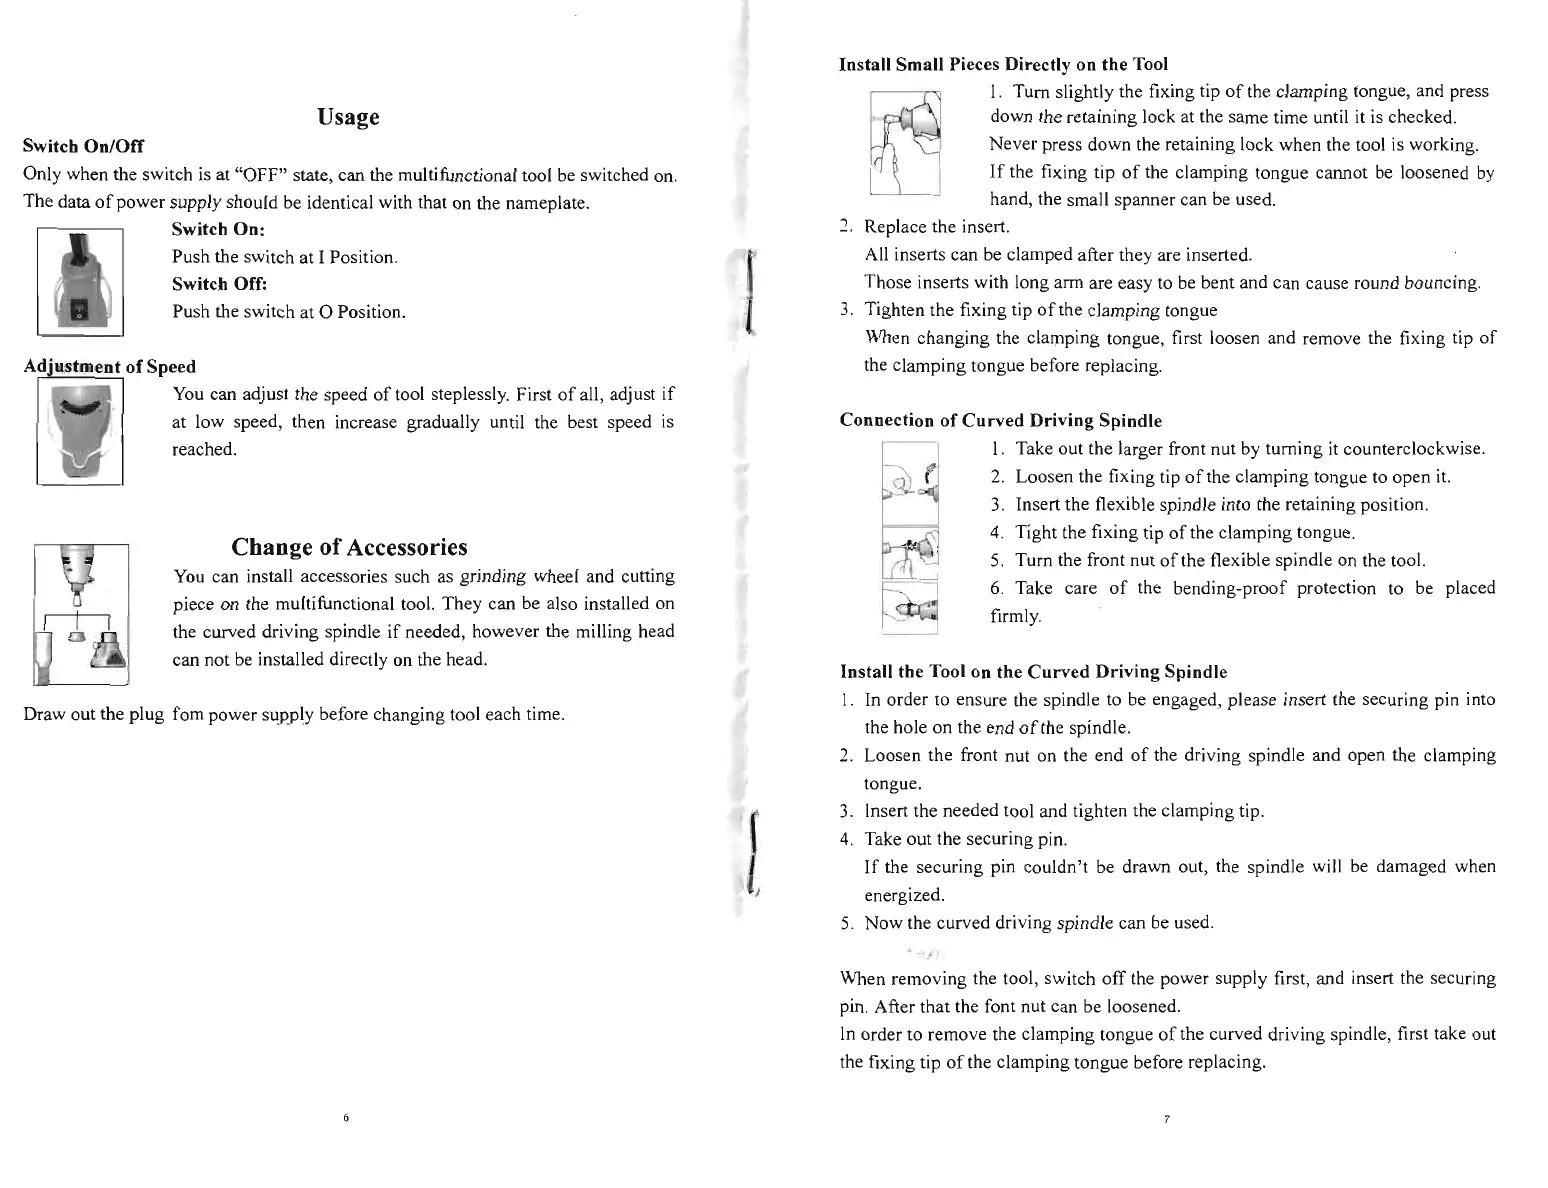
Install Small Pieces Directly on the Tool
I. Turn slightly the fixing tip
of
the clamping tongue, and press
down the retaining lock at the same time until
it
is
checked.
Never press down the retaining lock when the tool is working.
If
the fixing tip
of
the clamping tongue calIDot be loosened
by
hand, the small spanner can be used.
..,
Replace the insert.
All inserts can be clamped after they are
in
serted.
Those inserts with long arm are easy to
be
bent and can cause round bouncing.
3.
Tighten the fixing tip
of
the clamping tongue
When changing the clamping tongue, first loosen and remove the fixing tip
of
the clamping tongue before replacing.
Connection
of
Curved
Driving Spindle
I. Take out the larger front nut by turning
it
counterclockwise.
2.
Loosen the fixing tip
of
the clamping tongue to open
it.
3.
Insert the flexible spindle into the retaining position.
4.
Tight the fixing tip
of
the clamping tongue.
5. Turn the front nut
of
the flexible spindle on the tool.
6.
Take care
of
the bending-proof protection to be placed
~
firmly.
Install the Tool on the
Curved
Driving Spindle
1. In order
to
ensure the spindle to be engaged, please insert the securing pin into
the hole on the end
of
the spindle.
2. Loosen the front nut on the end
of
the driving spindle and open the clamping
tongue.
3.
Insert the needed tool and tighten the clamping tip.
I
4.
Take out the securing pin.
If
the securing pin couldn't be drawn out, the spindle will be damaged when
energized.
5.
Now
the curved driving spindle can be used.
When removing the tool, switch
off
the power supply first, and insert the securing
pin. After that the font nut can be loosened.
In
order to remove the clamping tongue
of
the curved driving spindle, first take out
the fixing tip
of
the clamping tongue before replacing.
 Loading...