20
Lift off the motor.
2. Pull out the fi lter by its bottom plate and shake it gently
from side to side. The hose must remain fi xed to the
container during the shaking operation.
The fi lter can be cleaned by vacuum it.
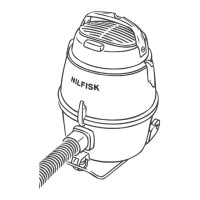
Removing the motor 90
1. Dismantle the motor by turning its handle anticlockwise.
Lift off the motor.
Emptying the container
When the fi lter has been shaken and the hose detached,
release the two latches and open the container. Lift off the
top part and empty the lower part of the container.
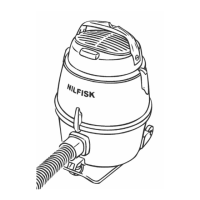
Replacing the motor 80
When mounting the motor make sure that the switch is
directly over the suction inlet of the container and the plug
is turned backwards.
Replacing the motor 90
2. Reset the motor so that the on/off switch is opposite the
motor mounting mark on the container and the plug is
turned backwards. Turn the motor clockwise until a dis-
tinct click is heard. If the motor will not lock into position
by turning, then press the red locking lever inside the
container in the direction of the arrow.
8 Suction with dust bag
The cleaner is supplied with a two-ply self-locating dust
bags. To release the container, unfasten the two latches
and lift off the upper part with the motor/fi lter section. Fix
the dust bag as follows:
1. Pierce the dust bag’s perforation and place it in the low-
er container.
2. Pull the dust bag plastic plate over the suction inlet with
both hands. Unfold the dust bag carefully. Replace the
top container and lock the two latches.
Note
The suction effi ciency depends on the size and quality of
the dust bag. Use original Nilfi sk bags only. If non-Nilfi sk
dust bags are used, and airfl ow restricted, overheating of
the motor and subsequent damage may result.
9 Exhaust filter
Exhaust fi lters is used when absolutely clean exhaust air
is necessary. The exhaust fi lter is mounted on to the motor
in place of the diffuser. The exhaust fi lter is easily fi tted
and the fl lter element is replaceable. A special handle is
delivered together with the exhaust fi lter.
10 Blowing attachment
Mounting
Remove the diffuser and sound absorber (see page 2)
Place the blowing adaptor 11562000 on the motor. Each
one is kept in place by handle of the motor.
Fit the blowing attachment into the motor blowing adap-
tors.
Before connecting a hose make sure that it is clean - place its
open end in the container inlet for a moment with the motors
running and shake it.
Maintenance
Always keep the cleaner in a dry place. The bearings in
the motor are pregreased and designed for continuous
heavy work.
Depending on the number of running hours the dust fi lter
should be replaced.
For details of service or maintenance please contact Nil-
fi sk directly.
Rating Plate
The model and serial number of your machine are shown
on the ratingplate on the machine. This information is
needed when ordering repair for the machine. Use the
space below to note the model and serial number og your
machine for future reference.
Model Serial number
Year of manufacture Powering voltage
Trouble-shooting
• the motor will not start
- a fuse may have blown and needs replacing.
- the cable or the wall socket may be defective and
needs checking.
• the suction power is reduced
- the dust bag may be full and needs replacing,
see page 3.
- the fi lter may be clogged and needs shaking,
see page 3.
• the motor will not stay locked in position on
the container. Only 90
- The red locking lever in the container top is in the
wrong position. Push the lever in the direction of
the arrow.

 Loading...

