SK
5. Waste disposal
• Try to dispose the vacuumed waste as fre-
quently as possible. The dust attached to the
fi lter can cause poor vacuuming performance
and stress the motor.
• Always switch OFF the power when operating
for disposal.
1. Detach the dust container.
2. Pull out the fi lters.
3. Empty the dust container.
4. Re-install the fi lters in correct order and posi-
tion.
5. Re-install the dust container to the vacuum
unit.
Caution
Do not vacuum a lot of dust at one time and do
not vacuum large objects. May cause the suction
port to clog and loose the suction power.
Do not vacuum kerosene, petrol or butts of
smoked cigarettes. This may cause a fi re.
Dispose dust frequently in order not to damage
the product.
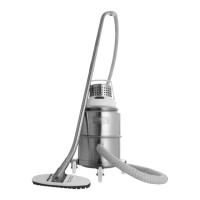
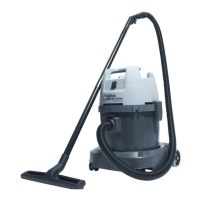
6. Service and
Maintenance
Always switch OFF the power and disconnect
the power plug for the battery charger from the
power outlet before starting maintenance.
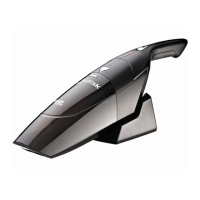
6.1 Vacuum Unit, Stick Body, Charging Base
Wipe off any dirt from the product using a dry
and soft rag.
In case of stubborn dirt, clean using a soft damp
rag soaked in a water solution diluted with a little
neutral detergent and then wipe with a dry rag.
Do not use solvents like thinner, benzene, and
spray type cleaners.
6.2 Dust Container
Remove any collected dust inside the dust con-
tainer fi rst and wash using lukewarm water.
Make sure that the dust container is completely
dry before re-assembling.
6.3 Filter
Do not wash the fi lters in the washing machine.
Do not dry them using a hot air blower such as a
dryer or a hair dryer.
In case of stubborn dirt or loss in suction power,
wash as instructed below:
1. Remove the dust fi rst
2. Wash with water
3. Make sure that the fi lters are completely dry
before the parts are re-assembled.
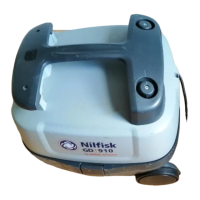
6.4 Power Brush
Carry out the maintenance if any waste threads
or hair gets tangled in the brush.
Regular Maintenance
Slowly rotate the brush manually and remove
any foreign objects tangled around the brush.
Maintenance when the power brush cannot
be manually rotated
1. Unscrew, lift and dislodge the brush cover.
2. Lift the rotating brush and then remove the
belt from the end of the rotating brush.
3. Take out the rotating brush and remove the
blockage. Take out the wastes.
4. Re-install the rotating brush. Finally, check
that the brush cover is securely fi xed and the
rotating brush rotates properly.
7. Product Disposal
When the battery packs will no longer hold a
charge, the product has reached the end of its
useful life.
The battery pack is not replaceable. After
removing the battery pack, the product must be
discarded.
Before discarding the product, the rechargeable
battery pack must be removed and recycled in
accordance with federal and local laws, as out-
lined below.
WARNING: The vacuum cleaner must be discon-
nected from the charging station and batteries
must be run fl at before removing the battery pack.
1. Use a screwdriver to unscrew the housing
2. Cut the wires in order to free the battery com-
partment from the unit. Cover visible metal
areas with tape.
3. Take out the battery compartment with motor,
Unscrew the battery bracket. Remove the bat-
tery from the unit. WARNING: Do not mutilate
or incinerate the battery pack, as it will ex-
plode at high temperatures.
WARNING-- Risk of fi re or serious injury:
Never touch both terminals of a battery pack with
metal objects and/or body parts as a short circuit
may occur. Do not attempt to destroy or disas-

 Loading...