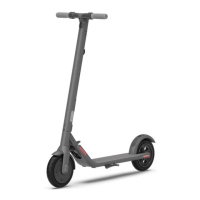
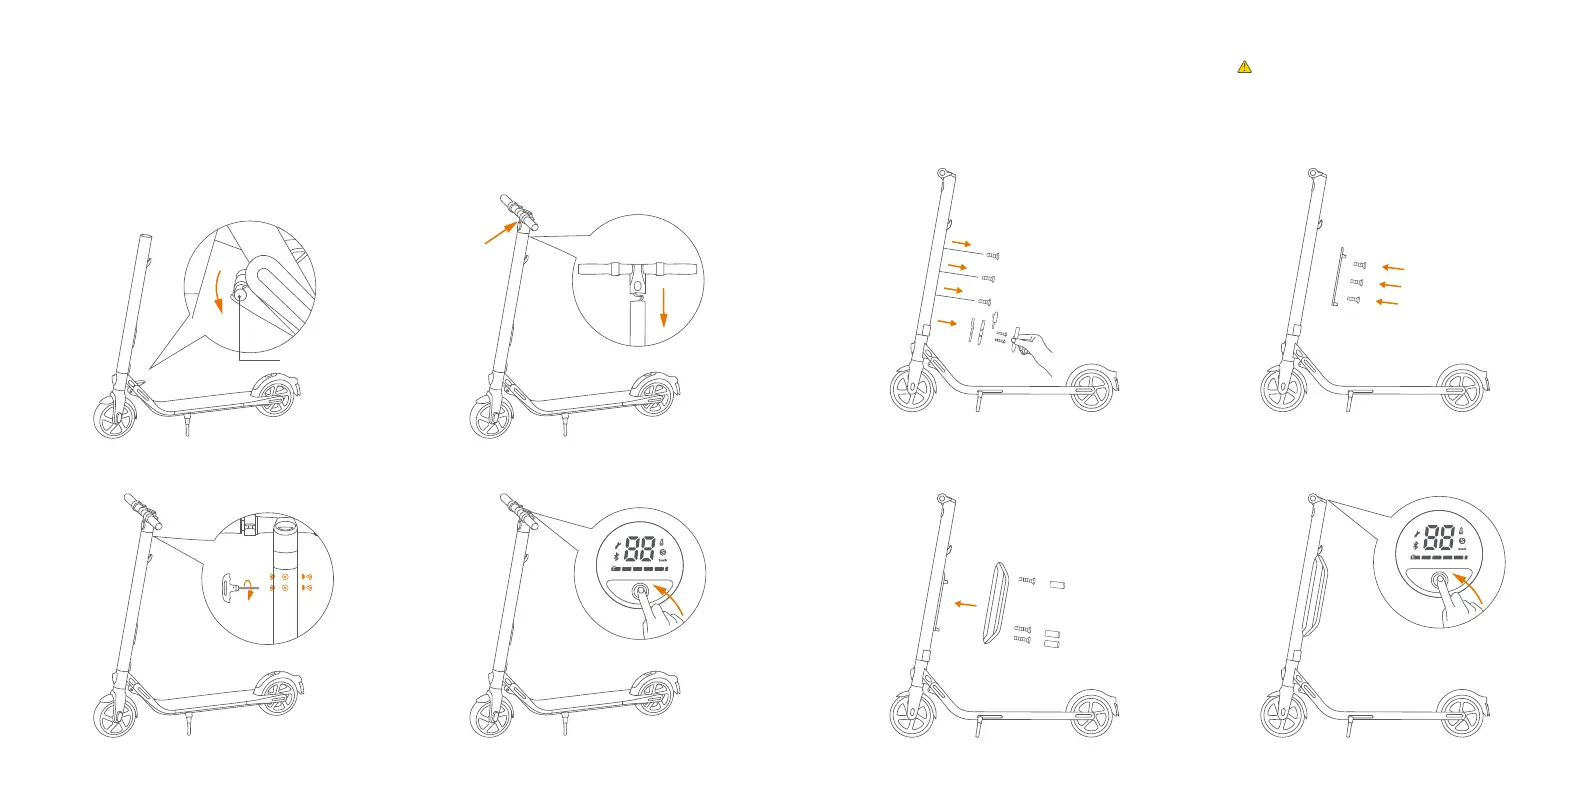
Latching Axis
4 Assembling Your KickScooter
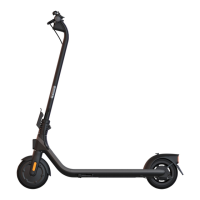
3. Install six screws (two on each side) with the
included hex wrench.
4. Verify that your KickScooter powers on and off.
2. Firmly connect the wires inside the handle and
the stem. Slide the handle onto the stem. Be
aware of the correct orientation.
1. Unfold the stem and push it until you hear a
click. Flip up the folding pedal. Then unfold
the kickstand to support the scooter.
Note: Confirm that the latching axis on the
folding mechanism is secured correctly.
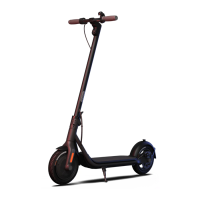
3. Install the external battery on the rail and fix it with the M4 (20mm)
screws (2 pcs) and M3 screw (1 pcs), provided with this product.
After they are properly installed, block the screw holes with the
rubber stopper.
2. Install the rail with the M4 (10mm) screws (3
pcs), provided with this product. Please make
sure it is properly fixed.
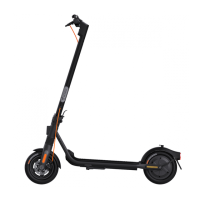
4. Verify that your KickScooter powers on and off.
1. Remove the three screws on the stem, as shown. Then
remove the cover near the charge port and remove the
M3 screw.
5 Installing a Second Battery Pack (optional)
Warning: please use the screws provided with
this product only.
Head Light
toward front
06 07