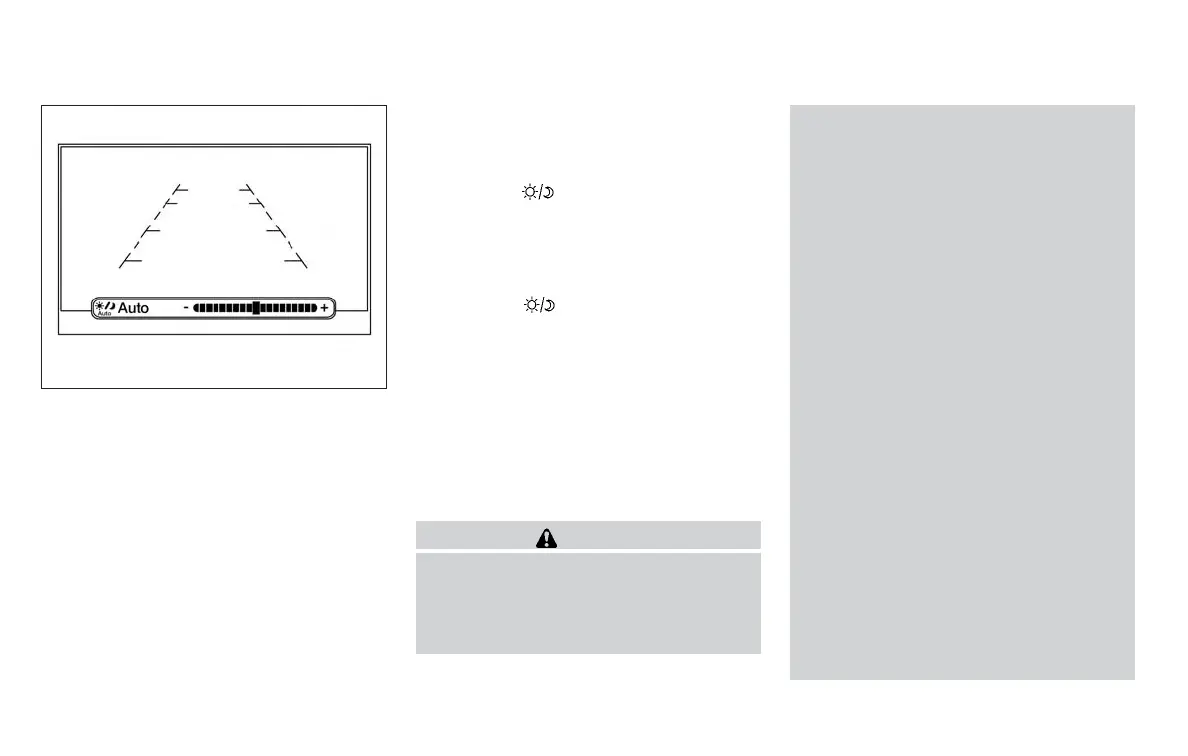
4. Turn the TUNE/SCROLL knob to adjust the
setting up or down.
5. Press the ENTER/SETTING button again to
display the Contrast settings.
6. Turn the TUNE/SCROLL knob to adjust the
setting up or down.
7. Press the ENTER/SETTING button to com-
plete the adjustment.
● Do not adjust the display settings of the
RearView Monitor while the vehicle is mov-
ing.
For vehicles with Navigation System
1. Firmly apply the brake and place the shift
lever in R (reverse)
2. Press the
button on the control panel.
3. The screen will display the Night settings.
4. Turn the TUNE knob to adjust the setting up
or down.
5. Press the
button again to access the
Auto settings.
6. Turn the TUNE knob to adjust the setting up
or down.
● Do not adjust the display settings of the
RearView Monitor while the vehicle is mov-
ing.
REARVIEW MONITOR SYSTEM
LIMITATIONS
WARNING
Listed below are the system limitations for
RearView Monitor. Failure to operate the
vehicle in accordance with these system
limitations could result in serious injury or
death.
● The system cannot completely elimi-
nate blind spots and may not show ev-
ery object.
● Underneath the bumper and the corner
areas of the bumper cannot be viewed
on the RearView Monitor because of its
monitoring range limitation. The system
will not show small objects below the
bumper, and may not show objects
close to the bumper or on the ground.
● Objects viewed in the RearView Moni-
tor differ from actual distance because
a wide-angle lens is used.
● Objects in the RearView Monitor will
appear visually opposite compared to
when viewed in the rearview and out-
side mirrors.
● Use the displayed lines as a reference.
The lines are highly affected by the
number of occupants, fuel level, vehicle
position, road conditions and road
grade.
● Make sure that the trunk is securely
closed when backing up.
● Do not put anything on the rearview
camera. The rearview camera is in-
stalled above the license plate.
Models with navigation
LHA3679
4-14 Monitor, climate, audio, phone and voice recognition systems