6
optimises the operation while making the quality control more efcient.
All Niviuk gliders go through an extremely thorough and detailed nal
inspection. The canopy is cut and assembled under strict quality control
conditions facilitated by the automation of this process.
Every wing is individually checked with a nal visual inspection.
The fabric used to manufacture the glider is light, resistant and durable.
The fabric will not experience fading and is covered by our warranty.
All lines are made from Technora with a polyester sheath.
The line diameter has been calculated depending on the workload and
aims to achieve the required best performance with the least drag. The
sheath protects the line cores from UV rays and abrasions.
The lines are semi-automatically cut to length and all the sewing is
completed under the supervision of our specialists.
Every line is checked and measured once the nal assembly is
concluded.
Each glider is packed following specic maintenance instructions as
recommended by the fabric manufacturer.
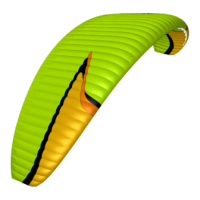
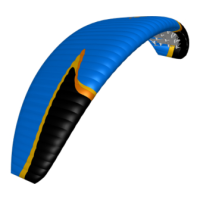
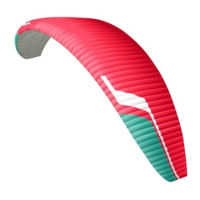
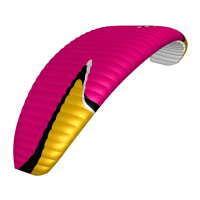
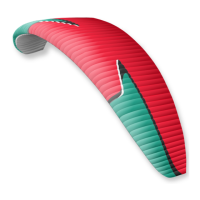
Niviuk gliders are made of premium materials that meet the requirements
of performance, durability and certication that the current market
demands.
Information about the various materials used to manufacture the wing
can be viewed in the nal pages of this manual.
1.5 ELEMENTS, COMPONENTS
The HOOK 5 is delivered with a series of accessories that will greatly
assist you in the maintenance of your paraglider:
- A Kargo bag. This bag is large enough to hold all equipment
comfortably and with plenty of space.
- An inner bag to protect the wing during storage and transport.
- An adjustable compression strap to compress the inner bag and reduce
its volume.
- a speed-bar.
- A repair kit with self-adhesive Ripstop tape in the same colour as the
wing and spare parts to protect the maillons.
2. UNPACKING AND ASSEMBLY
2.1 CHOOSING THE RIGHT LOCATION.
We recommend unpacking and assembling the wing on a training hill or
a at clear area without too much wind and free of obstacles. It will help
you to carry out all the recommended steps required to check and inate
the HOOK 5.
We recommend the whole installation procedure is supervised by a
qualied professional instructor or ofcial dealer. Only they can address
any doubts in a safe and professional way.
2.2 PROCEDURE
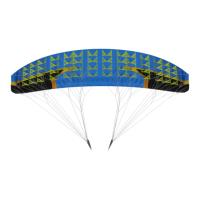
Take the paraglider out of the rucksack, open and unfold it on the ground
with the lines positioned on the undersurface, oriented in the direction
of ination. Check the condition of the fabric and the lines for defects.
Check the maillons/IKS connecting the lines to the risers to make sure
they are fully closed and tightened. Identify, and if necessary untangle,
the A, B and C-lines, the brake lines and corresponding risers. Make sure
that there are no knots
2.3 CONNECTING THE HARNESS
The HOOK 5 risers are colour-coded.
- Right: green
- Left: red
This colour-coding makes it easier to connect the wing to the correct
side and helps prevent pre-ight errors.