EasyManua.ls Logo

NOA & NANI Odin High Sleeper User Manual

Default Icon
6 pages
To Next Page IconTo Next Page
Page #1 background imageLoading...
Page #1 background image
Page 1 of 6
HARDWARE
A
38
M6x100mm
15mm
B
40
C
02
15mm
M6x70mm
D
20
15mm
Ø6x70mm
F
08
17mm
E 02
15mm
M6x50mm
I
8mm
Ø4x30mm
40
Ø8x30mm
H
34
G 02
J
8mm
Ø4x16mm
02
M8x20mm
M
N
Ø8mm
02
17
L
06
15mm
M6x25mm
Question and Answer IconNeed help?

Do you have a question about the NOA & NANI Odin High Sleeper and is the answer not in the manual?

NOA & NANI Odin High Sleeper Specifications

General IconGeneral
BrandNOA & NANI
ModelOdin High Sleeper
CategoryIndoor Furnishing
LanguageEnglish

Summary

Hardware Components Overview

Step 01: Assembling the Main Bed Frame

Connecting Side Rails and Supports

Details on connecting frame components using specific hardware like Ø8x30mm screws.

Step 02: Attaching Side Panels and Slats

Securing Main Frame with Screws

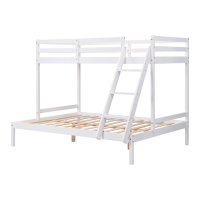
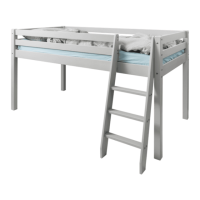
Assembly instructions for the main frame using specific hardware (A and B) and components (01, 02, 09).

Step 03: Adding Mid-Level Supports

Integrating Support Beams

Assembly of the mid-level structure using hardware (A, B) and components (05, 07, 11).

Step 04: Installing Bed Slats

Attaching Slat Supports

Instructions for attaching components (B, C, E, F, L) to the frame, likely for slat support.

Step 05: Ladder Assembly

Constructing the Ladder Structure

Details on assembling the ladder using parts (D, M) and specific screws.

Step 06: Finalizing Slat Placement

Step 07: Attaching the Ladder

Connecting Ladder to Bed Frame

Instructions for attaching the assembled ladder to the main bed frame using Ø4x16mm screws.

Step 08: Completing the Structure

Final Touches with Ø8mm Fasteners

Final assembly step using Ø8mm components (N) for reinforcement or finishing.

Related product manuals