the remote mailbox via the given AP. For example, if you are accessing your
company’s intranet mailbox, you may need to use the Access Point for your
company’s intranet.
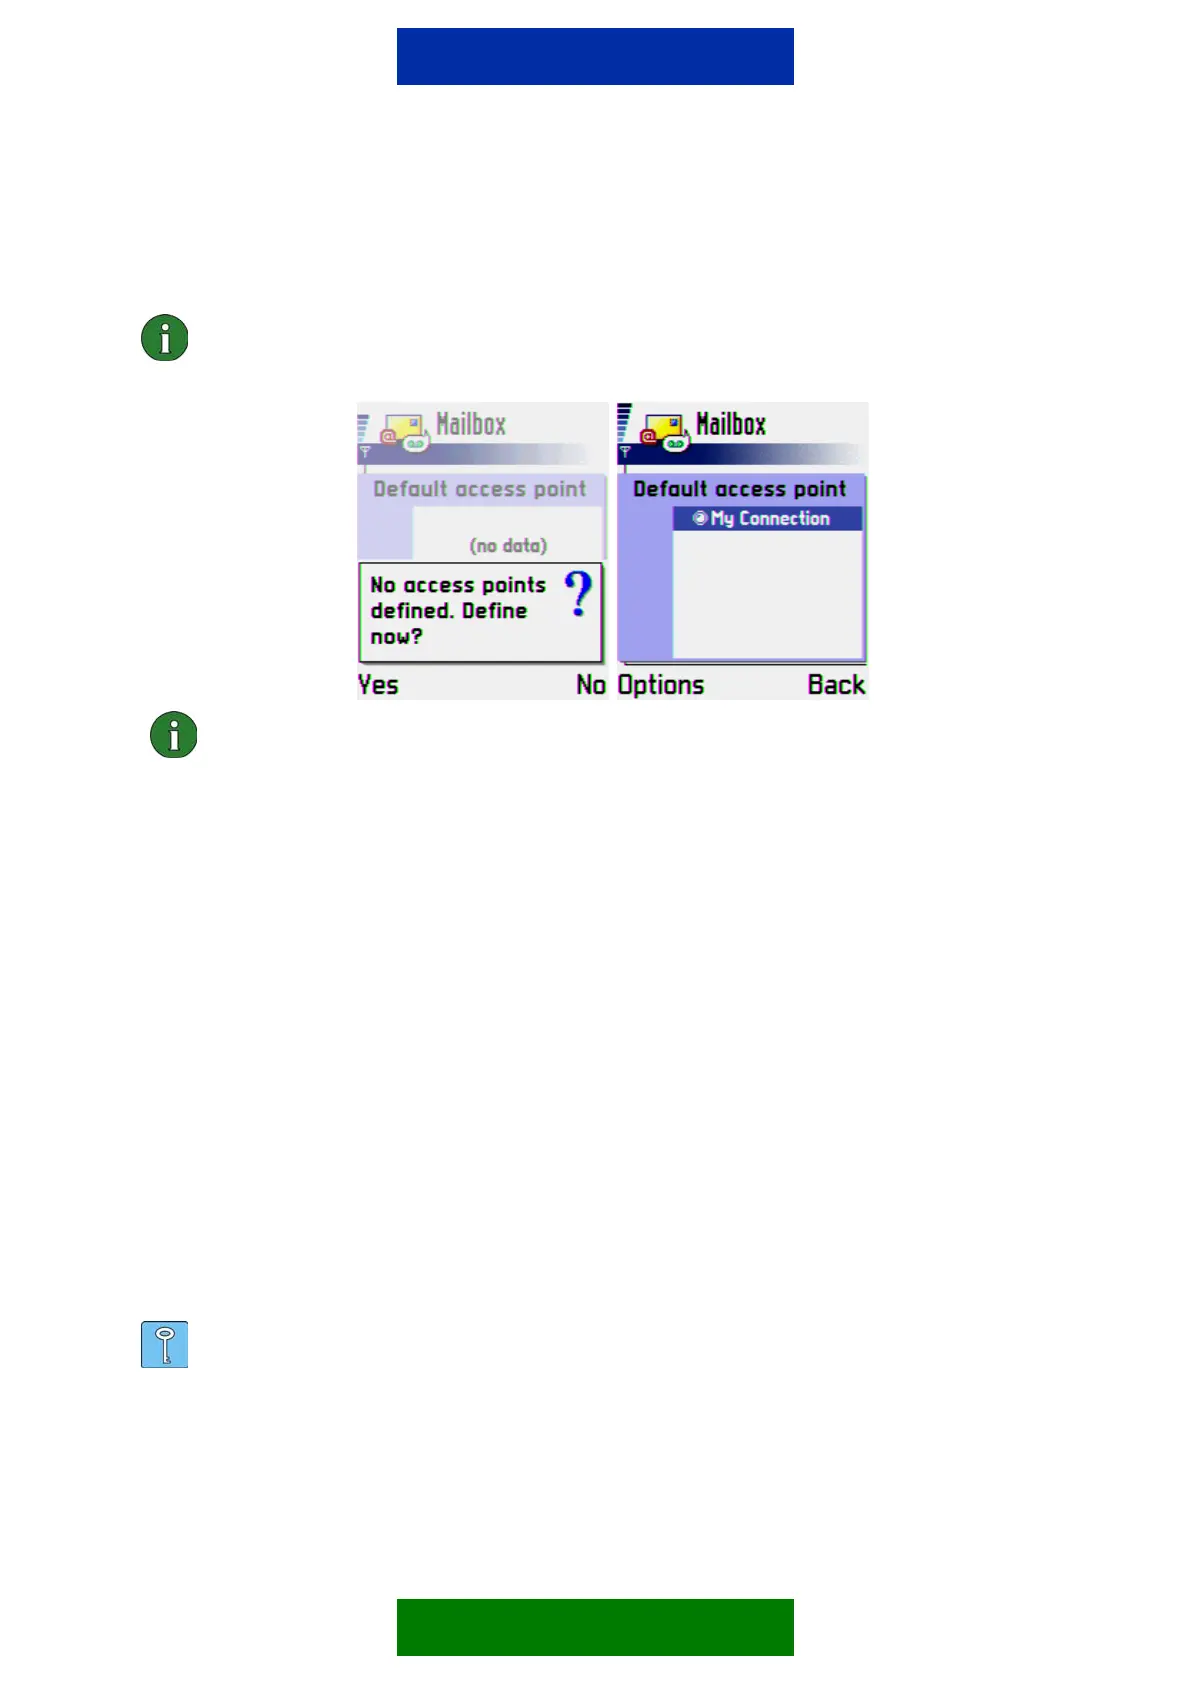
Note: If there is no AP defined you will get a pop-up asking if you want to define it
now. For further information on how to configure APs please refer to the user
guide.
Note: You can use WAP access point if your mail service allows it.
7. My mail address: Type in the e-mail address given to you by your service provider.
The address must contain the @ character. This address will be shown as the
originating (From) address in your messages.
8. Outgoing mail server: Enter the Outgoing mail server IP address or host name. This
is also known as the SMTP server, sending server or mail relay. When you are
sending e-mail, your Nokia 3650 phone connects to this server and sends the mail.
This server will then relay the mail towards the recipient’s mail server. The outgoing
mail server should be in one of the following example formats - 123.123.123.123 or
mail.server.com.
9. Send message: Options are Immediately (Tries to make connection and send the
message automatically) or During next conn. (mail is saved to Outbox and will be
sent when you are connected to remote mailbox next time (or you can go to Outbox
and send it manually (Options>send).
10. Send copy to self: Select whether you want to send a copy of sent mail to your own
mail address. The options are Yes / No.
11. Include signature: Select whether your signature is attached to sent mail. The
options are Yes / No (if selecting Yes you can then create a signature file for mails
you send).
Copyright © 2003 Nokia. All rights reserved | ver. 1.0
12. Type Username and Password.
Tip: Usually the name and password are the same ones you use for your Access
Point (PPP authentication). However, if your e-mail Service provider is different
from the Internet Service Provider, this may not be the case. Note that both the
username and password may be case-sensitive (capitalisation of letters matters).
2/4
 Loading...