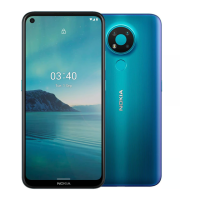
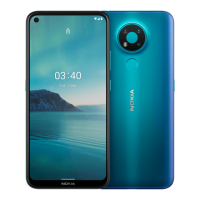
Nokia 3.4 Udhëzuesi i përdorimit
13. USB connector
14. Microphone
15. Loudspeaker
Some of the accessories mentioned in this user guide, such as charger, headset, or data cable,
may be sold separately.
*Google Assistant is not available in certain languages and countries. Where not
available, Google Assistant is replaced by Google Search. Check availability at
https://support.google.com/assistant.
Pjesët dhe lidhësit, magnetizmi
Mos e lidhni me produkte që krijojnë sinjal daljeje, pasi kjo mund ta dëmtojë pajisjen. Mos lidhni
burim rryme elektrike në lidhësin e audios. Nëse në lidhësin e audios lidhni pajisje të jashtme
ose kufje, përveç atyre të miratuara për përdorim me këtë pajisje, kini kujdes të veçantë për
nivelet e zërit.
Disa pjesë të pajisjes janë magnetike. Pajisja mund të tërheqë materiale metalike. Mos
vendosni afër pajisjes karta krediti ose karta të tjera me shirita magnetikë për periudha kohore
të zgjatura, pasi kartat mund të dëmtohen.
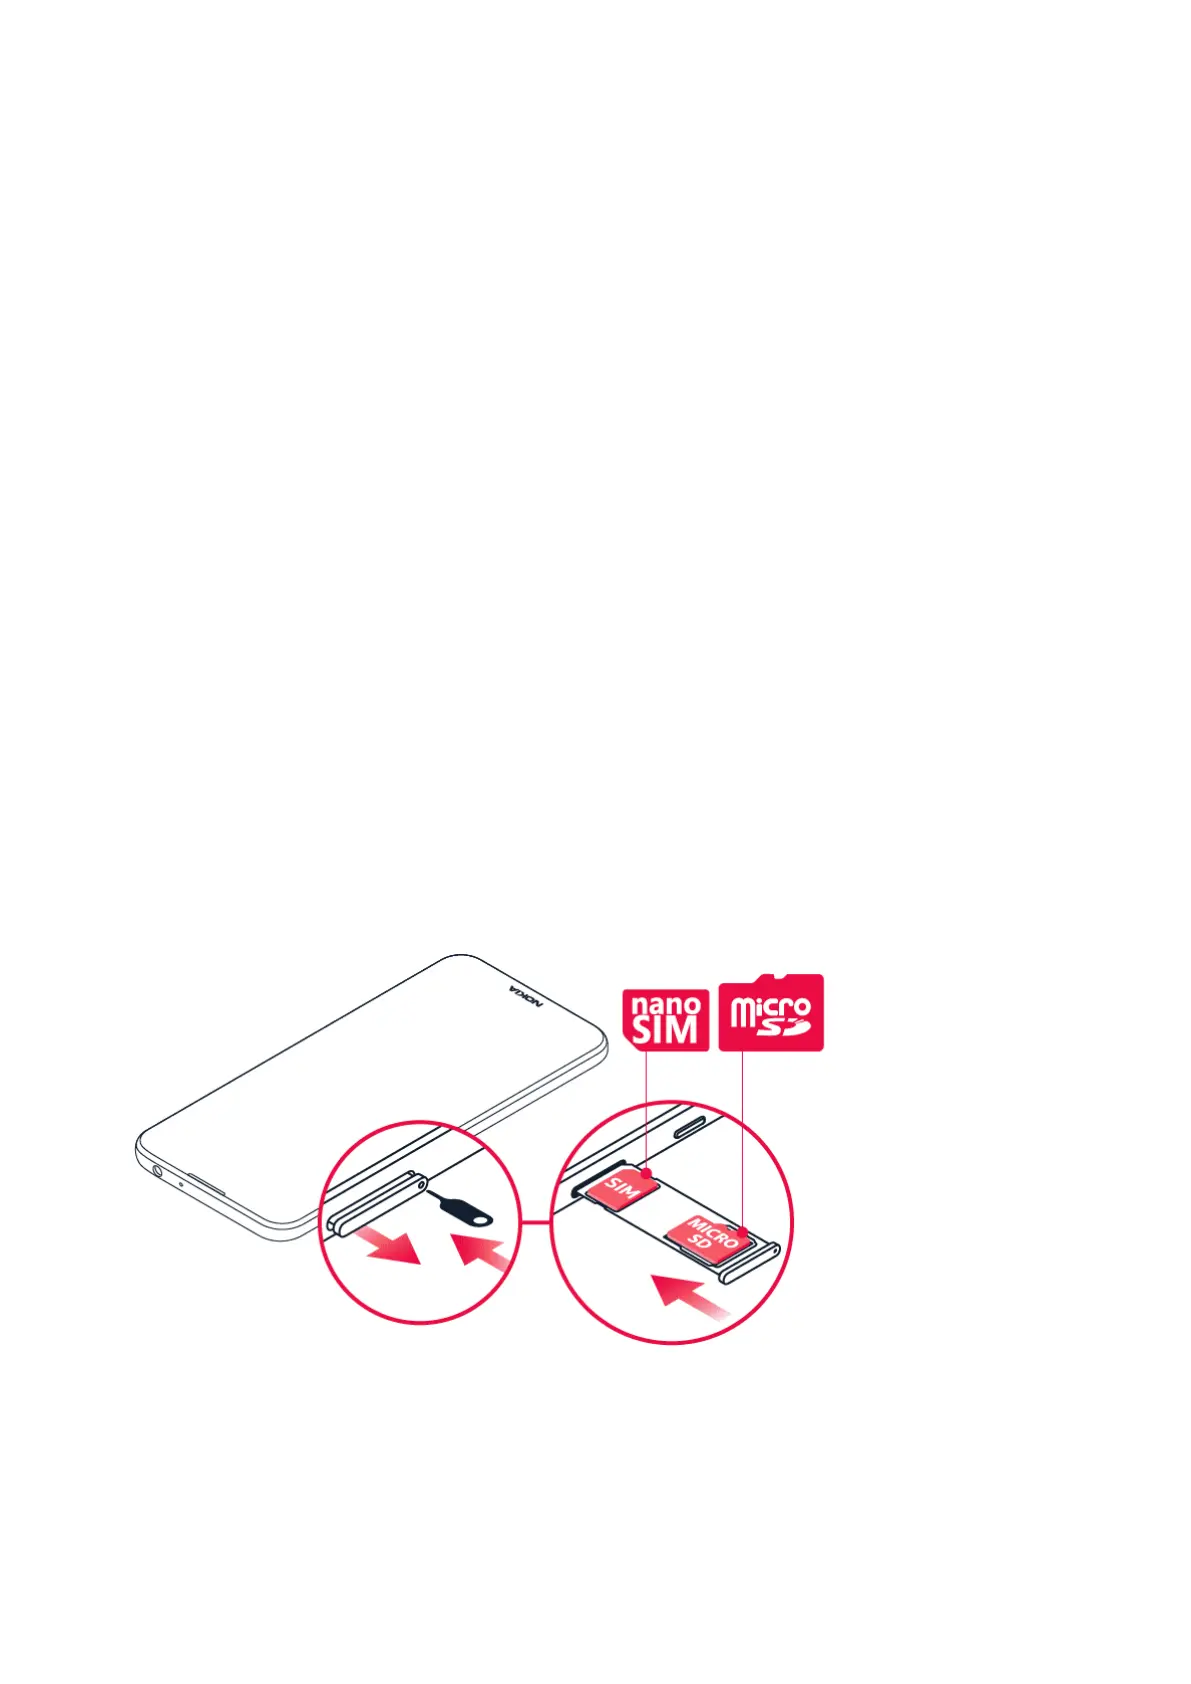
INSERT THE SIM AND MEMORY CARDS
Insert the SIM card
1. Open the SIM card tray: push the tray opener pin in the tray hole and slide the tray out.
2. Put the nano-SIM in the SIM slot on the tray with the contact area face down.
3. If you have a memory card, put it in the memory card slot.
© 2023 HMD Global Oy. Të gjitha të drejtat të rezervuara. 7