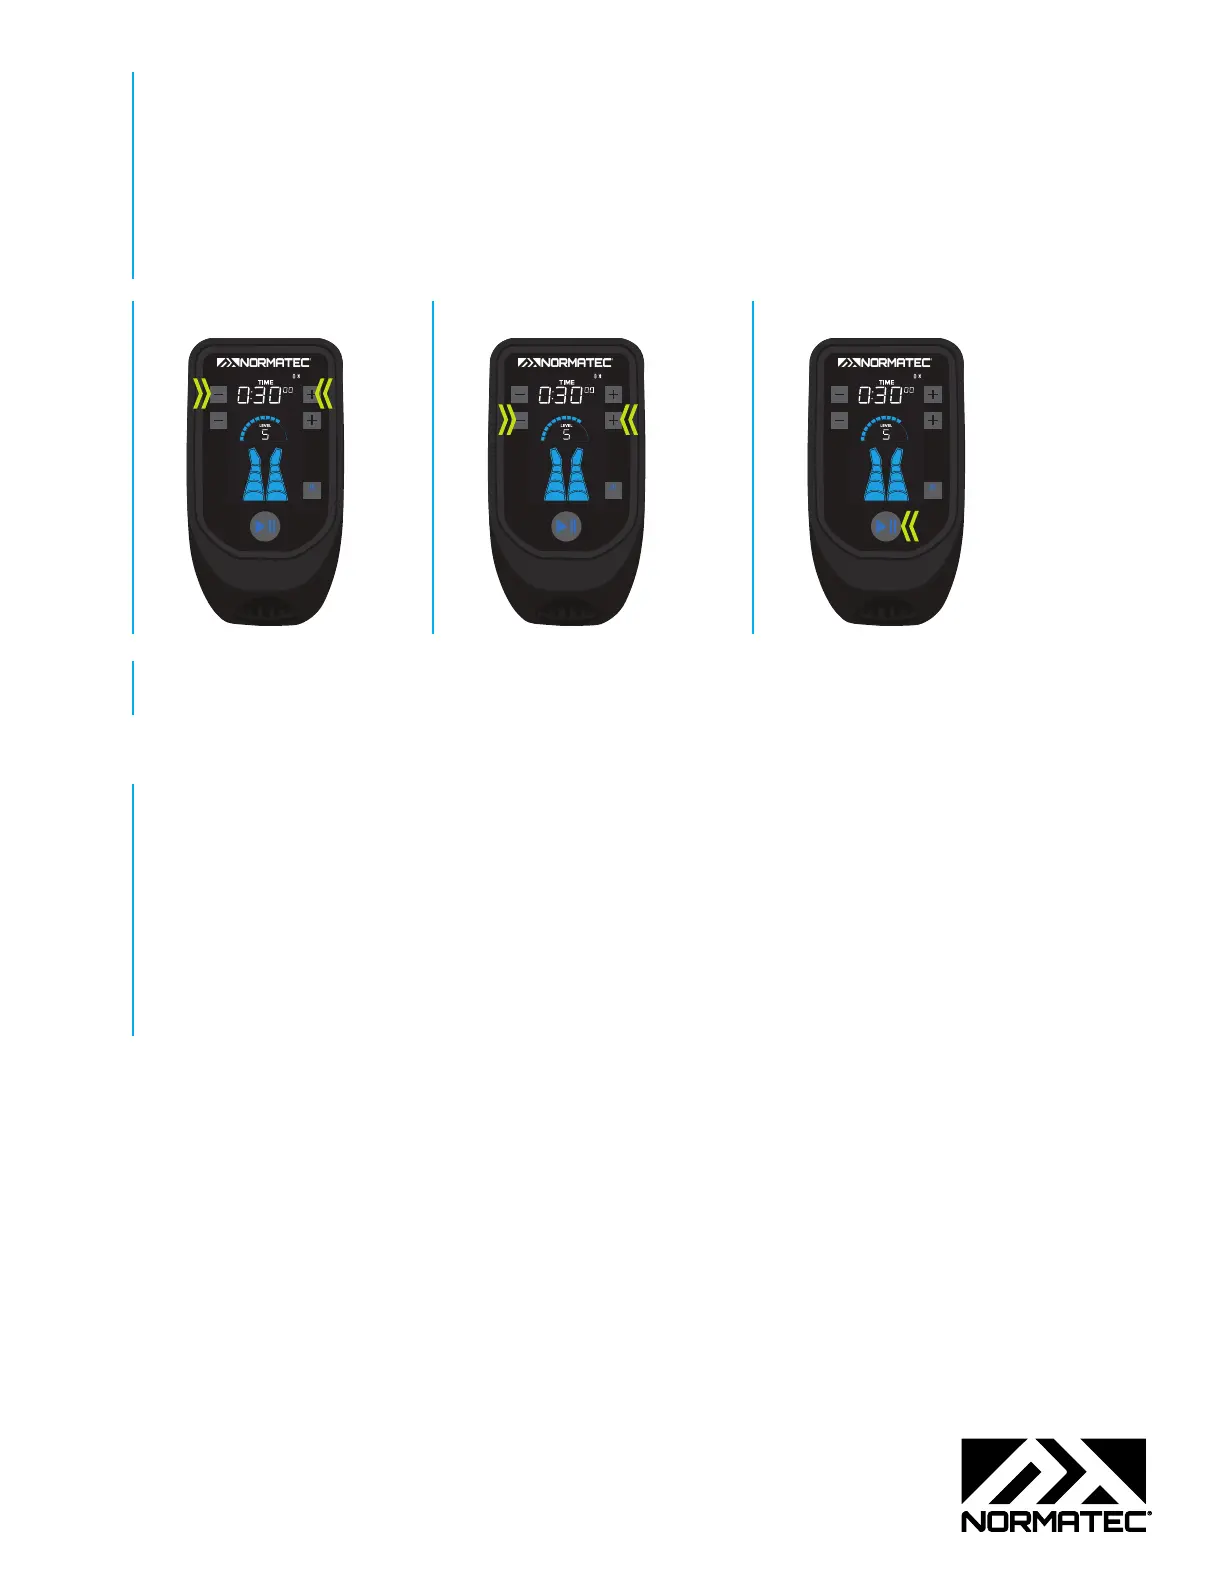
STEP 6 Adjust the number of zones, if necessary. (Such as if using a short let attachment, a let attachment that is too long, or the hip attachment.)
— To enter zone edit mode, set power level to 1 and then hold the ‘-’ button to the left of the power level on the PULSE 2.0 device down for four
seconds (until the top enabled zone of the boots begins blinking).
— When in zone edit mode, the top enabled zone on the screen’s boot graphic will blink. Use the ‘+’ and ‘-‘ buttons on the PULSE 2.0 device to
increase or decrease the number of enabled zones. At least one zone must be enabled.
— To save and exit zone edit mode, press the play/pause button on the PULSE 2.0 device.
STEP 7 Set the session time. STEP 8 Set the intensity level. STEP 9 Press the play/pause button to begin the session.
ZONE
BOOST
ZONE
BOOST
ZONE
BOOST
STEP 10 The session will begin by custom molding attachment(s) to the body using the lightest pressure setting to calibrate each zone. The custom mold
phase takes about 90 seconds.
THE NORMATEC MOBILE APP
Use the NormaTec Mobile App to control the device, save and favorite custom settings, and track and share session data.
To pair your smartphone with the PULSE PRO 2.0:
STEP 1 Download the NormaTec Mobile App to your smartphone.
STEP 2 Check your PULSE PRO 2.0 device’s screen for the Bluetooth icon in the upper right. If it is not visible, press the Bluetooth button on the top of
the device.
STEP 3 Open the NormaTec Mobile App. Register or login to the app, and then press the Bluetooth button on the top of the device to initiate pairing.
STEP 4 Enter the three-digit code that appears in the device’s time readout into the NormaTec Mobile App to finalize pairing.
Page 3 of 3

 Loading...