7
English
Fig. 3
Fig. 4
Fig. 5
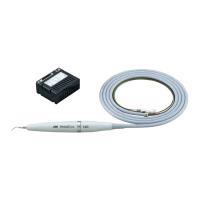
3-4 Handpiece Holder
The handpiece holder attached to the Control Unit keeps the handpiece in place when it is not in use. To mount the
Handpiece Holder on a vertical surface follow the procedures below.
1) Make a 3 mm hole in the Double-Face tape behind the screw hole in handpiece holder. (Fig. 3)
2) On the vertical surface make a 3.2~3.5 mm hole in the plate where the holder will be mounted. Align the hole with
the screw hole on the holder. Make certain the surface is clean then adhere the holder to the plate, and attach. Insert
the Set Screw through the two holes on the holder and the plate. Fasten the Set Screw with the Nut from the rear of
the plate. (Fig. 4)
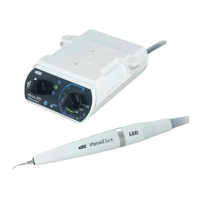
3-5 Handpiece Cord Holder and Control Unit Holder
The Control Unit can be attached to the chair unit using
the control unit holder.
1) Make two 3.2~3.5mm holes in the mounting
surface. Insert the set screw in the hole from the
holder side and secure it with the nut.
2) Align the chaser and Slide the Control Unit into the
Control Unit Holder.
3) Tuck the Handpiece Cord into Handpiece Cord
Holder.
CAUTION
•
Do not pull or bend the handpiece cord forcibly as it might cause damage to the handpiece,
and result in improper water flow.
•
You can mount Control Unit Holder on a top surface or bottom surface.
Handpiece Holder
Screw hole
Double-Face Tape
Make a hole after a screw hole
(about 3.0mm in diameter)
Handpiece Holder
Set Screw
Nut
Drill a hole
(3.2~3.5mm in diameter)
Handpiece
Cord Holder
Chaser
Control Unit
Holder
Chaser
Handpiece
Cord
Drill a hole
(3.2~3.5mm in diameter)
Set Screw
Nut
 Loading...