NIBBLE 0x3 Assembly Instructions Rev03 10.22.20
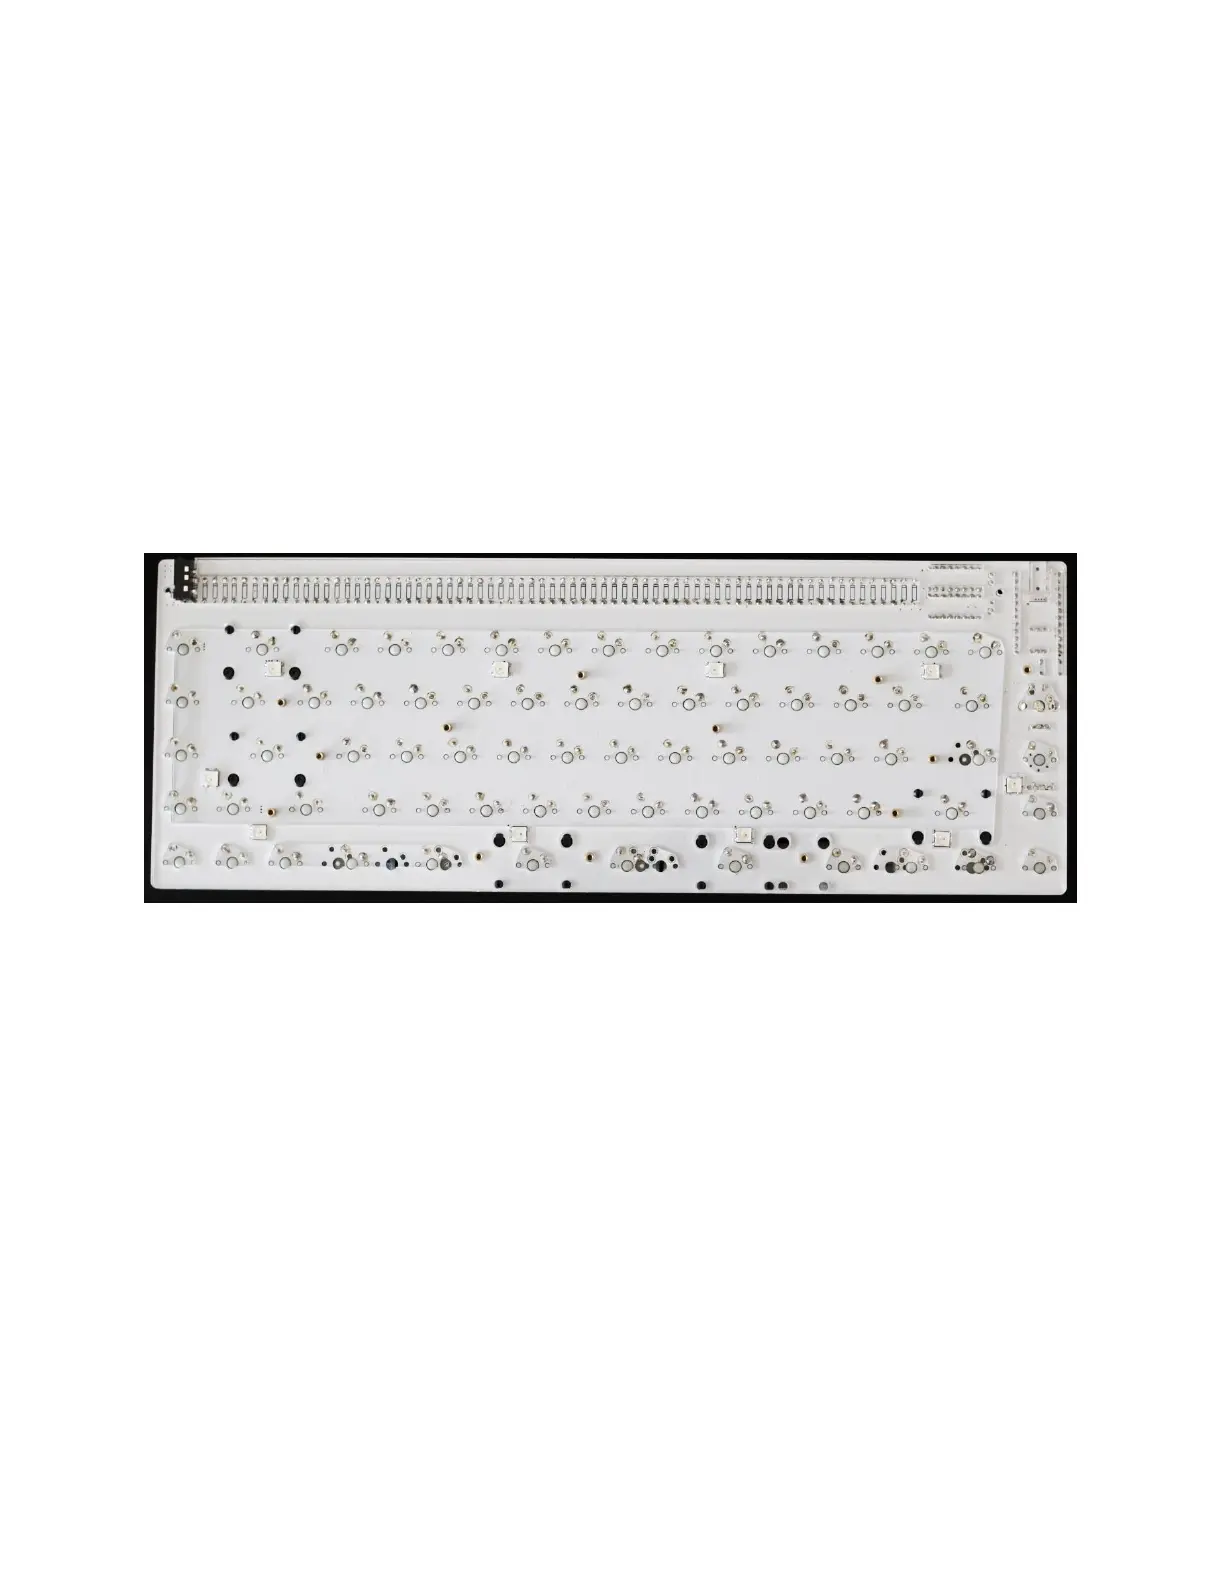
2.15 SOLDER SWITCHES OR HOT-SWAP SOCKETS
Stop! If you are building with a switch plate, make sure that you have installed and
tightened the mounting hardware (Step 2.11) and installed the stabilizers (Step 2.12) before
continuing! Once the switches are installed on the plate, access to the items below is difficult.
Make sure each switch pin has enough solder to form a nice solid joint.
2.16 SLIDE THE ACRYLIC SPACER ONTO THE STANDOFFS
Make sure the acrylic spacer sits flat against the PCB plate. Check for interreferences due to
leads or solder joints. Trim if needed.