NIBBLE 0x3 Assembly Instructions Rev03 10.22.20
2.13 [OPTIONAL] INSERT HOT-SWAP SOCKETS
If building with hotswap sockets, drop one into each plated lead hole. Alternatively, insert them
onto each lead of the PCB mount switch before proceeding.
2.14 SNAP IN SWITCHES
Stop! Test fit your keycaps to make sure that the switch spacings are correct before
soldering, especially the bottom row.
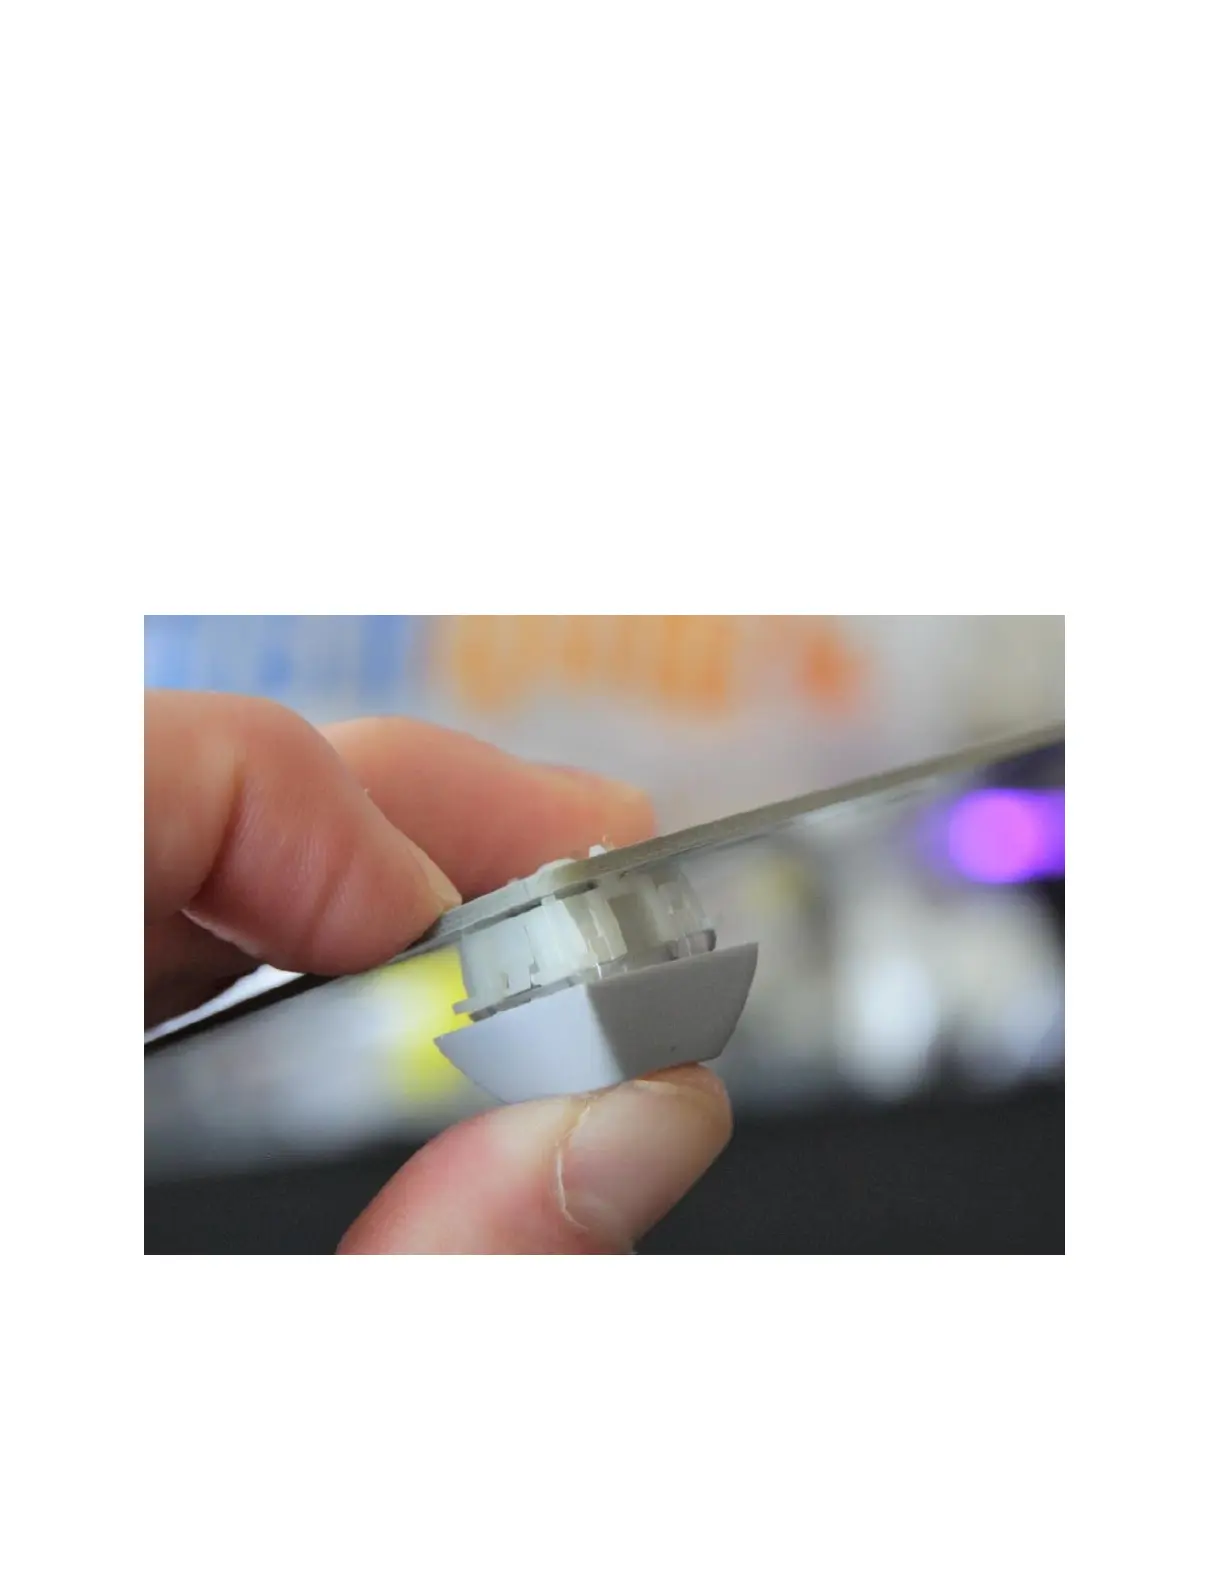
If you are using 5-pin PCB mount switches, they may take some force to insert. This is by
design. For PCB mount switches, a tight fit makes the switches more stable. Snap in by
supporting the back of the PCB, and then pushing hard on the top of the switch. It helps to use a
spare keycap on the switch to take some of the pressure off your thumb. After snapping the
switch in, make sure it’s sitting flush against the PCB.