41
MAC
Sarà necessario configurar Traktor 2 in modo da ottenere un'anteprima dell'audio.
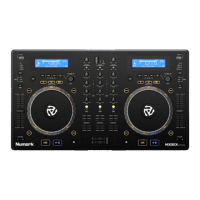
1. Collegare il MIXDECK EXPRESS.
2. Su ogni deck, premere SOURCE a selezionare "MIDI-PC" e premere la manopola TRACK.
3. Aprire il Traktor 2. Nella finestra che compare, cliccare sul tasto "Activate" (attiva) per registrare il
software. Verrà lanciato il centro servizi Native Instruments. (Per accedere al centro servizi e registrare
il software bisogna essere collegati a Internet.)
4. Nella finestra di login del centro servizi, fare clic su "Create new User Account" (crea nuovo account
utente) (se non se ne possiede ancora uno) e seguire le istruzioni che compaiono su schermo per
completare la registrazione. (Per farlo, occorrerà il numero di serie presente sulla custodia del DVD in
dotazione.)
5. Dopo aver registrato il software e averlo aperto, cliccare sull'icona "cog" o recarsi su Traktor
Preferences. Compare la finestra "Preferences" (preferiti) del Traktor 2.
6. Sotto la scheda Audio Setup, in Device (dispositivo), selezionare "MixDeck Express".
7. Selezionare la scheda Output Routing. Per "Output Monitor", selezionare i canali 3 e 4. Come
"Output Master" (uscita master), selezionare i canali 1 e 2. (Assicurarsi che la Mixing Mode (modalità
di mixaggio) sia su "Internal" (interna).)
8. Chiudere la finestra Preferiti (Preferences). Siete ora pronti a esibirvi.
Nota bene:
se si sperimenta un'eccessiva latenza (lag dal momento in cui si suonano le corde a quello in cui
si sente il suono del computer), si può ridurre la dimensione del buffer a 256 o 128 campioni. Se si
sperimentano "tagli", scoppiettii o errori di riproduzione, aumentare la dimensione del buffer a 512 o più. Per
cambiare la dimensione del buffer, aprire la finestra Preferences del Traktor 2 e cliccare sulla scheda Audio
Setup (configurazione audio). Regolare il cursore "Audio Latency" (latenza audio), cliccando su di esso. La
latenza (in ms) compare di fianco al cursore.
Nota bene:
per ulteriore assistenza e maggiori informazioni, consultare il manuale del Traktor 2 recandosi
nel menu "Help" del software, selezionando "Open Manual" (apri manuale), e quindi selezionando il manuale
desiderato.
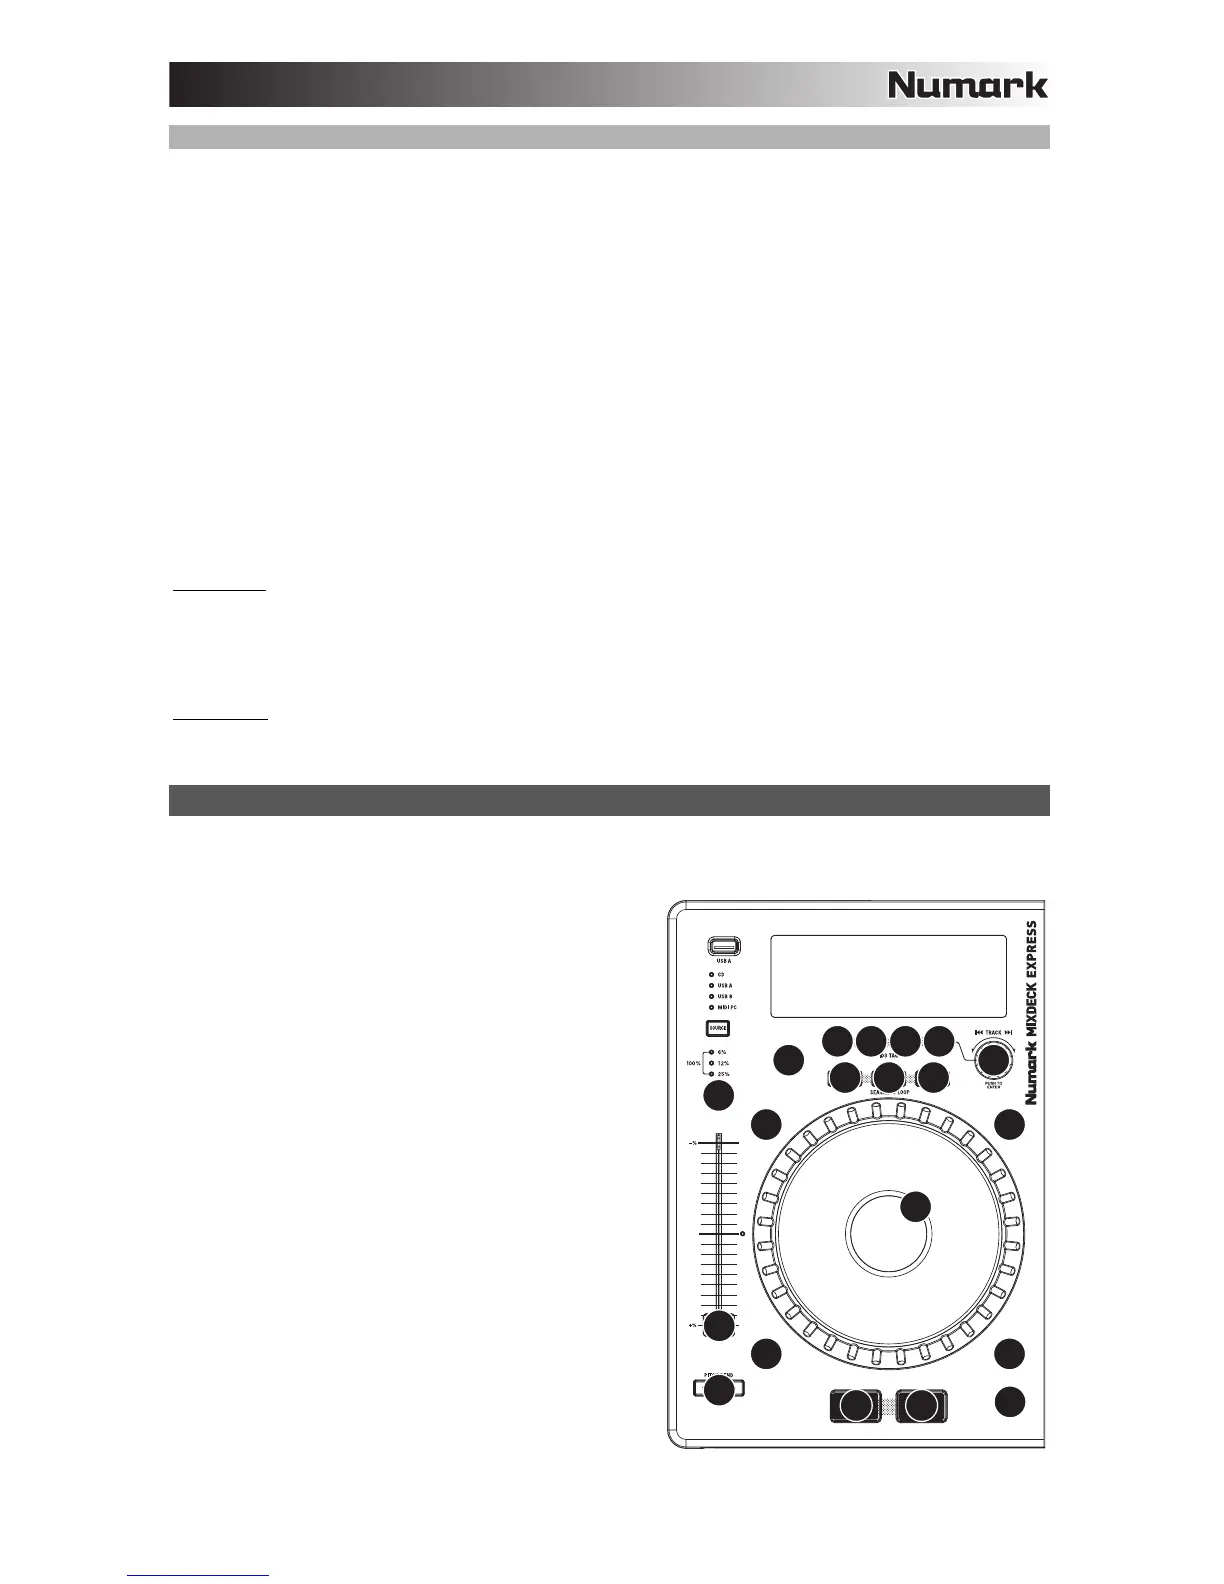
MAPPA DEL TRAKTOR 2
Se già si possiede il software Traktor 2 di Native Instruments, fare riferimento a questa mappa dei comandi
per vedere quali funzioni del software stesso possono essere controllate dal MIXDECK EXPRESS. (Nota
bene: i comandi del mixer non dispongono di alcuna
funzione MIDI.)
1. Unload/Clear Deck (scarica / cancella deck)
2. Play / Pausa
3. Cue
4. Modalità scratch
5. Modalità di ricerca (search)
6. Reverse (inverso)
7. Freno
8. Rotella jog wheel
9. Fader del pitch
10. Bend del pitch
11. Gamma del pitch
12. Tap (BPM)
13. Deck Select (scegli deck)
14. Modalità (Loop)
15. Display tempo
16. Browser indietro
17. Loop In
18. Loop Out
19. Reloop
20. Track Select (scegli traccia)(premere per inserire)
1
20
16
23
8
4
5
6
7
12
9
10
17
13 14 15
18 19
11