Page 3 of 10
Do not insert [use] anything other than NuTone Haven [Bottle Name] [Repellent Bottle] [Repellent Cartridge] [Repellent
Refill] in [to] the Fixture [Product Name] [Device] [Unit].
Operating Instructions: [Please refer to detailed instructions provided with the (PRODUCT NAME)]
Use [transformer] [optional controller] photo sensor, [timer] or [switch] to operate [to turn on] Vaporizer [mosquito repellent]
[repellent] [mosquito protection] [system] [device] [Repellent] [Emanator].
Use [transformer] [optional controller] photo sensor, [timer] or [switch] to operate [to turn on] Light [Light Fixture] [Lamp] [LED].
Use with transformer and controller provide [available separately].
Installation Instructions: [Please refer to detailed instructions provided with the (PRODUCT NAME)]
[Turn off electricity at main circuit breaker panel before beginning installation.] Consult local building codes to ensure
compliance with wiring and grounding requirements.
1. Attach each Fixture [Device] [Unit] to post or stem, using hardware provided making sure Fixture [Device] [Unit] is
level.
2. Connect Vaporizer [Liquid] [Repellent] [Emanator] and Light {Light Fixture] [Lamp} [LED] wires to controlled 12v
power source, [or use (PRODUCT NAME) Controller and Transformer].
3. Place [Install] one NuTone Haven [PRODUCT NAME] [Fixture] [Device] [Unit] every 3.6m.
If you have any questions about wiring, get assistance from a professional electrical contractor.
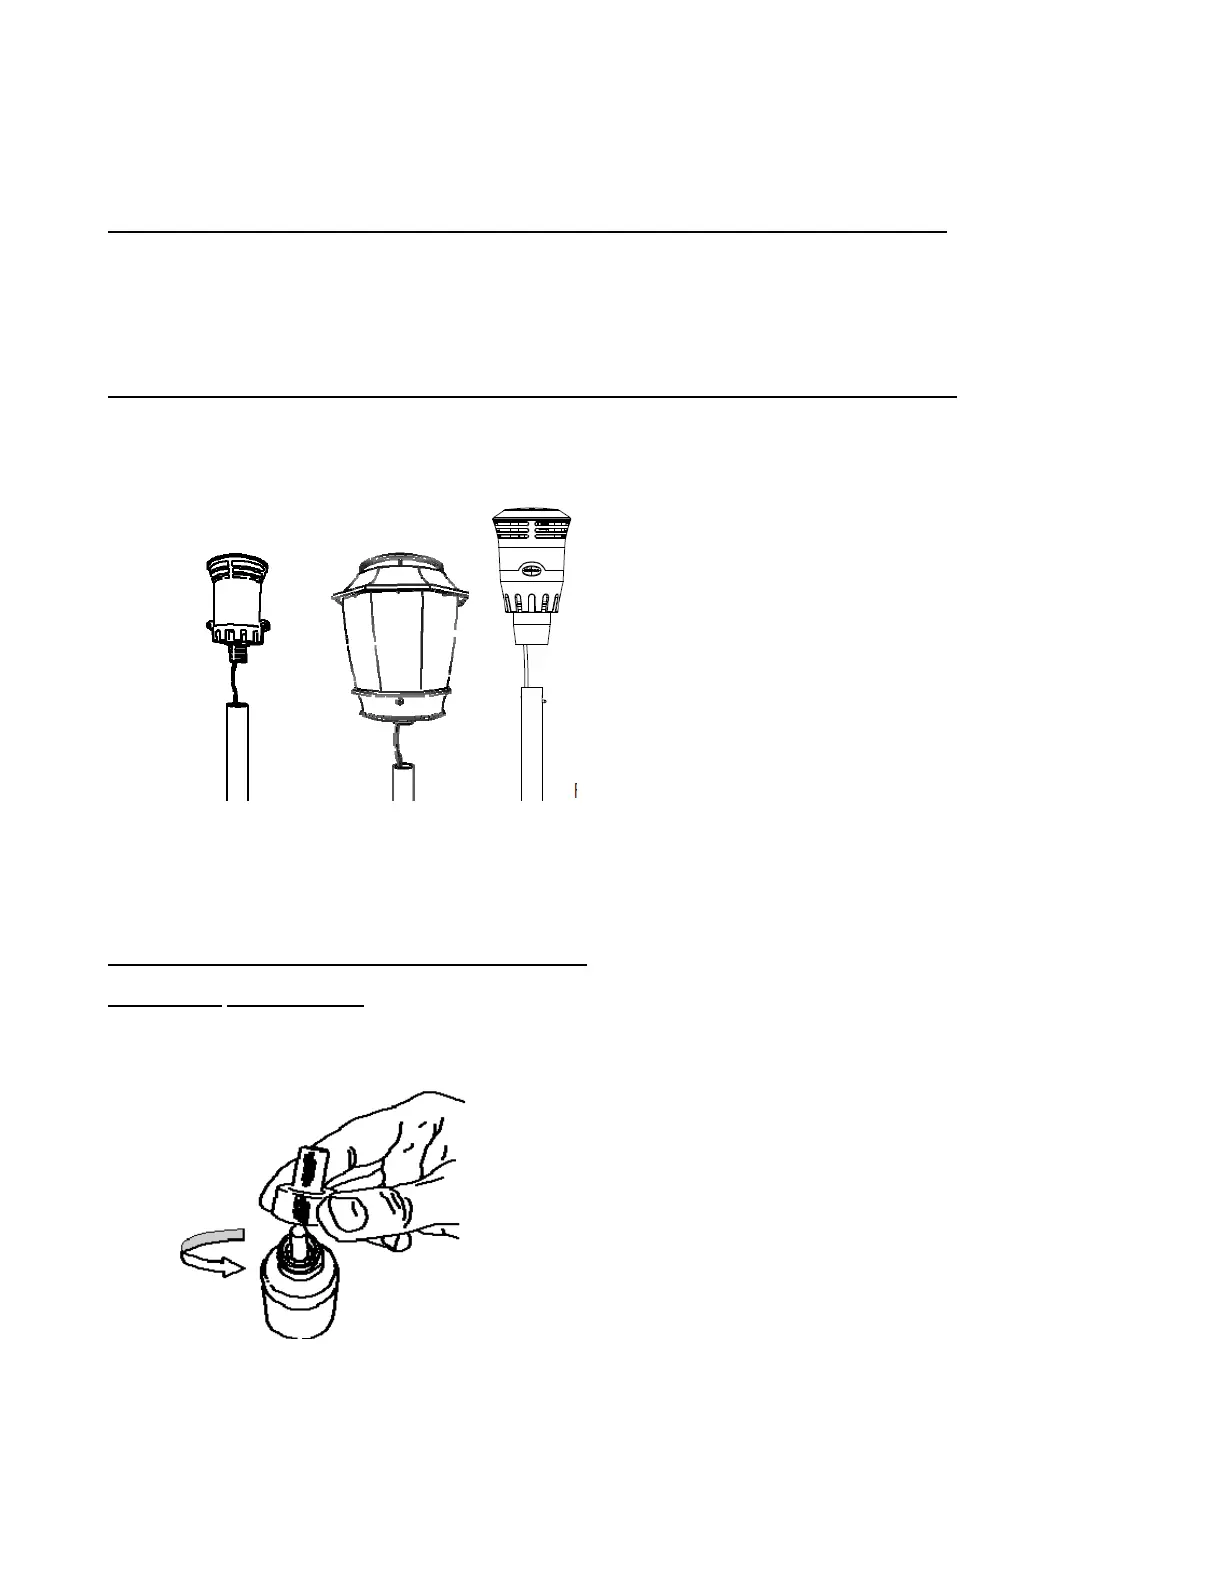
When using for the first time [For first time] [Initial] Use:
How to insert NuTone Haven [Bottle Name] [Repellent Bottle] [Repellent Cartridge] [Repellent Refill] into Fixture
[Device] [Unit].
1. Remove 1[one] NuTone Haven [Bottle Name] [Repellent Bottle] [Repellent Cartridge] [Repellent Refill] from
packaging.
2. Place on a flat surface and remove protective cap.
3. Attach locking adaptor cap to bottle with spurs at bottom, closest to bottom of bottle, and turn until secure. Once
attached properly, this cap is not removable. Only applicable to certain models.
 Loading...