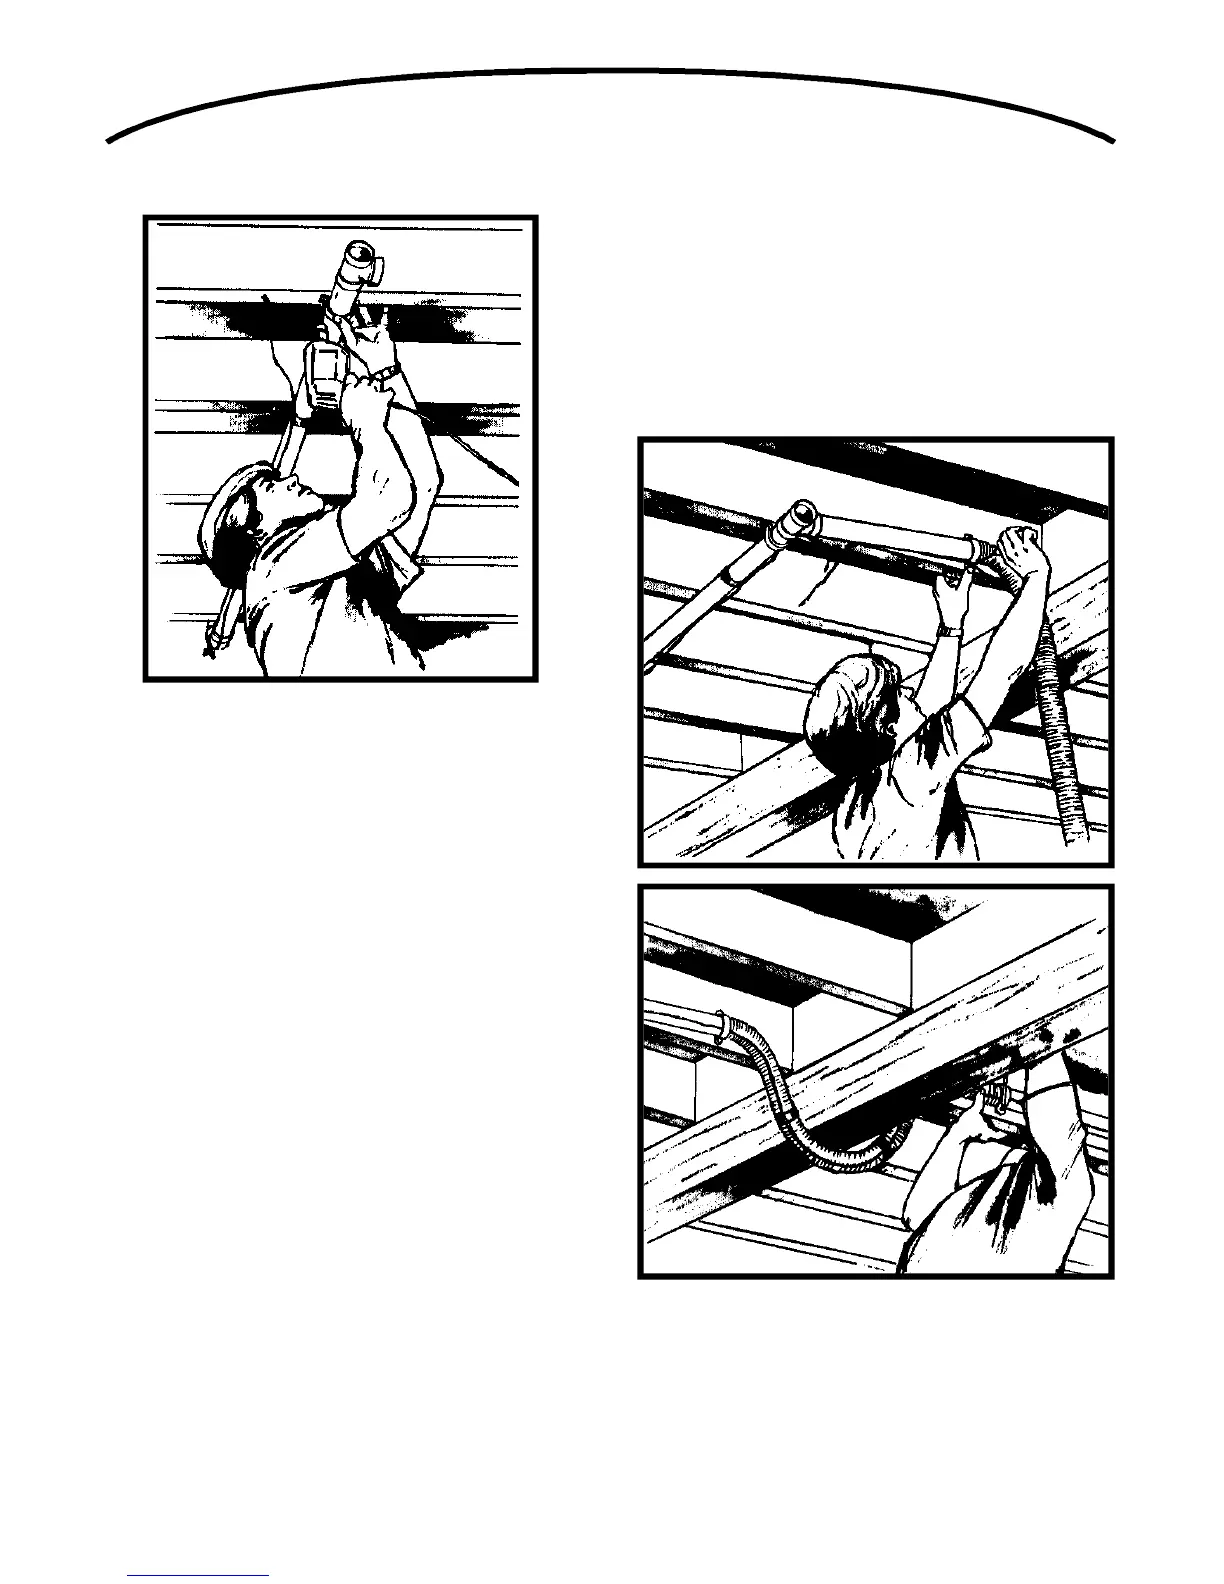
Attach the tubing to the joists or ceiling with either
perforated metal or support strapping (support
strapping is available from NuTone).
Make all branch line connections in the same way you
would an attic installation. Make sure that all branch lines
enter the trunk line at an angle that is at least level w i t h
the trunk line. Make sure all the fittings are oriented so the
air flows toward the power unit. Complete the trunk line
to the power unit location.
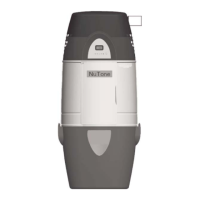
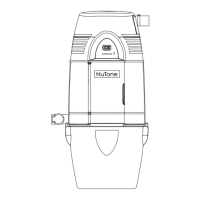
Using Flexible Tubing
The supplied 36˝ length of flexible tubing may be used to
circumvent an obstacle or to make a difficult turn. In the
example illustrated here, the flexible tubing is used in
order to run a branch line under a support beam. Attach
this tubing to the PVC tubing, cementing only the outside
of the PVC tubing as you would for a hard-fitting con-
nection. Whenever you use the flexible tubing, you must
secure both ends of it with support strapping.
30