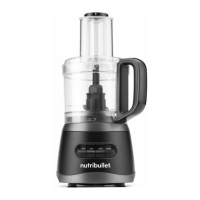
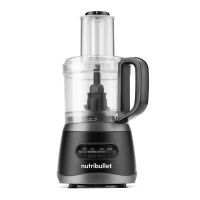
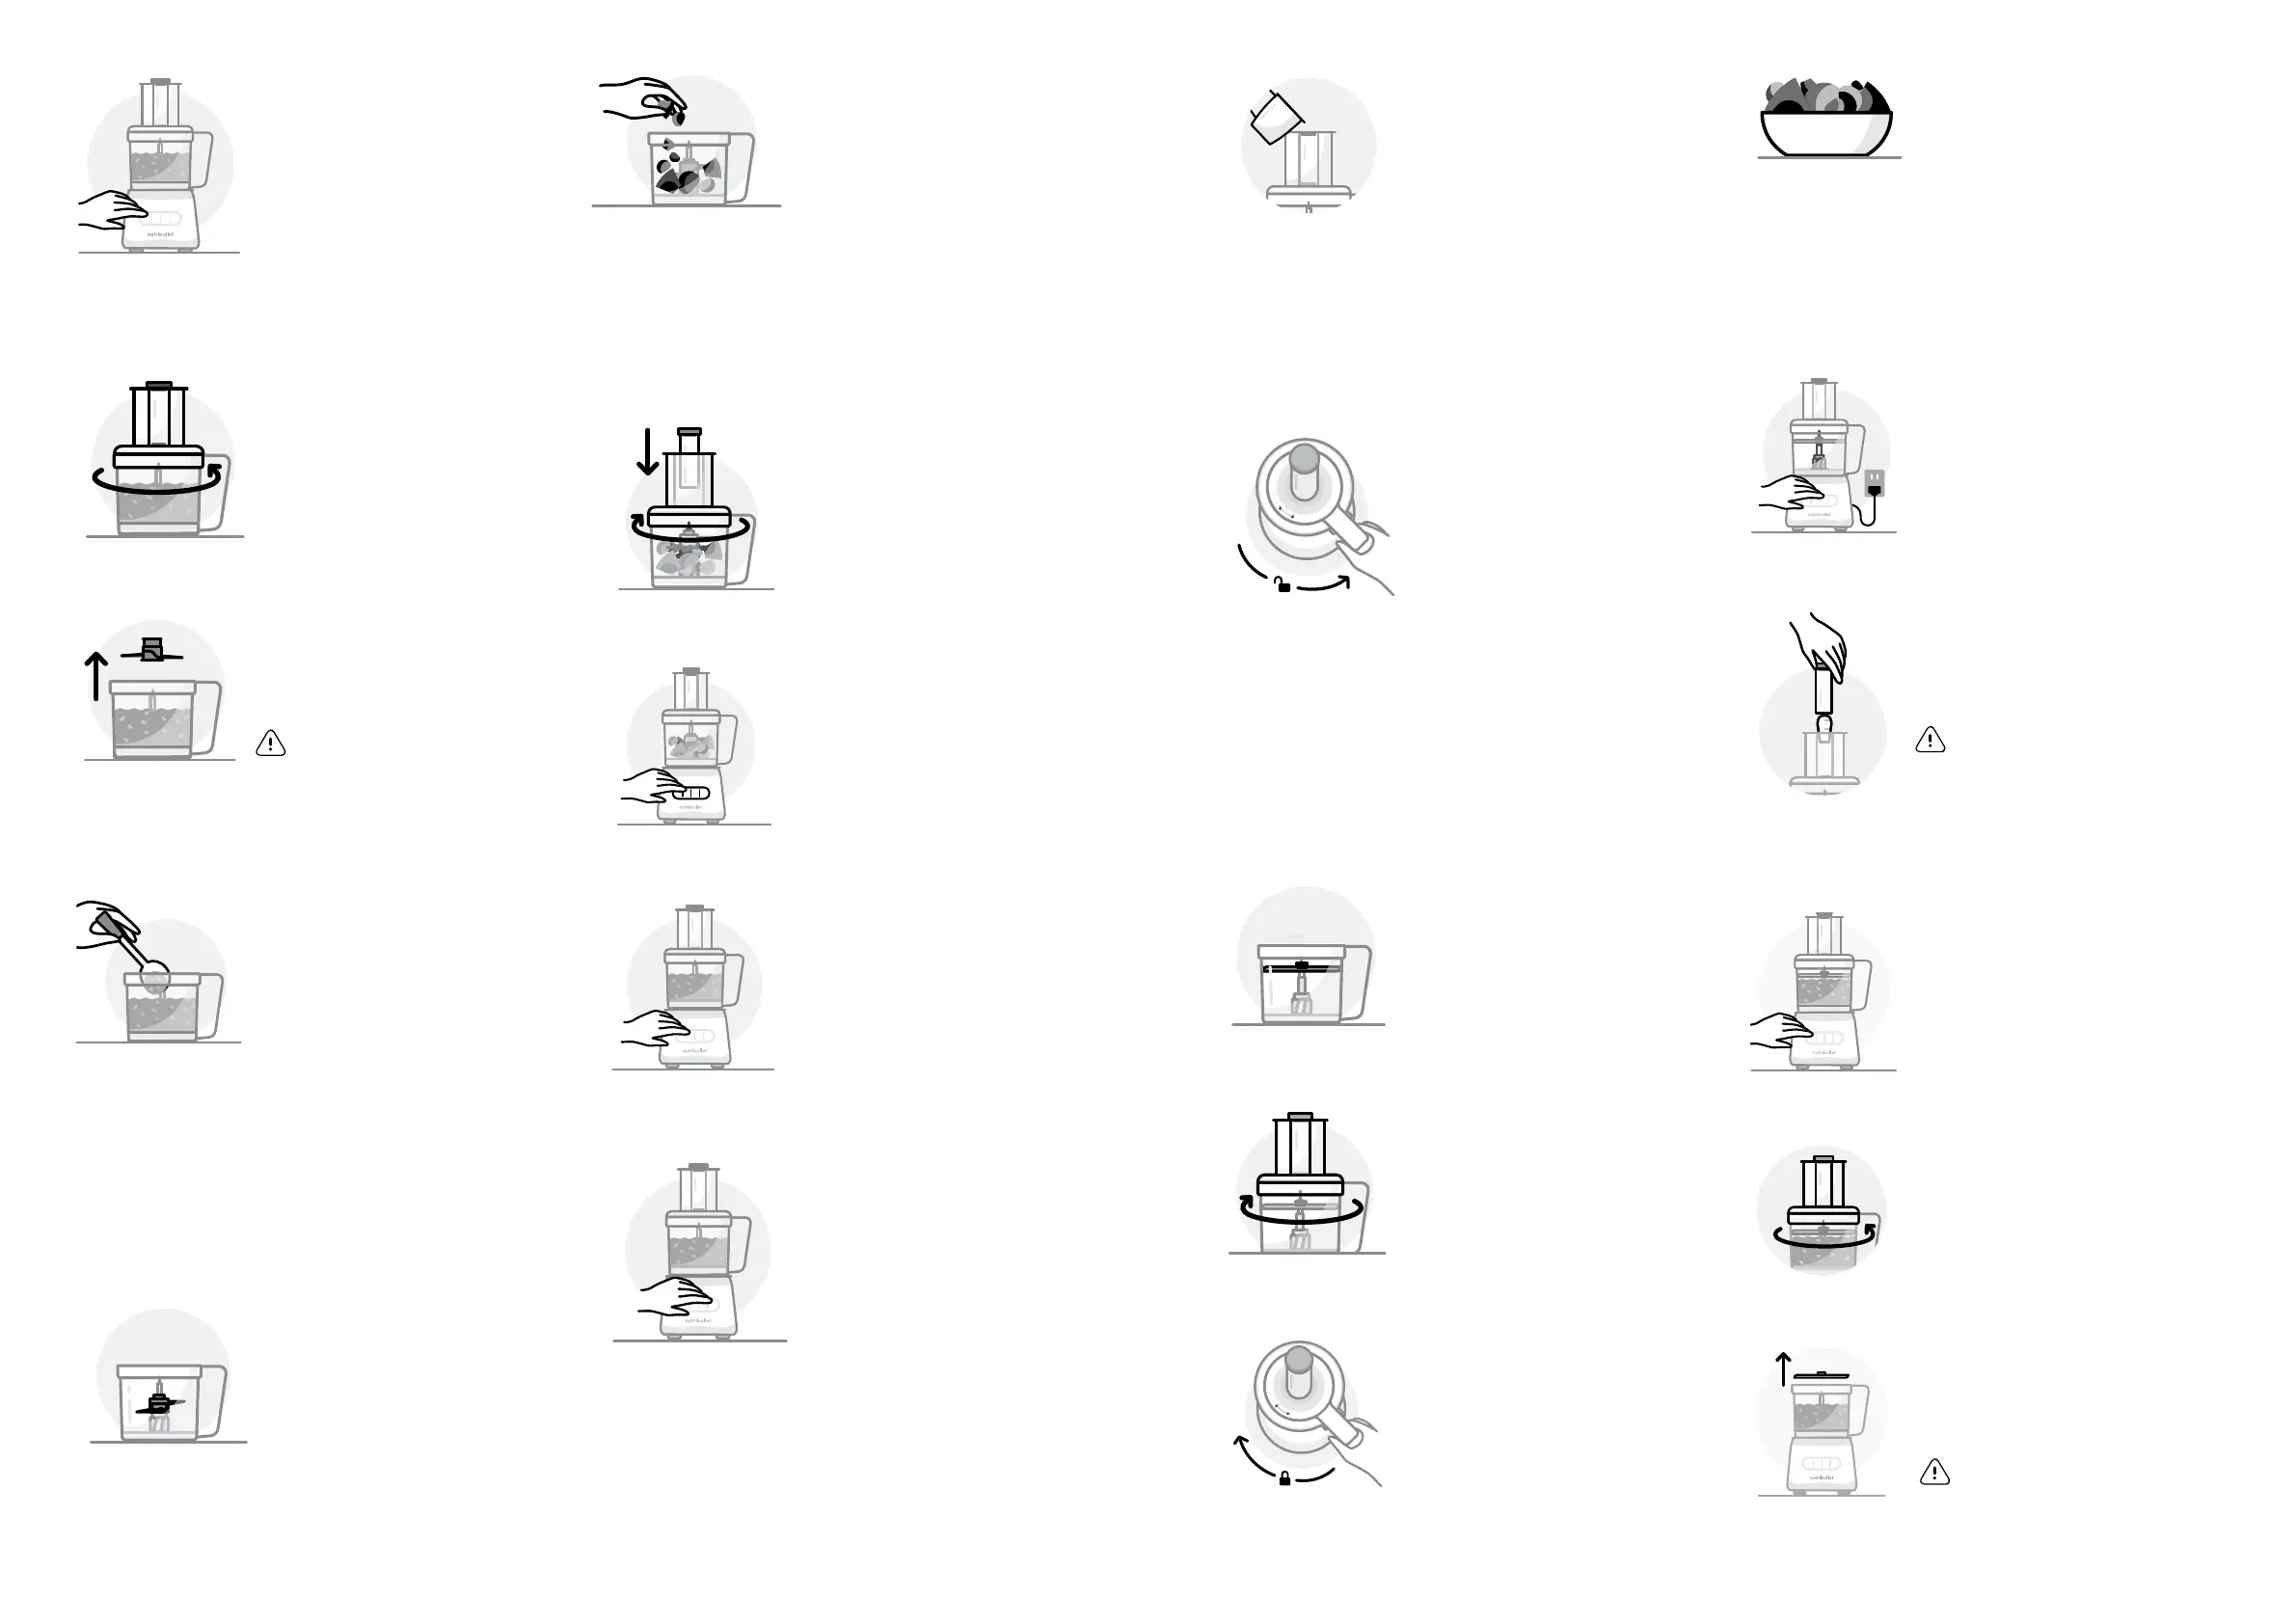
6 Refer to the instructions
on page 15 for removing
the Work Bowl from the
Motor Base once dough
has reached your desired
consistency and you are
done mixing.
5 If you need to add liquid
while processing, unlock
the Inner Pusher by turning
the Pusher Cap clockwise.
Once unlocked, lift the Inner
Pusher and drizzle liquid
(like ice water) through the
narrow chute. Process just
long enough to bring dough
together in a loose ball.
NOTE: Do not fill liquid
ingredients past the LIQUID MAX
line.
1 Place the Work Bowl, with
disc attached, on a clean,
dry, flat surface like a
countertop. Refer to the
assembly instructions on
page 12 for how to properly
attach a disc for use.
2 Place the Work Bowl Lid on
top of the Work Bowl. Turn
the lid clockwise, lining up the
arrows on the lid and handle,
to lock into place.
NOTE: The motor will not run
unless the lid is locked in place.
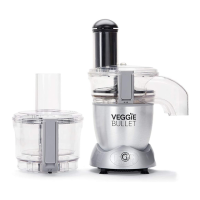
Using a disc attachment.
The disc attachments are for slicing, shredding, or
spiralizing your ingredients. The Slice/Shred Discs
are reversible and labeled on either side. Place the
side you want to use with its name facing up.
4 Prepare food (cut into
smaller pieces, remove seeds,
etc.) and set aside.
3 Place the Work Bowl, with
lid attached, onto the Motor
Base. Turn the Work Bowl
clockwise to lock in place.
You should hear a click when
the bowl is properly locked in
place.
NOTE: When using the Spiralizer
Disc, cut the produce into
pieces that will easily fit in the
chute. We recommend to cut
foods vertically along the sides
creating a 'square' shape for best
spiralizing results.
6 With the motor running, place
food into the Feed Chute,
carefully guiding it down
using the Food Pusher.
7 When you’re done, or when
your processed ingredients
have filled the work bowl,
press the OFF button. Wait
until the blade has come to a
complete stop.
8 Remove the Work Bowl
Lid from the Work Bowl
by turning the lid
counterclockwise to unlock.
Carefully remove the lid and
set it aside.
5 Plug in the unit and press the
HIGH speed button.
HIGH PULSEOFF LOW
OFF LOW HIGH PULSE
WARNING: always use the Food
Pusher, not fingers or utensils,
to push food down chute. Do
not insert too much food at one
time. Never force stuck food
down chute.
9 Carefully remove the Disc
Blade and Blade Adaptor
from the bowl and set
them aside.
OFF LOW HIGH PULSE
CAUTION: Blades are sharp! Handle
carefully. Keep fingers away from
the blades sharp edges. Always hold
blades by grasping the plastic areas.
6 When you’re done, press the
OFF button. Wait until the
Chopping Blade has come
to a complete stop. Remove
the Work Bowl by turning
the handle counterclockwise
to unlock it from the Motor
Base. Lift the bowl up o
the base and set it on a flat
surface.
7 Remove the Work Bowl
Lid from the Work
Bowl by turning the lid
counterclockwise to unlock.
Carefully remove the lid and
set it aside.
OFF LOW HIGH PULSE
8 Carefully remove the
Chopping Blade and the
Blade Adaptor from the Work
Bowl and set them aside.
CAUTION: Blades are sharp!
Handle carefully. Keep fingers
away from the blade’s sharp
edges. Always hold blades by
grasping the plastic areas.
9 Remove your food from the
Work Bowl using a spatula
or spoon. Dispose of any
leftover food in the bowl,
then clean the bowl, blades,
and other parts to avoid food
residue buildup.
Using the dough blade.
The Dough Blade can be used for combining
ingredients to make dough for pie crusts, pizza,
bread, and more!
3 Refer to the instructions on
page 14 for attaching the
Work Bowl Lid and the Work
Bowl to the Motor Base.
4a After plugging in the unit,
press your desired speed to
start processing food. The
blue light will illuminate over
the speed that is currently
running.
OFF LOW HIGH PULSE
1 Place Work Bowl, with
Dough Blade attached,
on a clean, dry, flat surface
like a countertop. Refer to
the assembly instructions on
page 12 for how to properly
attach the
Dough Blade.
2 Prepare food, ensuring to
chop ingredients like butter
into small chunks, and place
into the Work Bowl. Do not
overload the bowl with
food. If you are using liquid
ingredients do not fill past
the LIQUID MAX line.
NOTE: Make sure the Dough
Blade has been attached to the
Work Bowl BEFORE adding food
to the bowl.
2 Prepare food (cut into smaller pieces, remove seeds, etc.)
4b LOW: Use LOW speed for
all dough making. Using
a lower speed will help
to avoid overworking the
dough which can lead to
a tough dough. If dough is
cold and not overly blended,
it will remain flaky.
OFF LOW HIGH PULSE
4c PULSE: Use PULSE to cut
butter into flour before
switching to LOW speed
for mixing and kneading
the dough.
NOTE: We do not recommend
using HIGH speed as it will over
work the dough, and the dough
will become tough.
OFF LOW HIGH PULSE
98
 Loading...