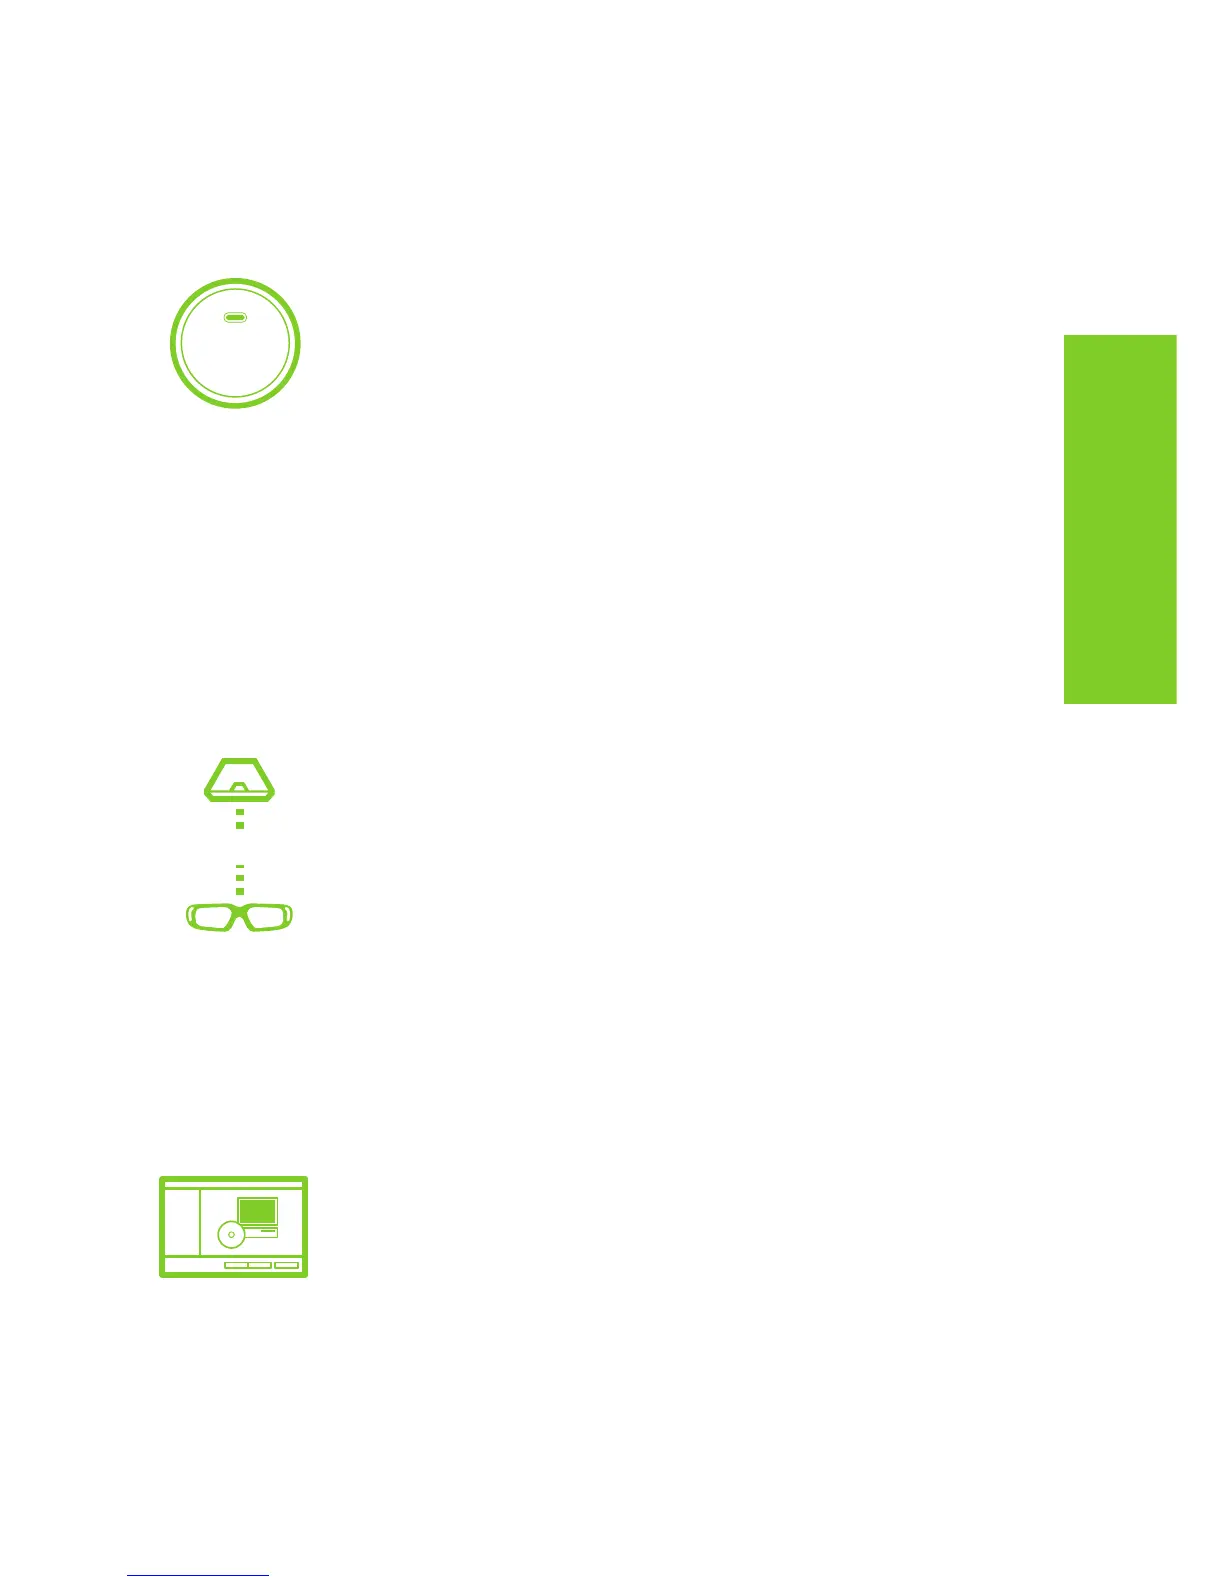
Place IR Emitter
in Line-of-Sight
to Glasses
Ensure there is direct line-of-sight
between the IR emitter and your GeForce
3D Vision glasses (a minimum of 1.5 feet
[45cm]). Any obstructions may cause the
glasses not to function properly causing
the lenses to flicker or turn off.
Do not place objects too close to, or in front
of, the emitter which could block the signal
(e.g. keyboard, coffee mug, etc.) Also,
make sure not to place your hand or other
objects in front of the IR receiver on the
glasses; located near the front left lens.
ON
Run the
Setup Wizard
To verify your hardware is operating
properly, right click on the desktop and
select the NVIDIA Control Panel option.
In the NVIDIA control panel, select
Stereoscopic 3D › Set Up Stereoscopic
3D. Select Run Setup Wizard from the
Test Stereoscopic 3D drop down menu.
1.5 FT
+
Ensure
Stereoscopic
3D is Enabled
Make sure you have:
Activated the IR emitter. Press the >
green ON/OFF button on the front
of the emitter. Emitter is on when
the button is bright green.
Activated the GeForce 3D Vision >
glasses. Press the ON button on top
of the left temple. The glasses turn
off after 10 minutes of non-activity.
Checked the > Enable stereoscopic 3D
setting in the NVIDIA Control Panel
› Set Up Stereoscopic 3D screen.
TIPS & TRICKS