【
】
・
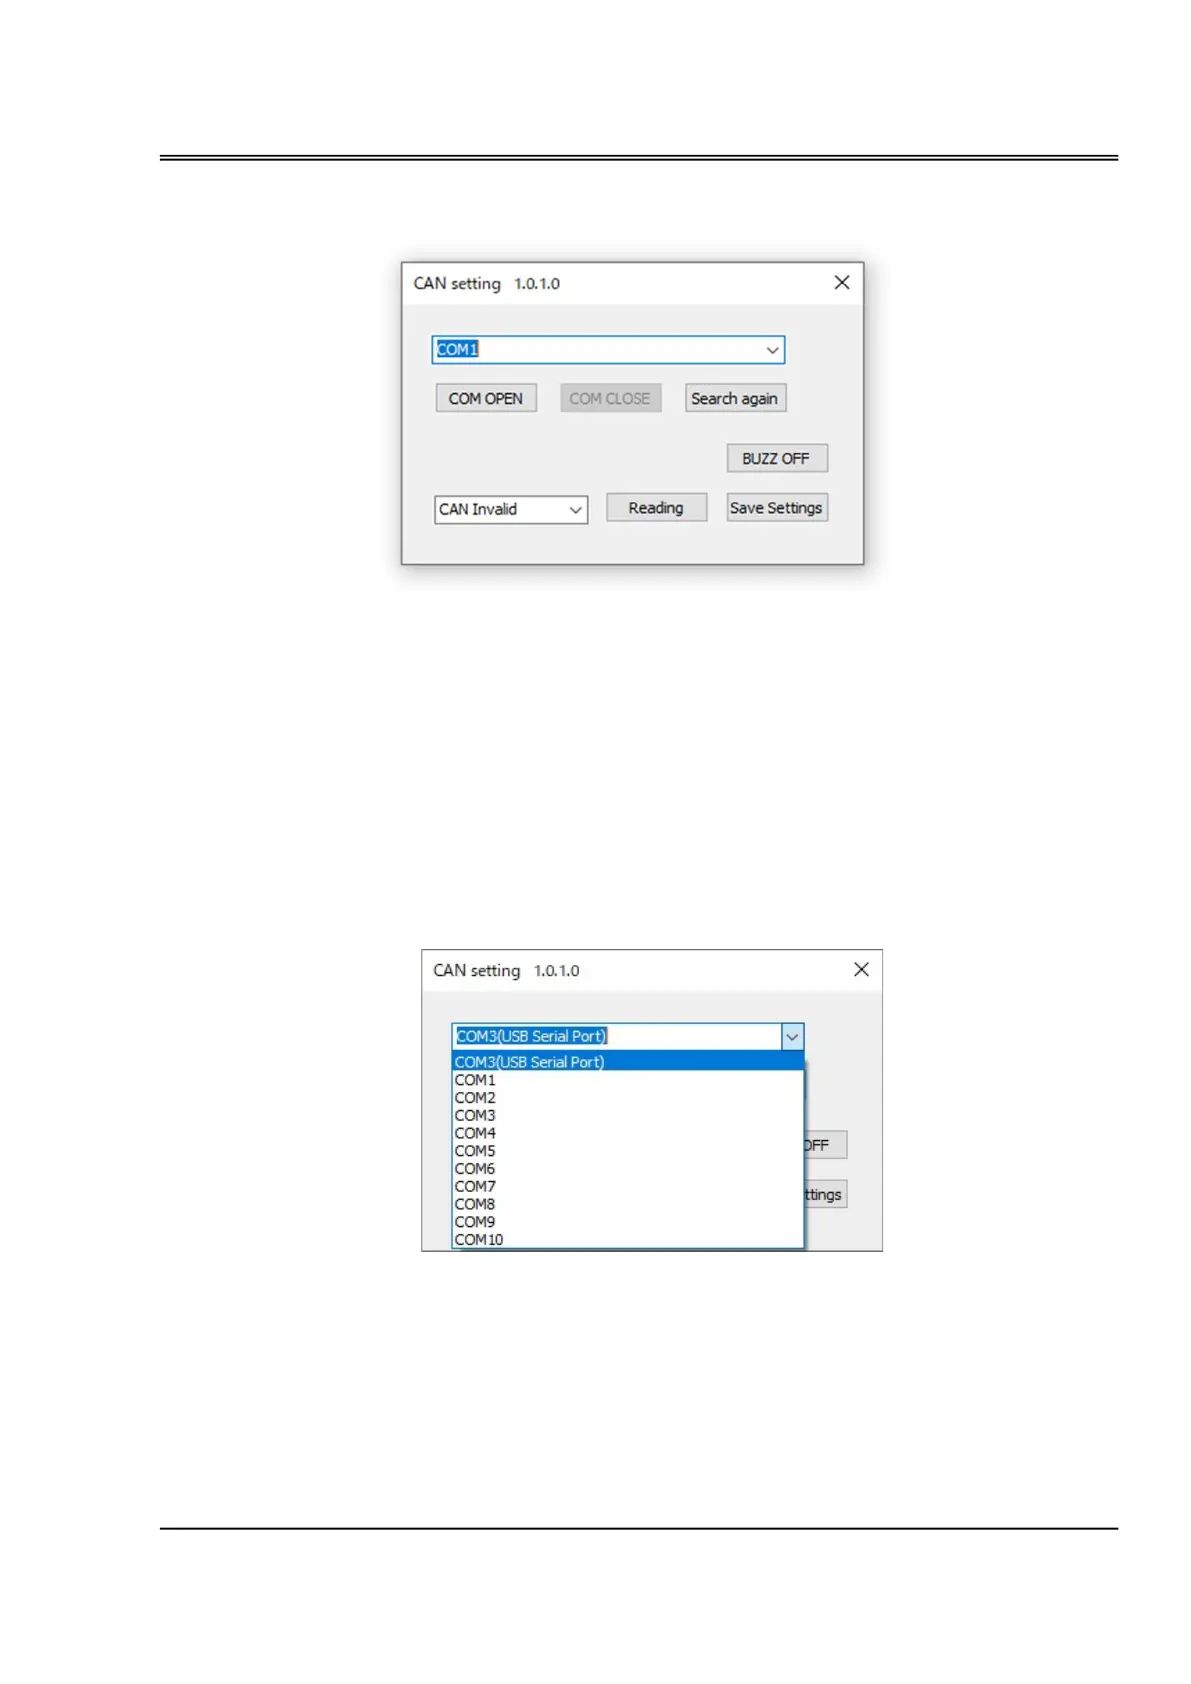
Execute the file {CAN setting_xxxx.exe} and open the following window.
【
】
Confirming COM port assignment
【
】
【
】
Select ‘CAN Invalid’ or a desired baud rate from the pull-down menu (
⑥
【
】
Click the [Save Settings](
⑧
【
】
Turn off the ECU and turn it on again to make the setting valid.
・Make sure which COM port is assigned to the ECU serial connection by Windows® device manager.
・In case the assigned COM port is other than COM1~COM10, reassign it to one of the port from COM1
to COM10. Refer to the instruction manual of the Windows® you are using how to assign a COM port.
・Select the confirmed COM port from the pull-down menu (① in the above picture). Click the [COM
OPEN] button (② in the above picture) and the connection is completed.
・In the pull-down menu of ①, you can see what kind of connection (“USB serial port” in this sample
below) next to port number (COM3 in this case). You can make a choice from the pull-down menu. In
case you cannot find a connection, click ④ [Search again]. But some kind of RS232CtoUSB conversion
device does not show a type of connection. In this case, set a port number using Windows® device
manager.
communication protocol
・‘125Kbps’, ‘250Kbps’, ‘500Kbps’, or ‘CAN Invalid’ can be chosen from the pull-down menu.
・After choosing a baud rate, CAN becomes valid and the ESC sends the data at intervals of around 100ms.
With this CAN system, the data cannot be resent in case of an error.
・Refer to page 21 about the dataformat.
①
② ③
⑥
⑦
⑧
⑤
④
 Loading...