Do you have a question about the Oase FiltoMatic CWS and is the answer not in the manual?
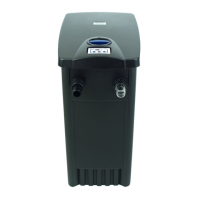
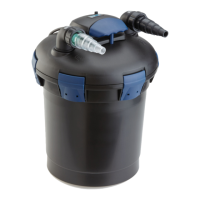
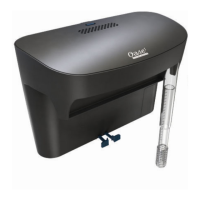
The FiltoMatic CWS is designed for mechanical and biological cleaning of garden ponds.
Misuse can cause danger and will void the warranty and operating permit.
Details on returning defective components for guarantee claims to OASE GmbH.
Declaration of conformity with EC directives and relevant harmonised standards.
Combination of water and electricity poses risks of severe injury or death from electrocution.
Guidelines for safe electrical installation, including consulting an electrician and using approved sockets.
Rules for safe operation, including avoiding carrying unit by cables and using original spare parts.
Planning installation considering environmental conditions for optimal unit operation.
The unit is pre-assembled; assembly involves connecting outlets and inlets.
Steps for installing the unit's outlet, including sealing and connecting DN70 pipe.
Steps for installing the unit's inlet, connecting hose and union nut.
Steps for installing the dirty water outlet, including O ring and DN40 pipe connection.
Instructions for filling the filter container with water before unit operation.
Recommendation to use Biokick CWS for promoting bacteria growth in the filter.
Description of the controller's display, buttons, and LED indicators.
Details of the controller's display (C1) and status LEDs (C2, C3).
How to set cleaning programs for the dirty water pump based on water temperature.
Steps to select and save cleaning programs for the dirty water pump.
How to manually operate the dirty water pump using the PUMP key.
How to set operating programs for the UVC clarifying unit based on water temperature.
How to check the remaining operating hours of the UVC lamp.
Steps to reset the UVC lamp operating hour counter after replacement.
Procedure for cleaning foam filters based on soiling indicator or overflow.
Steps to remove the pump and UVC clarifying unit from the container.
Steps to separate the controller from the UVC clarifying unit for maintenance.
How to clean the dirty water pump when the rotor is blocked or soiled.
Detailed procedure for safely replacing the UVC lamp in the clarifying unit.
How to check the cleaning rotor for wear and when to replace it.
Procedure for changing the foam filters annually or when gaps appear.
Recommendation for performing a thorough cleaning of the entire unit once a year.
Steps for completely draining the filter container.
Steps to remove and clean the lamella separator.
Steps to remove and clean the dirt pyramid.
| Brand | Oase |
|---|---|
| Model | FiltoMatic CWS |
| Category | Water Dispenser |
| Language | English |