4
Installation
WARNING
Risk of electric shock – This pump is supplied with a grounding conductor and grounding-type attachment plug. To
reduce the risk of electric shock, be certain that it is connected only to a properly grounded, grounding-type
receptacle. Do not remove the grounding pin from the power cord plug.
Inspect cord for damage before installation and/or maintenance. Replace the entire fountain assembly if damage is
found.
Always disconnect fountain from the power source before beginning any maintenance or work on the pump.
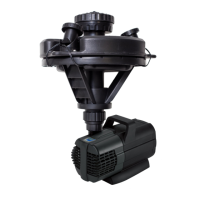
1. Remove assembled fountain from packaging and connect
pump to oating attachment assembly.
○ For 1/4 HP, use the coupler to connect the pump.
2. Choose a fountain head for the desired water effect, and
assemble your choice.
○ For 1/4 HP, use the nozzle adapter.
3. Connect the light to the cord (Part I) by pushing the plug
into the light socket until it is rmly seated. Hand tighten
the nut from the plug to the socket.
4. Connect the cord for LED light to the sensor by pushing
the plug into the sensor socket until it is rmly seated.
Hand tighten the nut from the plug to the socket.
2.
1.
Important:
● Do not lift the pump by its power cord.
Use the handle to lift and maneuver the pump.
4.
1/2 HP
1/4 HP
Coupler
3.
Sensor
cord for LED
B
C
D
B
D
E E
1/2 HP
1/4 HP

 Loading...