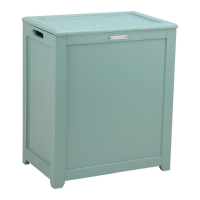
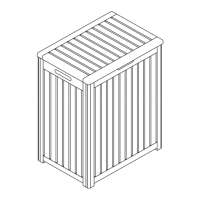
Tight
Storage laundry hamper
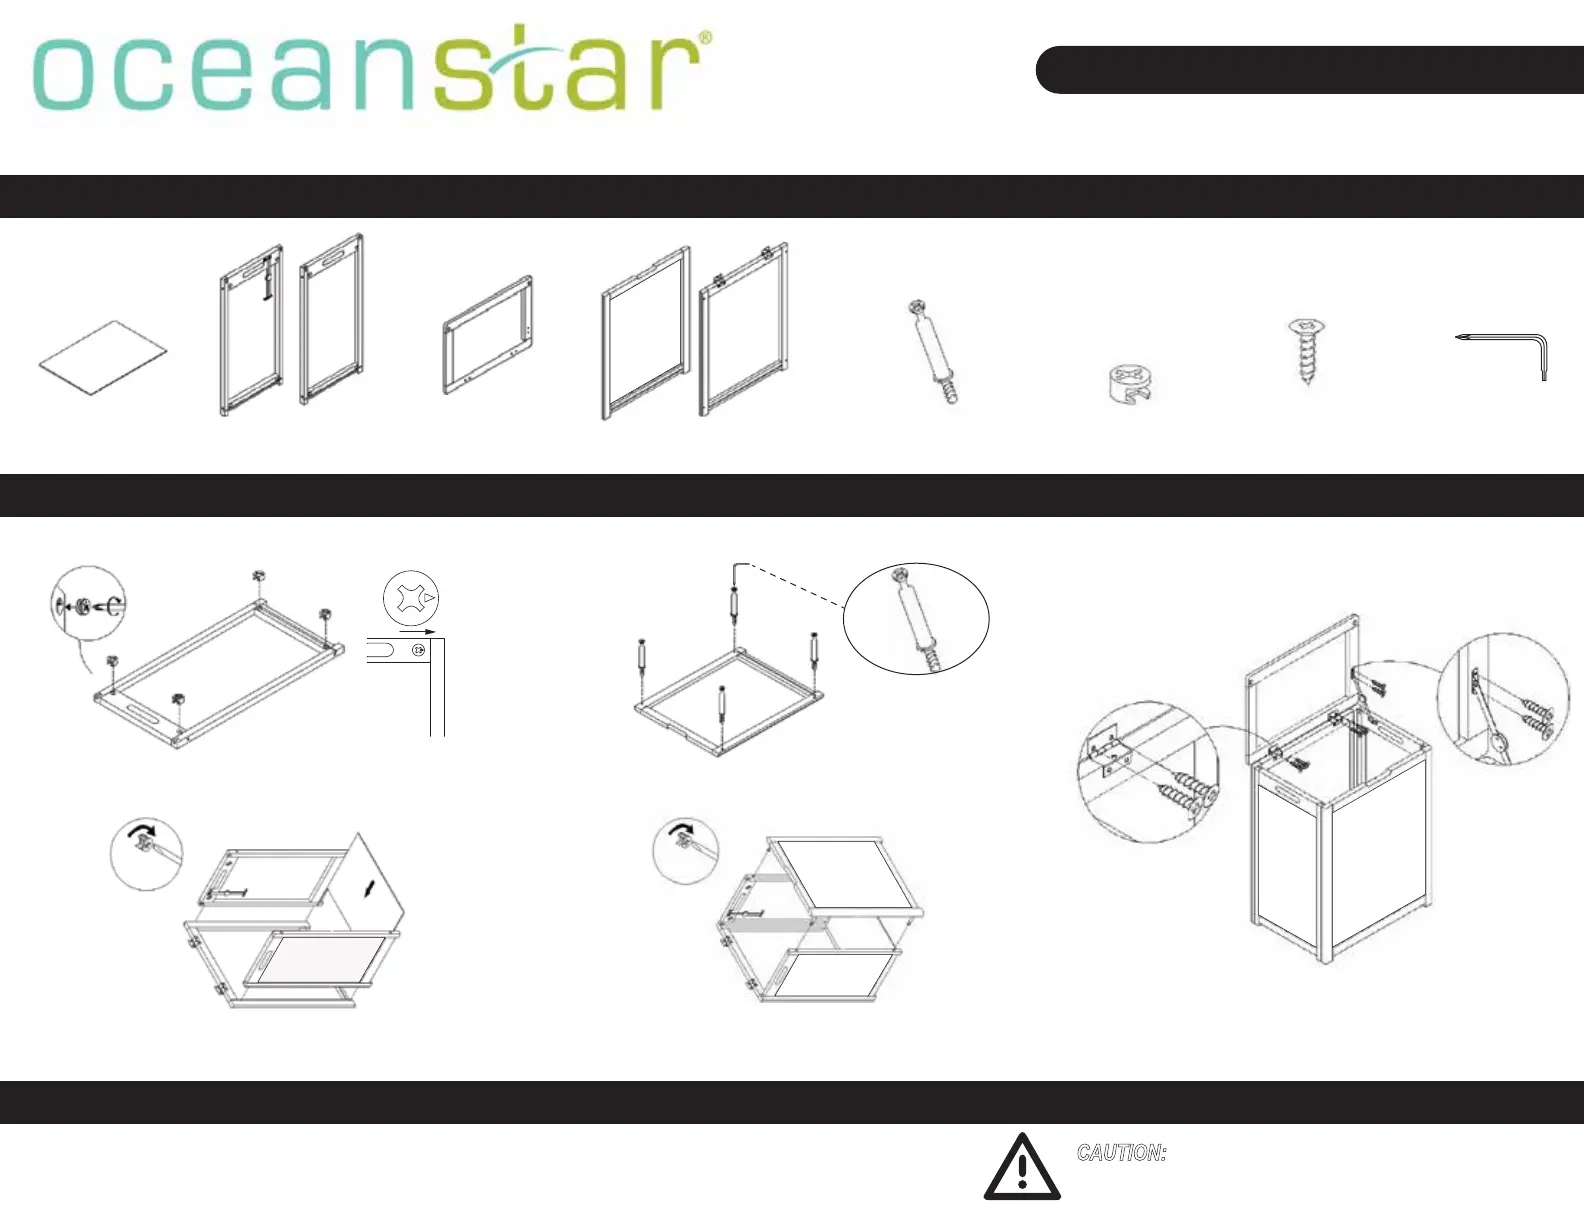
Package Contents
Assembly Instructions
STEP 1. Insert 4 Cam Inserts (F) into the four corners of the Right Side Panel
(B) (the one with a Piano Hinge). Also insert 4 Cam Inserts into the four corners of
the Left Side Panel (B).
STEP 2. Insert 4 Threaded Posts(E) into the four corner of the Front Panel (D).
Also insert 4 Threaded Posts into the four corners of the Back Panel (D).
A.
Bottom
Board x 1
B. Right and Left
Panel x 2
F. Cam Insert x 8E. Threaded Post x 8
G. Screw for Hinges
and Piano Hinge x 6
D. Back and Front
Panel x 2
Safety Information
1. Two adults are recommended for ease of assembly. Use care when handing.
2. Assembly recommended on a soft surface, such as carpet, to avoid scratching flooring finish.
3. Discard the black circular plastic pieces. These are used to separate the shelves for shipping purpose.
CAUTION: Do not allow children to climb or play in or
around the shelves.
C. Hamper Lid x 1
H. L Tool x 1
STEP 3. Align Right and Left Side Panels (B) to the Back Panel (D) and connect
them together. Use a Slotted screwdriver or Phillips screwdriver to tighten the Cam
Inserts (F). Slide the Bottom Board (A) as shown below.
STEP 4. Align Front Panel (D) (Flat Style shown below or Bowed Front Style) to
the Side Panels (B) and connect them together using a Slotted screwdriver or
Phillips screwdriver.
STEP 5. Align Hamper Lid (C) to the Back Panel using the four Screws for
Hinges provided with a screwdriver to tighten. Connect the Piano Hinge to the
Hamper Lid (see diagram) using the two Screws for Piano Hinge (G) with a
screwdriver. Close the lid and you are done. Congratulations on your new hamper!
RH5513C / RH5513WHITE
Tight