Odyssey
®
Xtreem
Capacitance Water Level Logger
User Manual
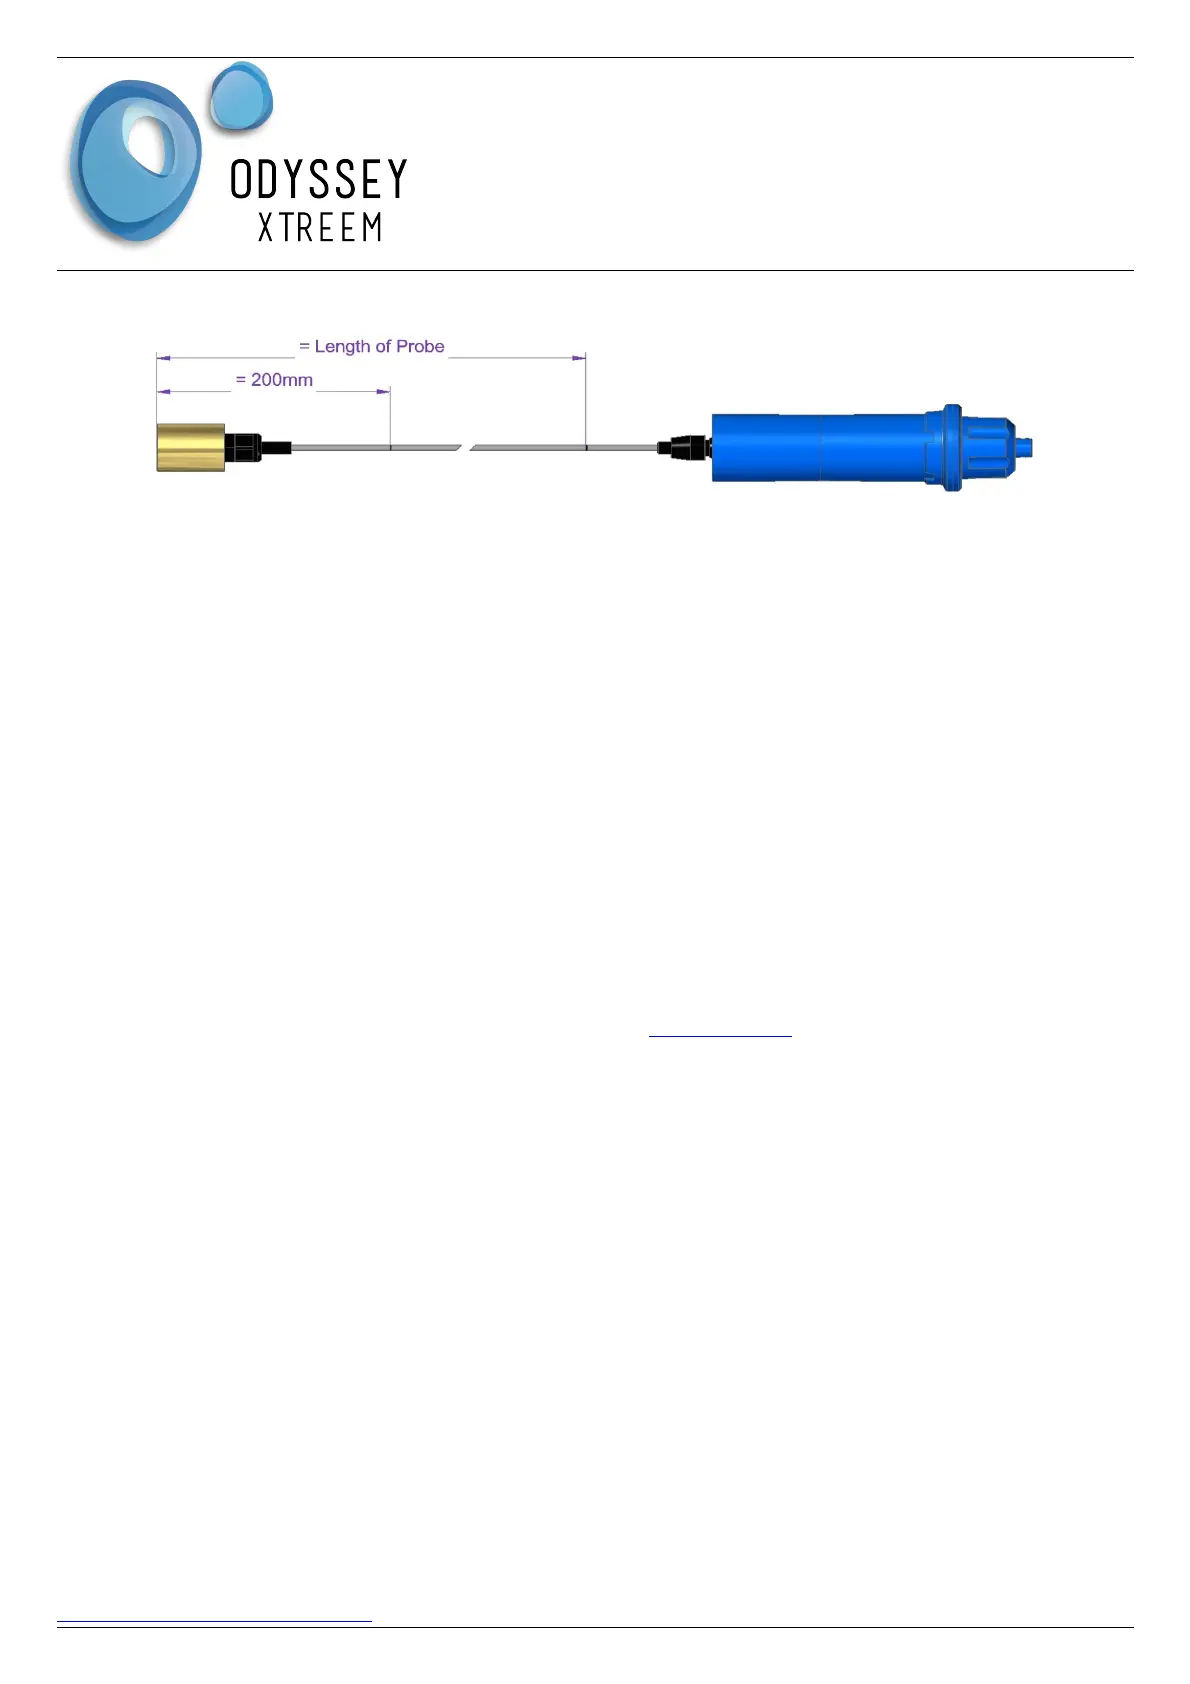
the second mark should be 2m up from the bottom of the counter weight.
2. Using the tablet / phone running the Xtract Application press the View screen button .
3. Scanning will start. Tap on the line with previously named logger from the list shown. The
Xtract application will then connect to the logger ( approx. 20s to connect ) and show its
current readings. This will be updated once every 10s.
4. Lower the sensor into the water vessel until the water reaches the first mark at 200mm. Hold
the sensor at this point until the raw data reading is steady and write this value down. Note
there may be a decimal point.
5. Repeat step 4, but this time lower the sensor until the water reaches the second mark. Write
down the raw data value recorded. Note there may be a decimal point.
6. Write down the logger temperature reading also as this is required for loggers with factory
temperature compensation.
7. If the number shown are greater than 6553.0, then check the sensor is plugged in correctly. To
check the logger / sensor configuration has been applied, select the History screen and tap on
the logger name. If the Setting Version or firmware version is in Red then it has not been
applied to the logger yet.
Applying the User Calibration
Using a web browser ( Firefox is preferred ) navigate to www.xpert.nz then enter your username and
password provided by Dataflow Systems. On the Map page ( default ) select Home from the drop
down box then select a logger to be configured. An Icon for the selected logger will display on the
Map which must be clicked on when located. ( It may be necessary to Zoom the Map out to find the
Logger ).
1. Select the Calibration tab from the Menu.
2. Enter the first and second readings as recorded in the above section Obtaining User
Calibration Values
3. Enter the Temperature as recorded above.
4. Confirm that the sensor length is correct. If it is not correct, perform the Sensor Configuration
step Setting Up the Logger in section Sensor Configuration.
5. Press the Submit button to apply the Sensor Configuration.
6. Transfer the configuration to the logger as previously done in section Transfer Configuration to
Logger.
DATAFLOW SYSTEMS LTD Page 7
www.Odysseydatarecording.com V 11/20