Burst Shots
- Resolution (1080p 60fps – default)
- Loop Recording (Off – default)
- Rotate (Off – default)
- FOV (Off (wide) – default)
- HDR (Off – default)
- Gyro Sensor (Off – default)
- Audio (On – default)
- Audio Sensitivity (7 – default)
- Time Stamp (Off – default)
- Video File Format (MP4 – default)
- Low Res File (Off – default)
- Power on Record (Off – default)
- Sharpness (Medium – default)
- EV (+0.0 – default)
- Metering (Average – default for firmware v2.2 and earlier, Centre
– default for firmware released from 2018)
- Distortion Correction (Off – default)
Press the down scrolling key on the side of the camera to quickly access the shortcut menu for this
Mode and change some of the most popular settings.
For an explanation of what each adjustable setting is, plus what to change and when, please see Setup Menu (Pages 14-22).
- Image Size (16MP 4608 x3456 – default)
- Rotate (Off – default)
- Motion Detection (Off – default)
- Exposure Time (Auto – default)
- Self-Timer (Off – default)
- Quality (Normal – default)
- Sharpness (Medium – default)
- White Balance (Auto – default)
- Colour (Standard – default)
- Colour (Standard – default)
- ISO (Auto – default)
- EV (+0.0 – default)
- Metering (Average – default for firmware v2.2 and earlier,
Centre – default for firmware released from 2018)
- Gyro Sensor (Off – default)
- FOV (Off (wide) – default)
- Distortion Correction (Off – default)
- Time Stamp (Off - default)
For an explanation of what each adjustable setting is, plus what to change and when, please see Setup Menu (Pages 14-22).
Don’t leave your ISO settings on auto underwater. You will be disappointed. Play about with the ISO before
you commit to the best setting. You may find that ISO needs to be set anywhere between 100-400 (higher
for a deeper, low light dive).
TIP
- Resolution (1080p 60fps – default)
- Loop Recording (Off – default)
- Rotate (Off – default)
- FOV (Off (wide) – default)
- HDR (Off – default)
- Gyro Sensor (Off – default)
- Audio (On – default)
- Audio Sensitivity (7 – default)
- Time Stamp (Off – default)
- Video File Format (MP4 – default)
- Low Res File (Off – default)
- Power on Record (Off – default)
- Sharpness (Medium – default)
- EV (+0.0 – default)
- Metering (Average – default for firmware v2.2 and earlier, -
Centre – default for firmware released from 2018)
- Distortion Correction (Off – default)
For an explanation of what each adjustable setting is, plus what to change and when, please see Setup Menu (Pages 14-22).
- Burst Shots – how many shots to be taken in 1 second.
Choose from: 3 (default), 5 or 10 seconds.
- Image size (12MP 4032x3024 – default)
- Motion Detection (Off – default)
- Quality (Normal – default)
- Rotate (Off – default)
- Sharpness (Medium– default)
- White Balance (Auto – default)
- Colour (Standard – default)
- ISO (Auto – default)
- EV (+0.0 – default)
- Metering (Average – default for firmware v2.2 and earlier,
Centre – default for firmwares released from 2018)
- Gyro Sensor (Off – default)
- FOV (Off (wide) – default)
- Distortion Correction (Off (wide) – default)
- Time Stamp (Off – default)
Press the down scrolling key on the side of the camera to quickly access the shortcut menu for this
Mode and change some of the most popular settings.
For an explanation of what each adjustable setting is, plus what to change and when, please see Setup Menu (Pages 14-22).
As you descend into water, it begins to absorb light, and starts by losing the red spectral
colour. This is why everything looks dull green or blue with little contrast when diving at
depths. You can normally counteract this effect in two ways, with a filter or through
post-production editing. The Olfi underwater mode, however, does it for you. This
setting applies a digital red filter to your footage and allows the camera's white balance
system to see the reds and choose a much better White Balance for the photo or video scene.
Please note, this setting is called underwater mode, and is most valuable as you go deeper underwater – a
splash in the pool will not require underwater mode. For very green waters, we recommend post-processing
colour correction methods to add in a Magenta colour rather than red, for the best results.
The Metering setting may be the key to a successful burst shot, especially if you’re following a moving
person or animal.
TIP
Burst mode allows you take 3, 5, or 10 shots in a second with one press of the shutter button.
This is especially useful for capturing the perfect moment when your subjects are moving, or
if your camera or hand is moving, basically, any action shot. Somewhere within this sequence
of shots you should have at least one image that you’re happy with – where the composition
is perfect and the subject is sharp and in just the right pose. If you don’t use burst mode for
action shots, you’ll struggle to get a good picture because the subject is moving so fast.
Burst Mode is also a great way of capturing candid, un-posed shots where a person is unaware that a photo is
being taken, and is moving about – a great way to get a good shot of a fidgeting child or an animal exploring!
Remember, you can use Burst Mode for Motion Detection purposes. If you enable Motion Detection in your
Burst Shot quick menu, as soon as motion is detected, the camera will take a burst shot to evidence the motion
it’s detected.
Underwater
Below approx. 4 metres, you will almost certainly need artificial lighting to get a decent image as light
reduces rapidly beyond this point.
TIP
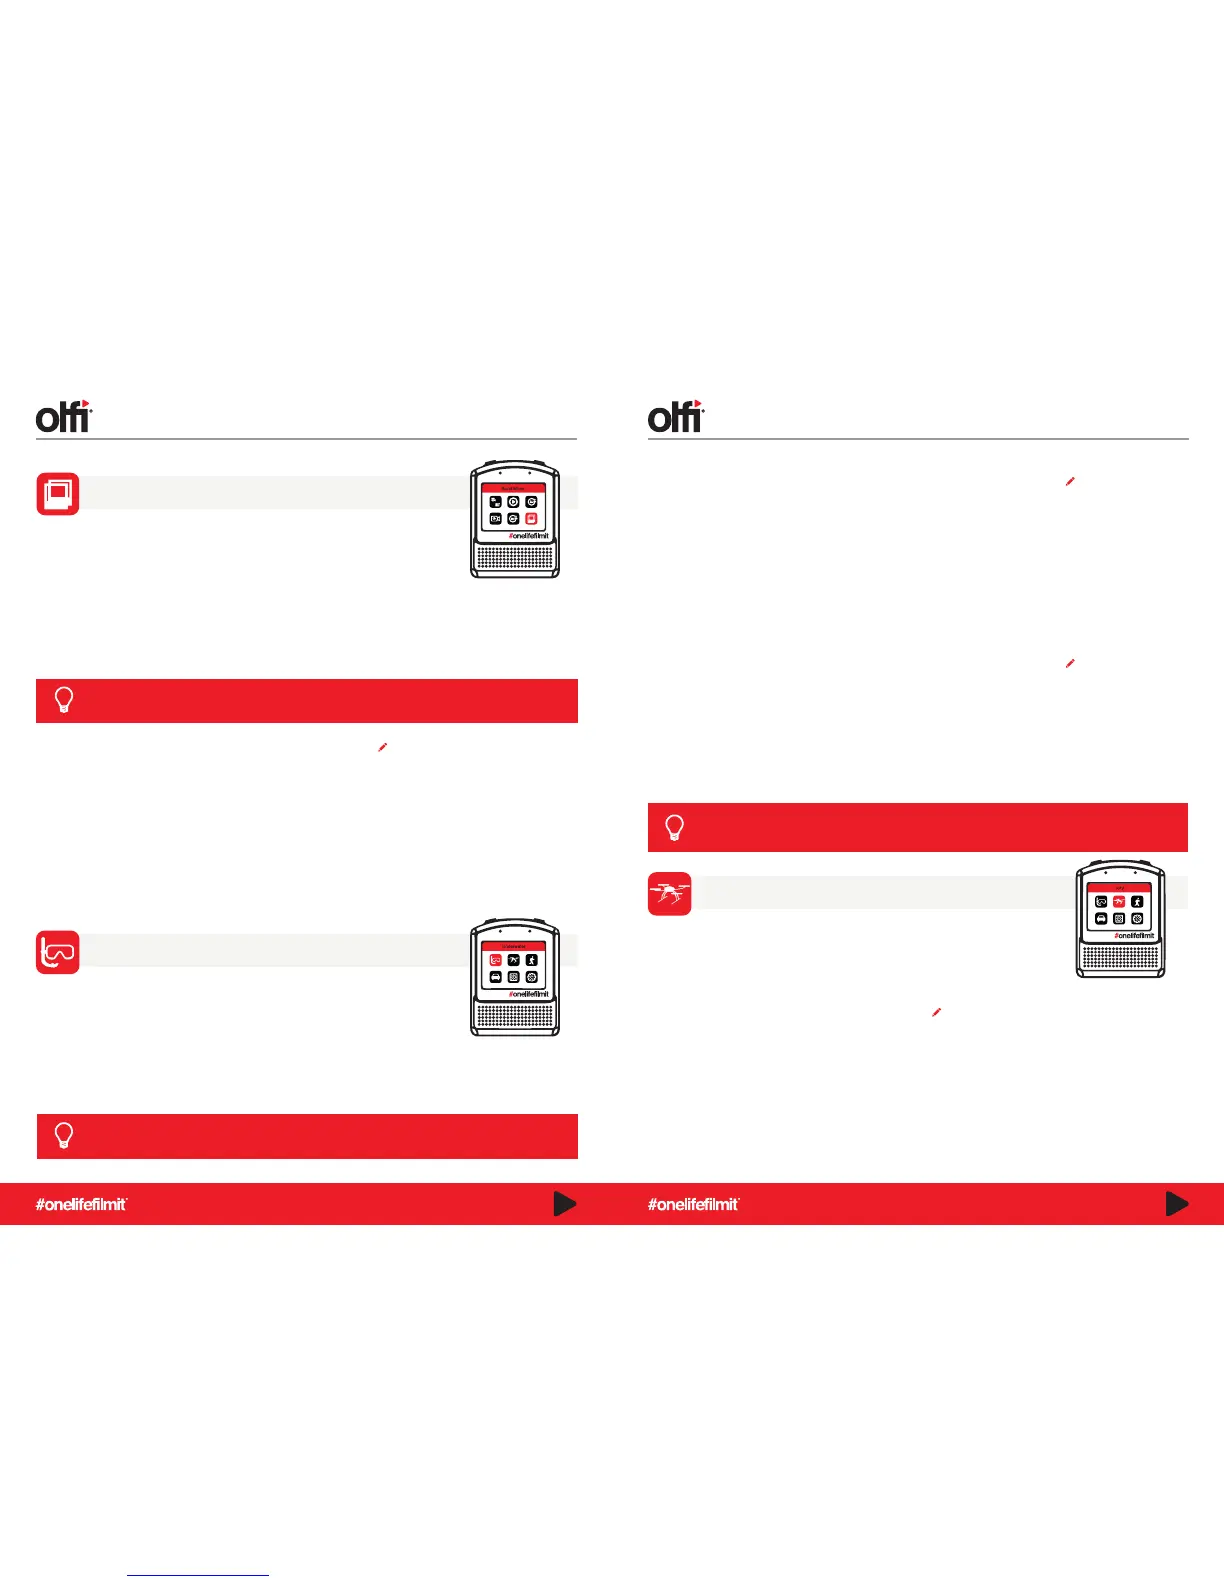
FPV (First Person View – Radio Control)
This mode enables live real-time analog video to be fed through the USB out (Requires
AV-out cable). Useful for those wanting to connect the camera to a drone or FPV enabled
radio-controlled car to remotely see what’s going on.
- LCD - Turns LCD screen on/Takes you out of FPV mode.
- FPV - Turns LCD screen off. For remote controlling and saving battery life.
- FPV and LCD - Puts camera in FPV mode but keeps the LCD screen on.
FEATURE MODES FEATURE MODES
Press the down scrolling key on the side of the camera to quickly access the shortcut menu for this Mode and change
some of the most popular settings.
What can I alter in the Underwater quick menu video mode?
What can I alter in the Underwater quick menu photo mode?
What can I alter in the FPV quick menu?
What can I alter in the Burst Photo quick menu?
10 11
 Loading...