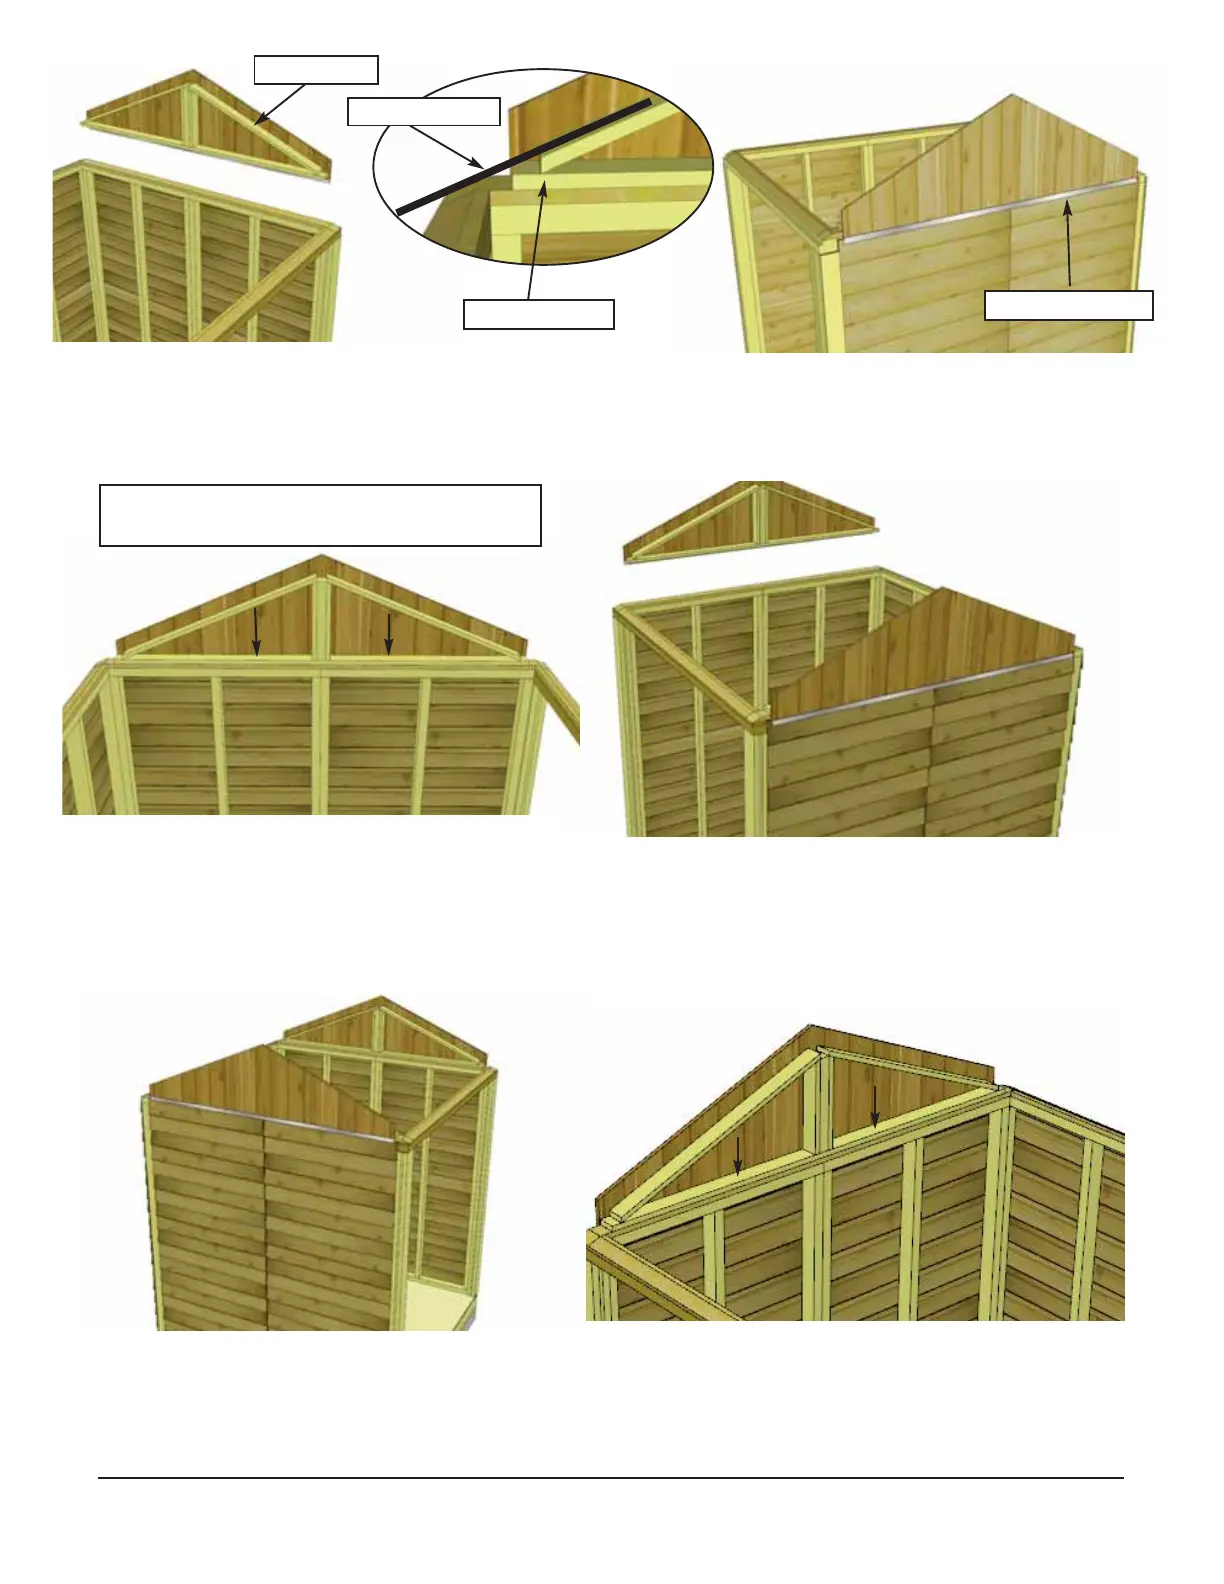
29. Temporarily attach gable walls to top plate with 2 - 2” screws (Part E). Screw from the bottom
of gable framing down into top plate. Gables may need slight adjustment in Step 39 and then be
completely attached with an additional 6 - 2” screws (Part E). Position 2nd Gable on side walls.
28. Locate and place Gable Wall (Part 2H) so gable framing sits flush with the inside of the top plate.
Center from front to rear using a Straight Edge to confirm angle of gable frame and Top Plate line up.
Adjust gable accordingly. From the outside, make sure gable flashing overhangs wall siding.
Gable Frame
Straight Edge
Gable Flashing
30. Position and temporarily attach 2nd Gable as per Steps 28-29.
Wall Framing
Gable Wall
Temporarily attach gable walls to top plate.
Slight adjustment may be required later
Toll Free 1-888-658-1658 www.outdoorlivingtoday.com sales@outdoorlivingtoday.com
Page 17