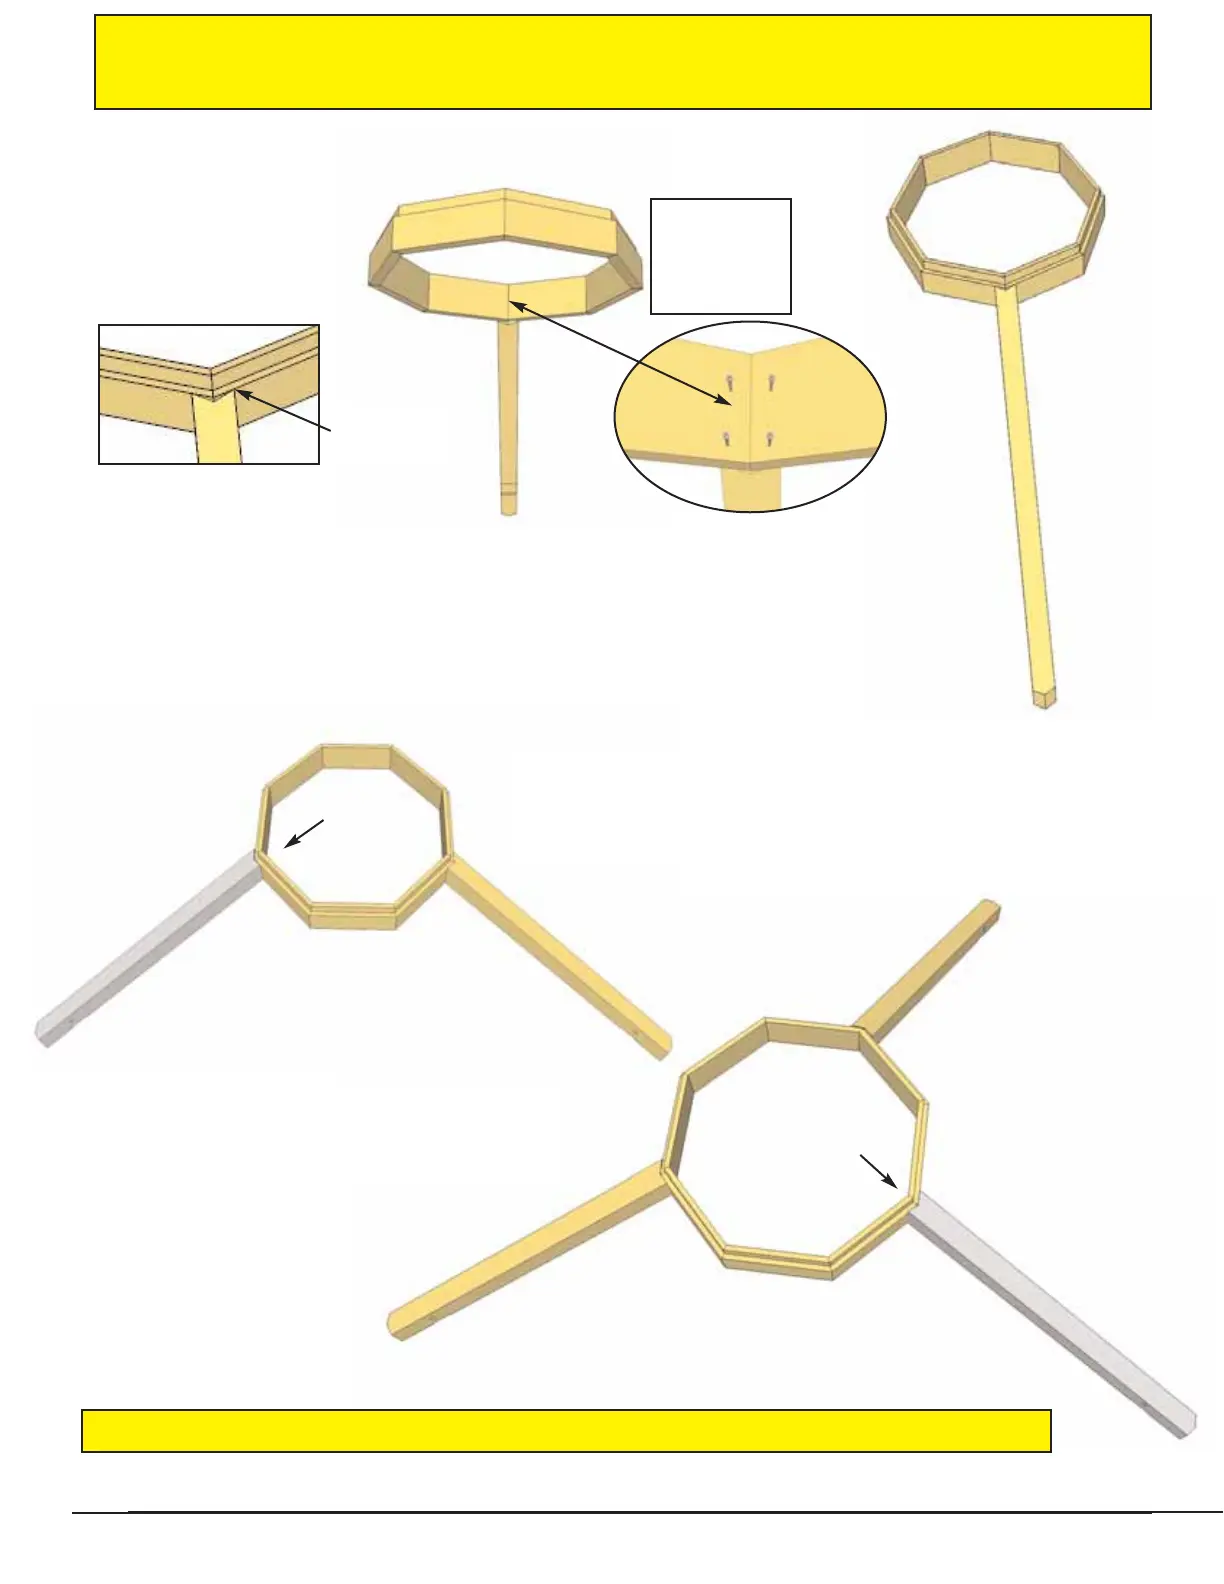
27. Align and secure Rafter end as illustrated above with 4 - 3” screws
from the inside of the Skybox.
Important- Be sure to support Skybox/Rafter Assembly as unit will be
unstable until at least 3 Rafters are attached.
Important - Prior to lifting Rafters onto Posts, Upper Rails in Step 34 must be completed.
Align Rafter Corners
flush with ledge of
Skybox.
Toll Free 1-888-658-1658 www.outdoorlivingtoday.com sales@outdoorlivingtoday.com
Page 13
Important - Depending on the # of helpers you have available will determine how many rafters
can be attached to Skybox prior to lifting up. Our illustration shows 3 Rafters = 2 additional
helpers.
Screw from
inside of
Skybox into
Rafter
Flush with
Ledge.
28. With your helper still supporting the Skybox/
Rafter Assembly, position and attach a second rafter
as illustrated to the left and as per Step 27.
29. Complete 3rd Rafter attachment
as shown above and as per Step 28.