Toll Free 1-888-658-1658 www.outdoorlivingtoday.com sales@outdoorlivingtoday.com
Page 4
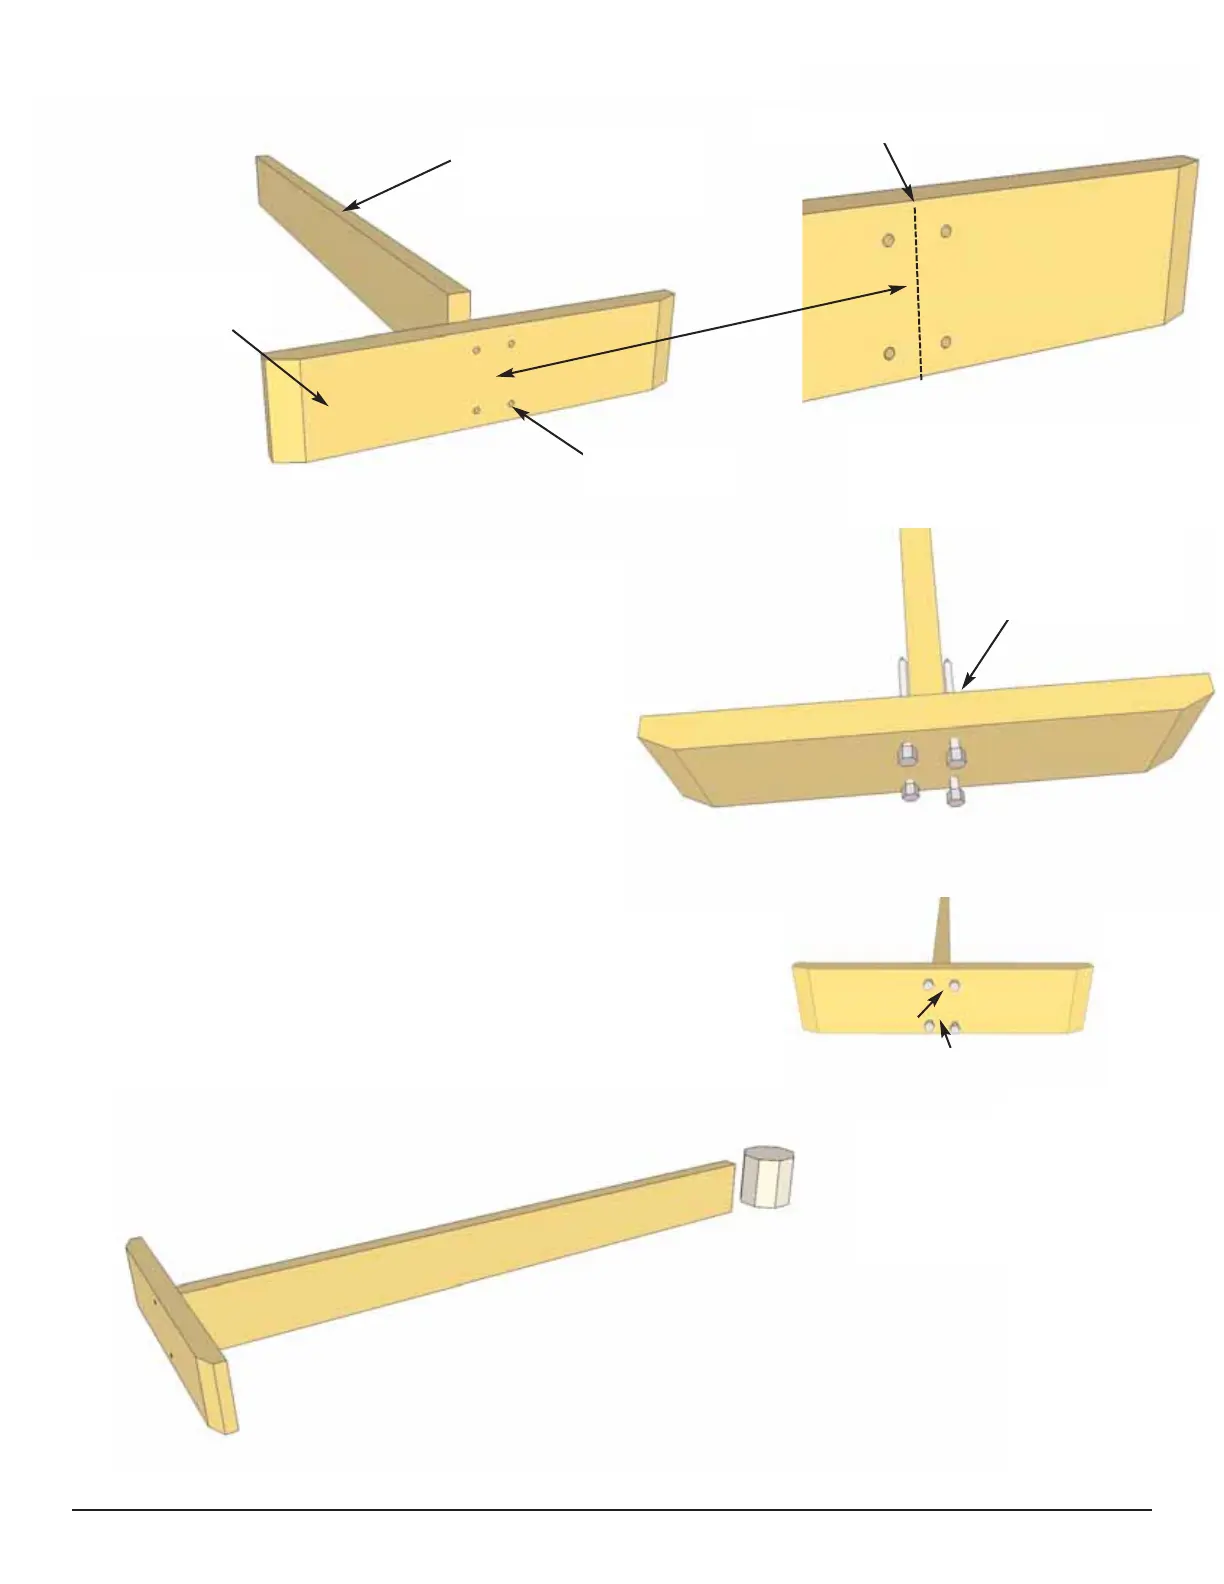
A. Floor Section
1. Locate both the Long Main Floor Joist and
the “T” Post Mount Plate. Angle cut ends
must be positioned to the outside.
Pre-drilled holes will align with Posts later in Step
10. Please review this step to confirm correct “T”
Post Mount Plate orientation. Use 4 - Carriage
Bolts to align Joist with “T” Plate prior to attach-
ing. Joist must be evenly spaced between bolts.
Remove Carriage Bolts when correctly aligned.
2. With pieces properly orientated, screw
“T” Plate and Joist together with 2 - 3” screws. Make
sure pieces are flush with each other on the top and
bottom. Complete all 8 Long Main Floor Joist and “T”
Post Mount Plate Connections. Once again, check
alignment prior to attaching together.
Long Main Floor Joist
55 1/4” long
“T” Post Mount
with Holes Drilled
Drilled Holes
Measure to center of Plate
Joist evenly
spaced between
bolts.
3. Locate the 5 1/4” Diameter
Octagon Core Block. Place at
end of one of the Long Main
Floor Joists.