59
EN
Single-frame print reservations [
<
]
1
Display the setup menu.
“Setup menu” (p. 6)
2
From the playback menu q, select [Print
Order] and then press the A button.
3
Use FG to select [<], and press the A button.
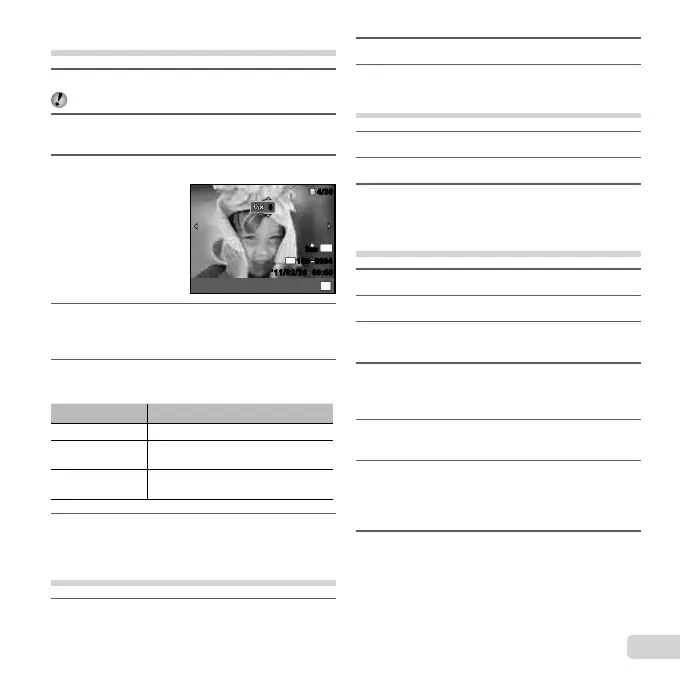
N
ORM
4/304/30
’11/02/26
’11/02/26 00:0000:00
N
ORM
14
M
FILE
100 0004100 0004
OK
00
Set
4
Use HI to select the image for print
reservation. Use FG to select the quantity.
Press the A button.
5
Use FG to select the [X] (date print)
screen option, and press the A button.
Submenu 2 Application
No This prints the image only.
Date
This prints the image with the
shooting date.
Time
This prints the image with the
shooting time.
6
Use FG to select [Set], and press the A button.
Reserving one print each of all images
on the card [
U
]
1
Follow Steps 1 and 2 in [<] (p. 59).
2
Use FG to select [U], and press the A button.
3
Follow Steps 5 and 6 in [<].
Resetting all print reservation data
1
Follow Steps 1 and 2 in [<] (p. 59).
2
Select either [<] or [U], and press the A button.
3
Use FG to select [Reset], and press the A button.
Resetting the print reservation data
for selected images
1
Follow Steps 1 and 2 in [<] (p. 59).
2
Use FG to select [<], and press the A button.
3
Use FG to select [Keep] and press the
A button.
4
Use HI to select the image with the print
reservation you want to cancel. Use FG to
set the print quantity to “0”.
5
If necessary, repeat Step 4, and then press
the A button when fi nished.
6
Use FG to select the [X] (date print)
screen option, and press the A button.
The settings are applied to the remaining images
with the print reservation data.
7
Use FG to select [Set], and press the A button.
●