6. Take this opportunity to clean and remove any loose materials inside the unit. Using a mild cleaner and damp cloth, carefully wipe the
inside surfaces being sure NOT to clean the heater tubes.
DAMAGE CAN OCCUR TO THE HEATER TUBES FROM IMPROPER CLEANING.
DO NOT SPRAY CLEANING SOLUTIONS INTO OVEN CAVITY.
7. Reinstall conveyor belt by first laying the belt along
the bottom of the oven cavity making sure the hooks on the sides are
facing the inside and ends of the hooks will be pointing away from
the direction of the belt so not to catch on any intermal components
once put back into operating. Also, being sure to properly align
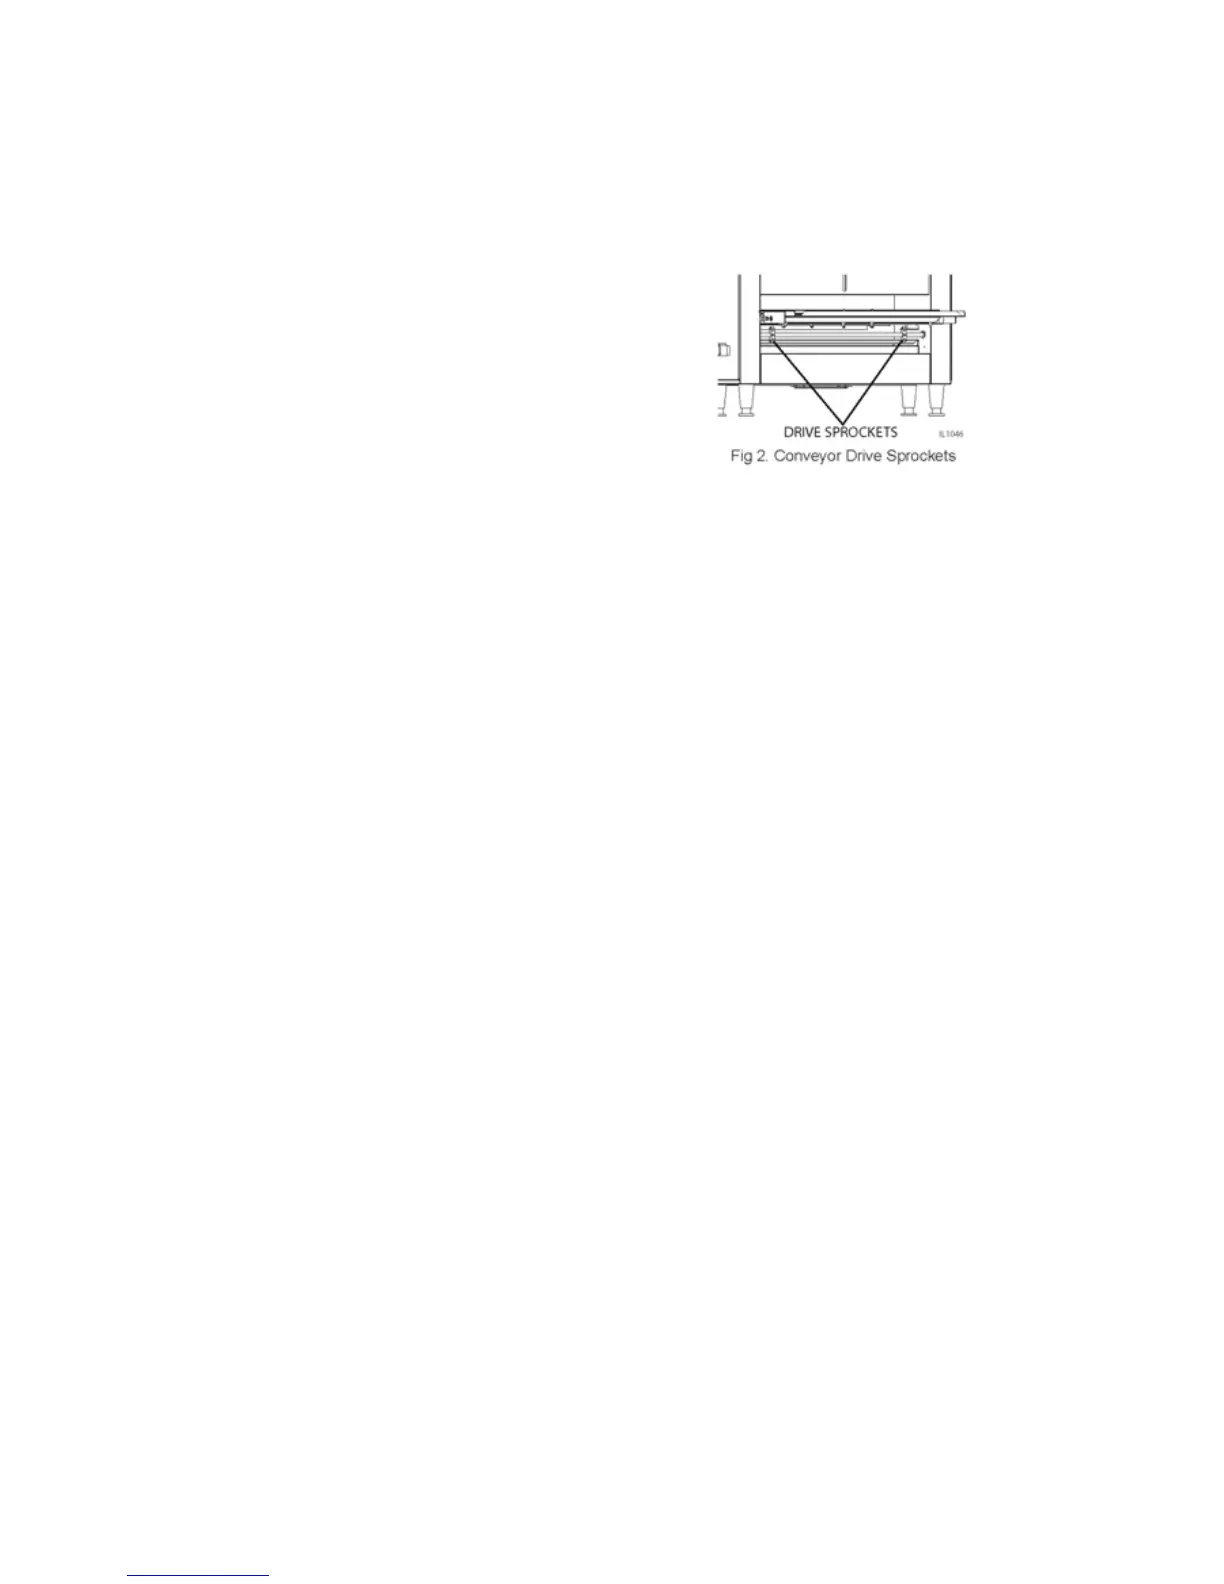
the belt over the conveyor drive sprockets shown in Fig 2.
NOTE: THE DIRECTION OF THE BELT.
8. Next, pull one end of the conveyor belt over the top of the sprockets, (being sure to line the links up properly with the sprockets) bring
the two ends together.
9. 214 models, Reinstall the previously removed master links as shown in step 2 & 3 in Fig.1. 210 models, unhook the last link of the
conveyor, farthest away from you, and rethread through the other end, and reconnect back onto itself.
10. Examine the oven to assure proper installation, once satisfied, install crumb trays if you have not done so.
DO NOT OPERATE UNIT WITHOUT CRUMB TRAYS INSTALLED.
11. Reconnect oven to power supply and check for proper operation.
MAINTENANCE PROCEDURES
A. REPLACEING HEATER TUBES
1. DISCONNECT POWER SOURCE.
2. Remove the top cover panel. By removing the truss head screws. Pull the top cover panel out slightly.
3. Remove each heater tube wires which are requiring replacement from its terminal block connection. One tube at a time.
4. Remove heater tube retainer by removing retainer screws with washer.
5. Gently, pull defective heater tube out of unit.
6. Gently, put new heater tube into unit.
7. Replace heater tube retainers.
8. Reconnect the heater tube wires to the terminal block.
9. Install top cover panel.
10. Connect unit to power source and test unit for proper operation.
B. REPLACING FAN MOTOR
1. DISCONNECT POWER SOURCE.
2. After unit has cooled, remove the crumb tray, and turn unit over so this bottom is facing upward. Never place unit on its side.
3. Unplug power supply cord from fan motor.
4. Remove screws which hold fan motor and grill to the control box cover and remove fan.
5. Once removed, clean fan grill and control box cover using warm soapy water.
6. Put replacement motor and grill in place and secure to control box cover with screws previously removed.
3.