ASSEMBLY FOR JUICING
1. Follow steps 1-6 in Assembly.
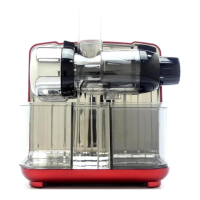
2. Place auger into the drum. Straight
in, until the auger clicks into place.
3. Insert the juicing screen over the
auger. Make sure the screen is on
the innermost section of the auger,
and facing down.
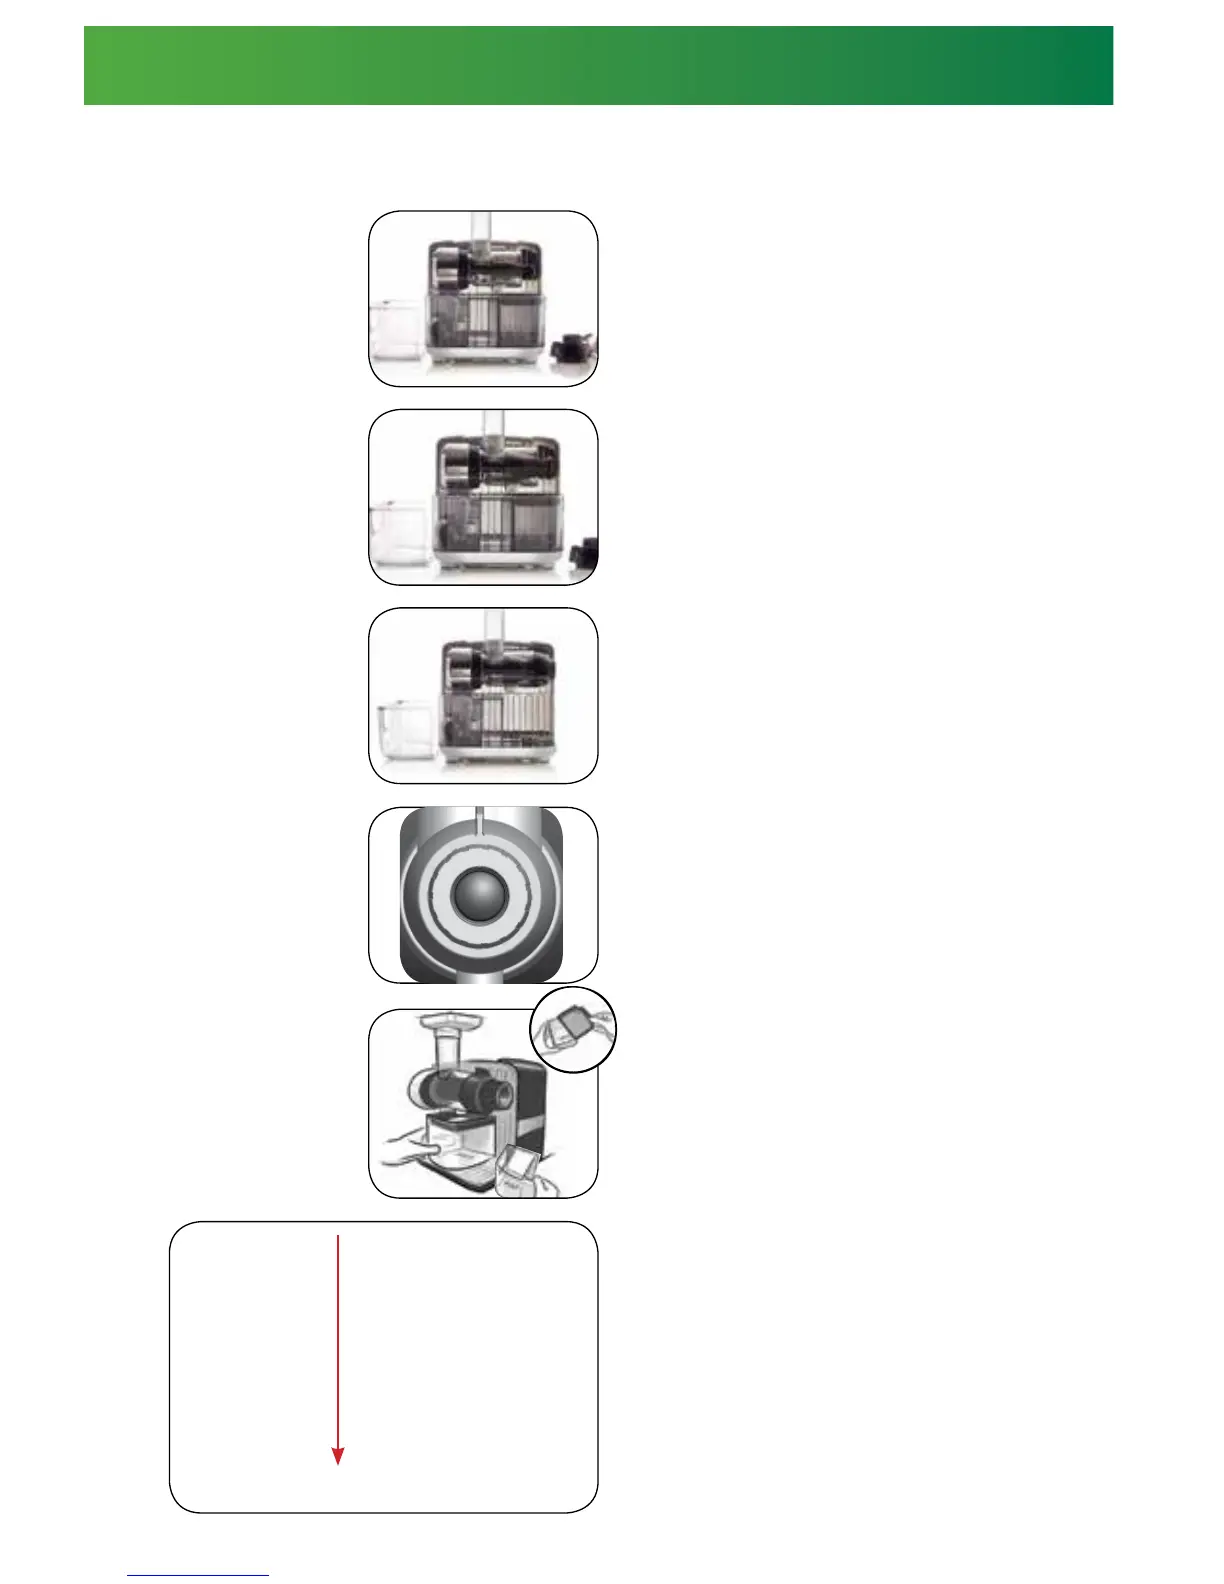
4. Place the adjustable end cap onto
the end of the drum. Adjust counter-
clockwise to lock into place.
5. Place the adjustable pressure cap
onto the adjustable end cap and
turn it counter-clockwise until it locks
rmly onto the adjustable end cap.
The bumps on the adjustable end
cap should line up with 0.
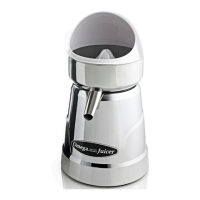
6. Place the juice bowl and pulp
bowl under the respective output.
When ready to pour juice into a
glass, place the sieve on the juice
bowl for additional straining.
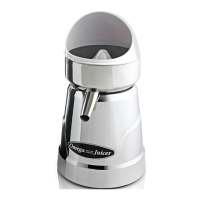
Correct Position of Adjustable End Cap:
According to the water content and
residue hardness of the fruits to select
the adjustable knob position. Tightening
and loosening the knob to controls
water content of the residue to get the
most juice yield. When the food has
more water and the residue is more soft.
You can loosen the knob to ensure the
smooth slag to got maximum juice yield.
Loosen
Tighten
1
2
3
Apple, Radish
Spinach
Pears
Cabbage
Celery
Carrot
Wheat Grass
REGULATION FOOD ADJUSTING POSITION
11
2
3
4
5
6
3
2
1
0
3
2
1
0
3
2
1
0