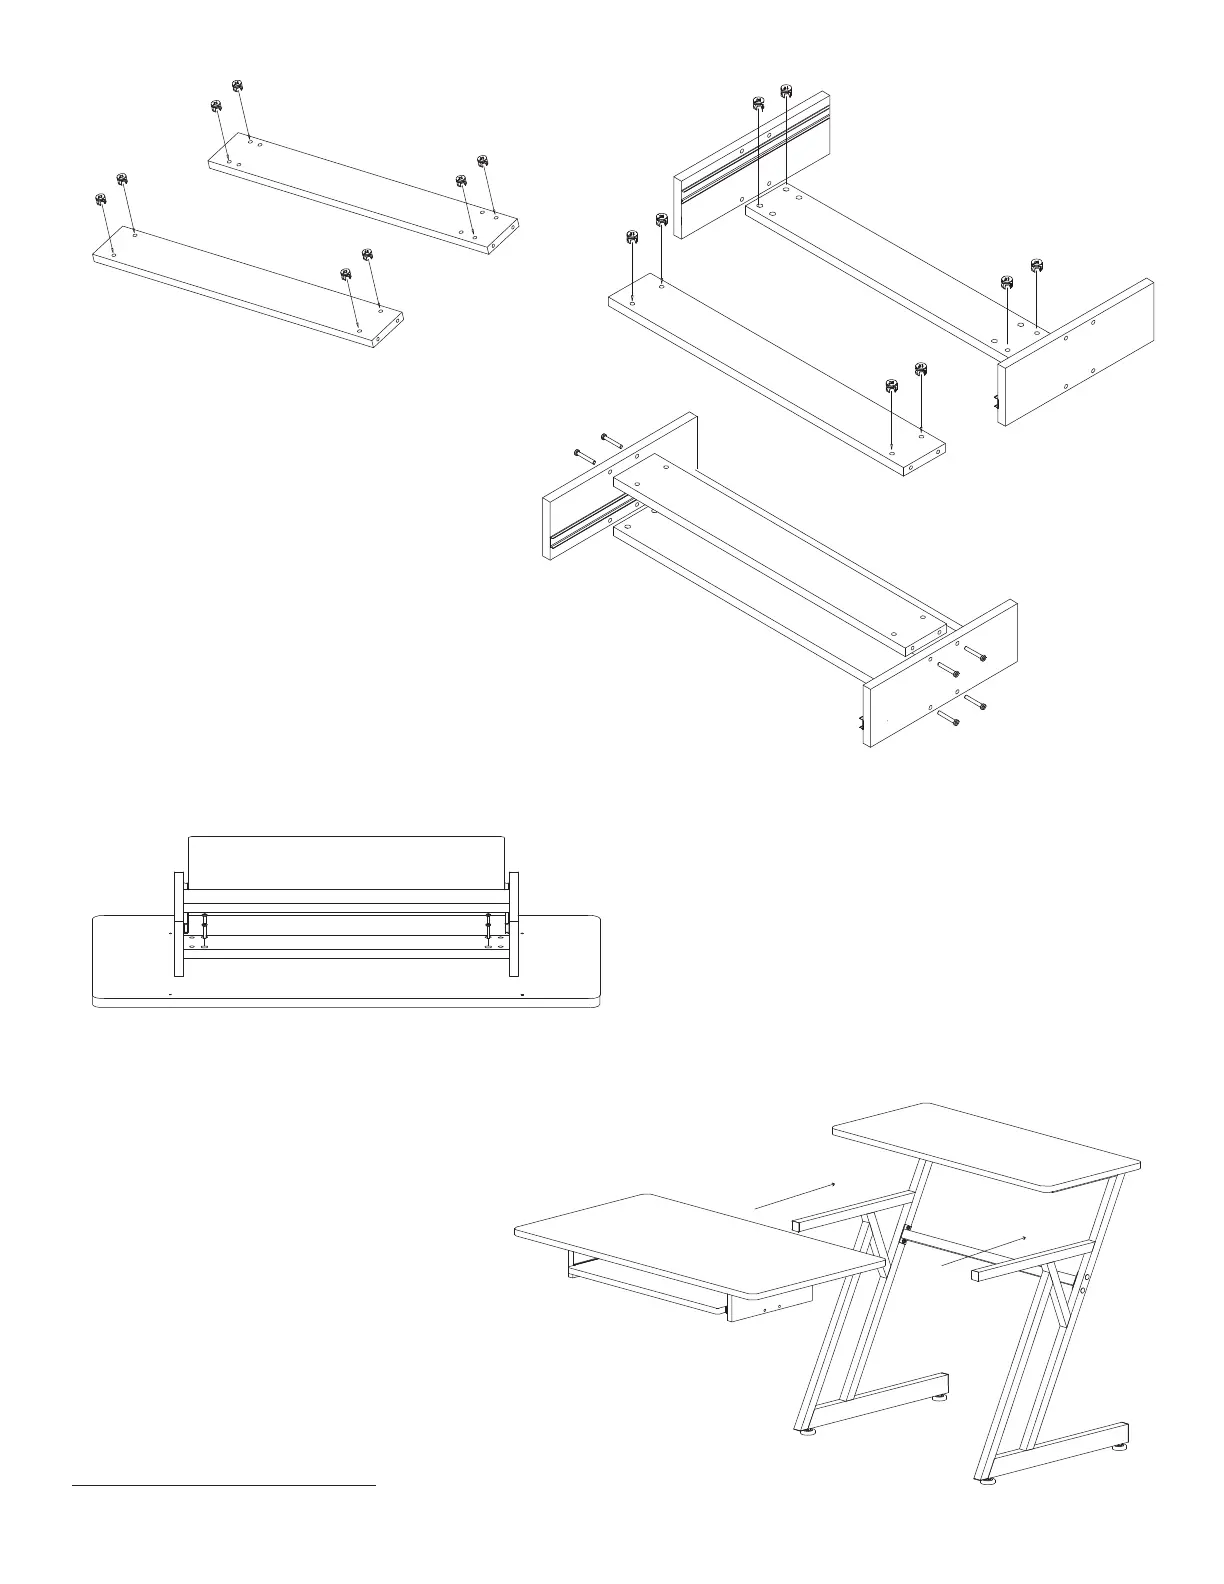
5. Place boards (G) and (H) on a at surface and
insert Cams (P) into the holes as illustrated.
6. Align Boards (G & H) to Boards (I) and connect by
inserting Bolts (J) through the Cams (P). Make sure
that Board (G) is on the top and the sliding tracks
found in Boards (I) are on the bottom.
7. Once Boards (G, H, & I) are assembled, insert
the Keyboard Tray (F) into this structure.
8. Place the Main Work Station (D) upside down on
the ground and align the holes with the structure
from Step 7. Attach by inserting Bolts (M) with the
Allen Wrench as illustrated on the left.
9. Place the Main Work Station (D) with the
attached keyboard tray assembly on the
arms of the Z-Legs (A). Fasten with Bolts (J)
and Allen Wrench.
G
H
10. Before using the Workstation, be
sure all bolts and nuts are tightened.
©2016 The Music People On-Stage.com
G
G
H
H
Bottom View
Top View
Bottom View

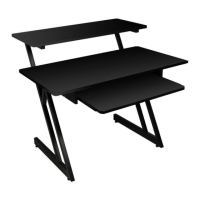

 To Next Page