Universal Electronics BV
P.O. Box 3332, 7500 DH Enschede
The Netherlands
14432
712033
RDN-1290319
2
2
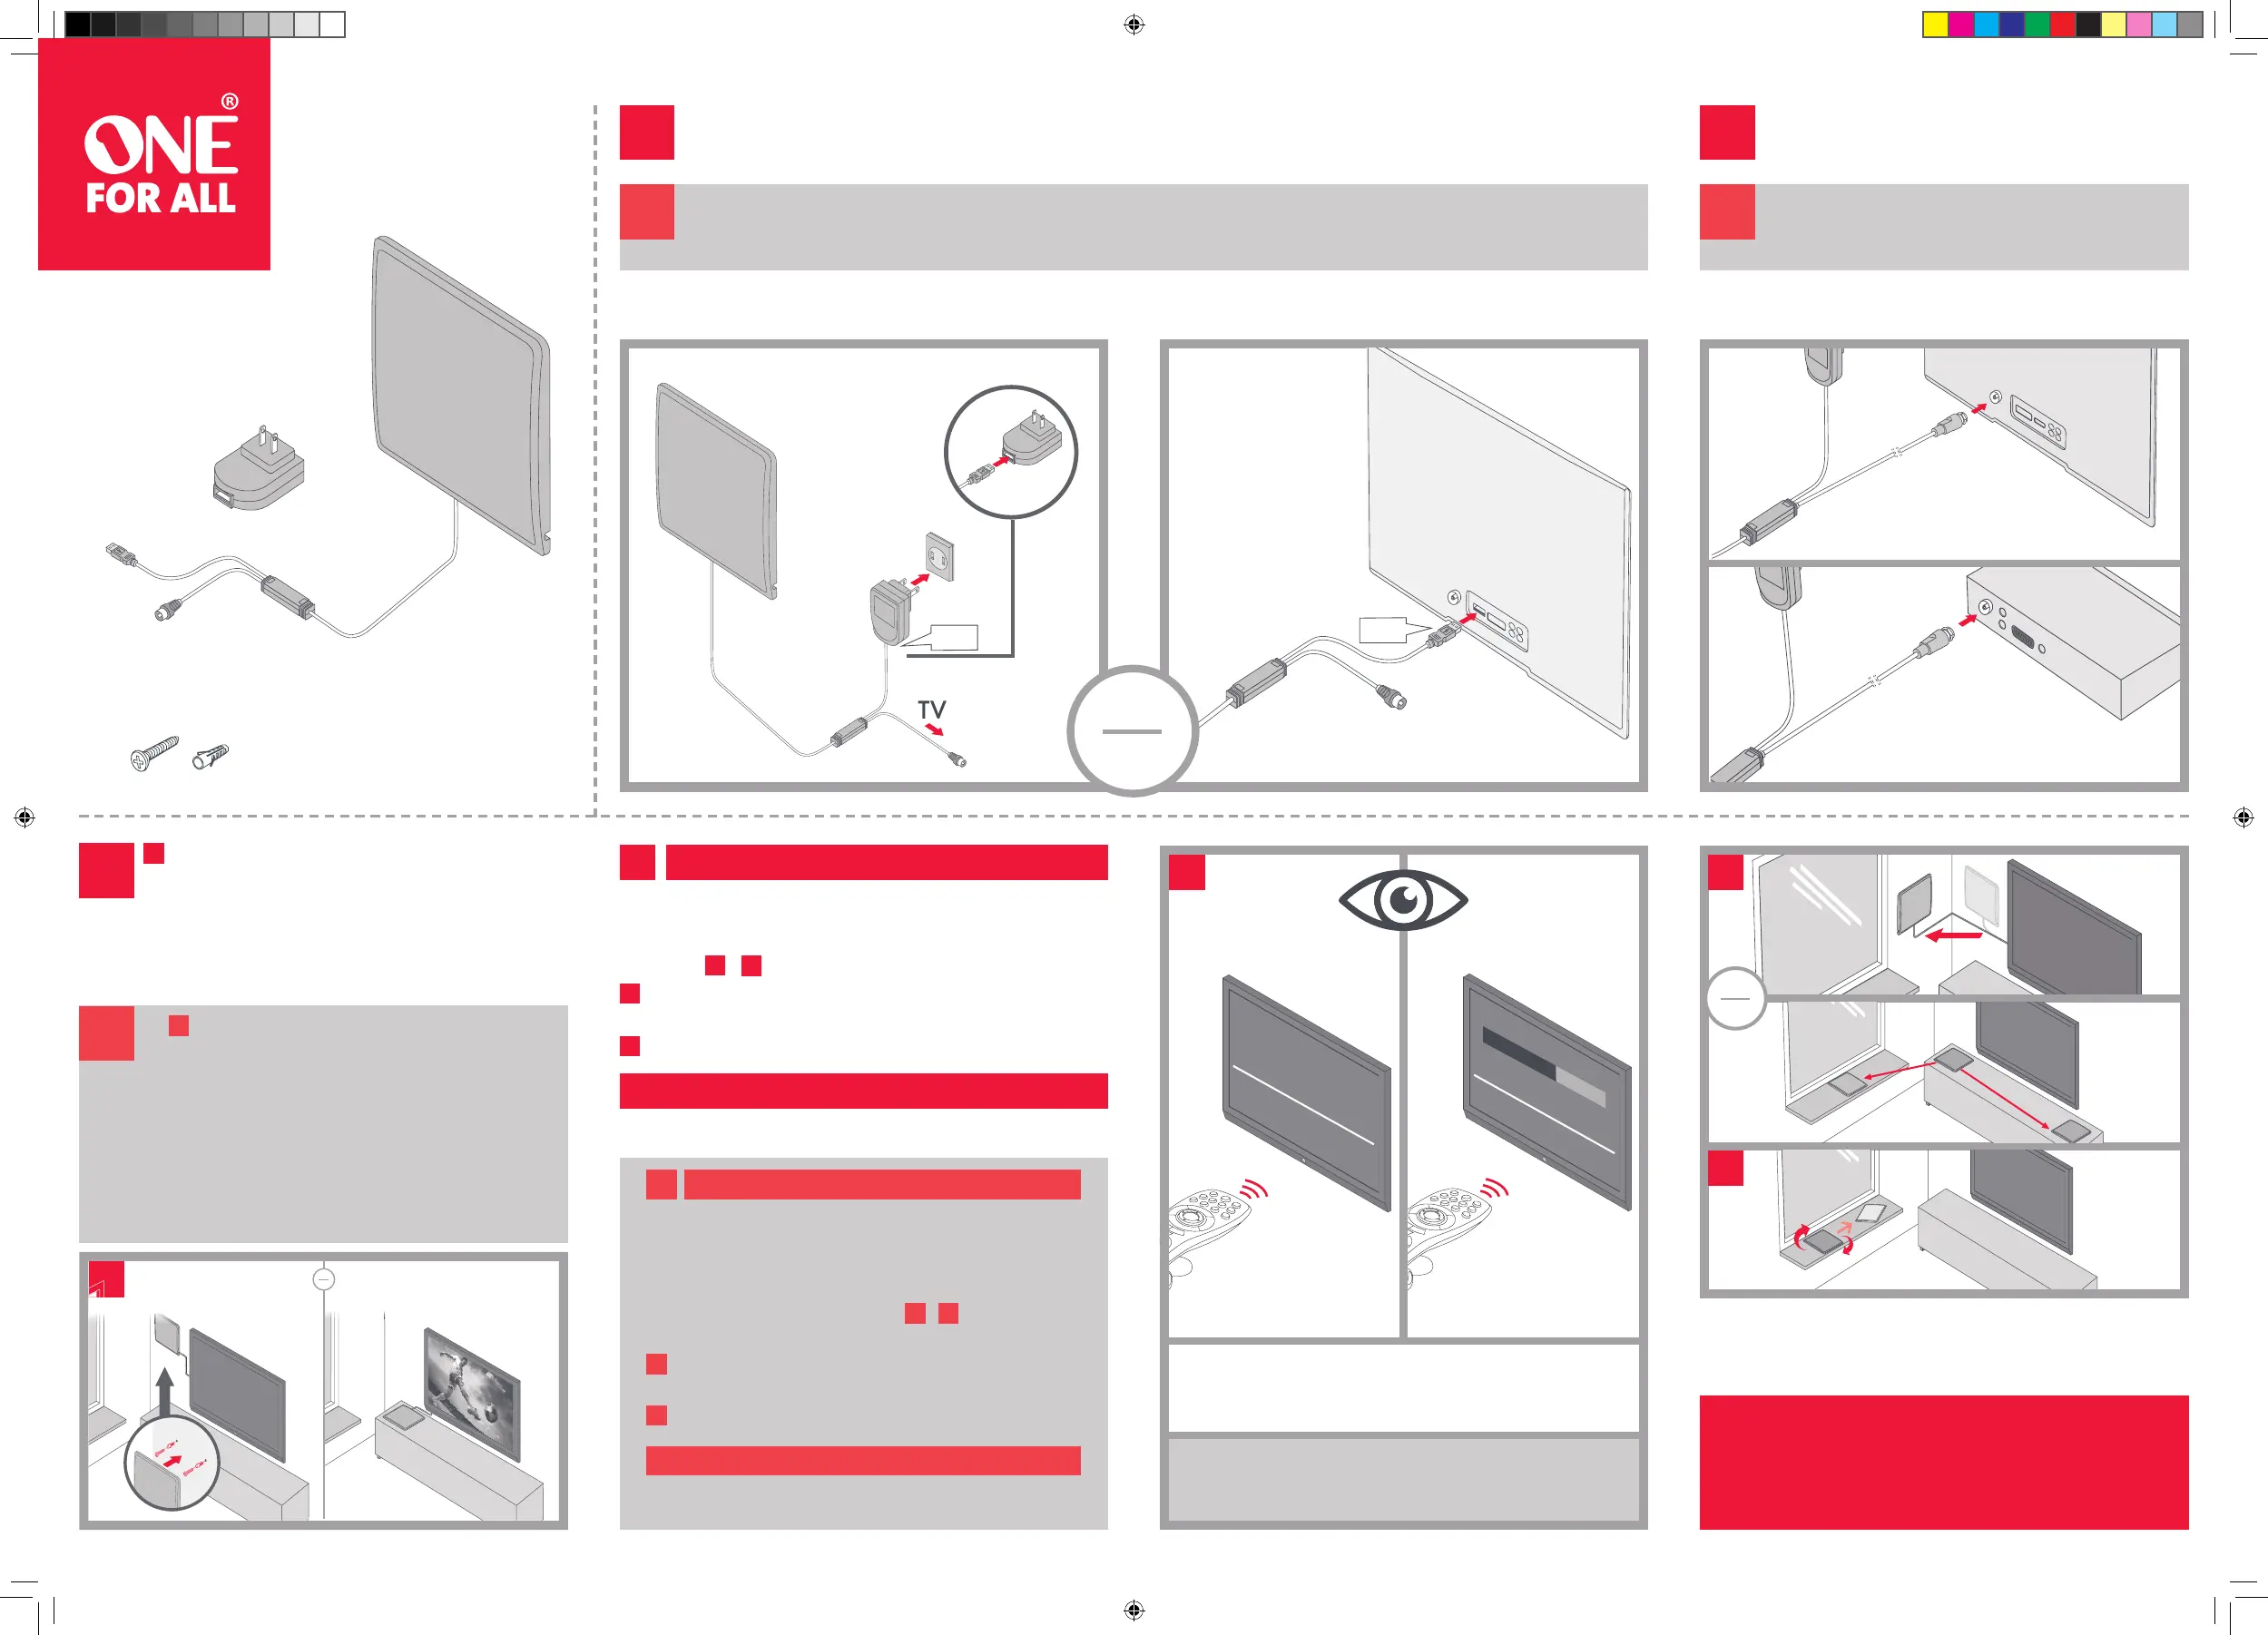
FIRST connect the USB cable to the power adapter. Alternatively you can plug the USB cable in one of your USB ports on the side or back of your
TV (if available).
D’ABORD, branchez le câble USB à l’adaptateur d’alimentation. Vous pouvez également brancher le câble USB à l’un des ports USB situés
sur le côté ou à l’arrière de votre téléviseur (le cas échéant).
1
1
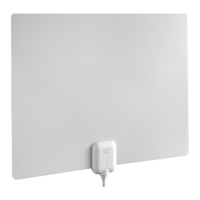
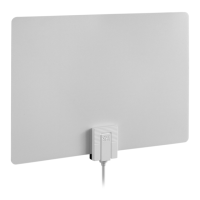
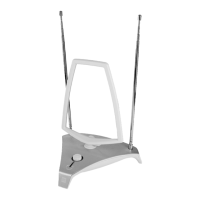
WALL MOUNTED or FLAT /
Decide how you would like to position the antenna: FLAT or WALL MOUNTED.
When mounting to a wall, you will have to drill 2 holes in your wall whereas the
distance between the center of the holes should be 140 mm. Put the plugs in the
holes and put the screws in the plugs.
We do suggest you to FIRST fi nalize this set up before drilling holes, since you might need to
re-position the antenna for best reception.
Position the antenna as high as possible and move close to or in a window and facing the
directions of the TV towers for best reception. A / B or C. If you are not sure in which direction
your TV towers are, please check www.channelchecker.com and it will tell you in 3 simple steps.
Fixée sur SURFACE PLANE ou MUR
Déterminez ensuite l’emplacement de l’antenne : fi xée au MUR ou fi xée sur
une SURFACE PLANE.
Déterminez ensuite l’emplacement de l’antenne : fi xée sur une SURFACE PLANE
ou fi xée au MUR. Si vous la fi xez au mur, vous devez percer 2 trous dans le mur; la
distance séparant le centre des trous doit être de 140 mm. Insérez les bouchons
dans les trous et placez les vis dans les bouchons.
Nous vous suggérons D’ABORD de terminer la confi guration avant de percer les
trous, car vous devrez peut-être repositionner l’antenne pour obtenir une meilleure
réception.
Placez l’antenne le plus haut possible près d’une fenêtre ou dans une fenêtre en
orientant celle-ci vers la tour de radiodiff usion pour optimiser la réception. A / B
ou C. Si vous ignorez où se trouve la tour de radiodiff usion, veuillez consulter le
site www.channelchecker.com, où vous obtiendrez cette information en réalisant
3 étapes simples.
I
OR
OU
Then connect the coaxial cable attached to the ANTENNA IN
connector at the back w the TV or set-top box.
Raccordez ensuite le câble coaxial au connecteur
ANTENNA IN situé à l’arrière du téléviseur ou du décodeur.
SET-TOP BOX
I
I
Now you can perform a channel scan on your TV. Set the tuner mode of the TV to ANTENNA
fi rst, then choose CHANNEL SCAN (may be called AUTO PROGRAM, AUTO TUNING, AUTO
SCAN or CHANNEL SEARCH in the setup menu of your TV).
If the number of channels or the quality is poor, please change the antenna’s position
and go to step + and RE-SCAN on your TV.
In order to improve the reception performance you might look for a diff erent
position of the antenna by moving closer to or in a window and facing the direction
of the TV towers.
You can also rotate the antenna while lying fl at or standing for fi ne-tuning in order to
improve reception even more.
Remember to perform a RE-SCAN on your TV. Whenever you re-position or rotate the antenna
you have to perform a CHANNEL SCAN on your TV.
Vous pouvez désormais eff ectuer un balayage des chaînes au moyen de votre
téléviseur. Réglez d’abord le mode de syntonisation du téléviseur à ANTENNA,
puis choisissez CHANNEL SCAN (qui peut aussi être nommé AUTO PROGRAM,
AUTO TUNING, AUTO SCAN ou CHANNEL SEARCH dans le menu de confi guration
du téléviseur).
Si le nombre de chaînes est limité ou si la qualité est médiocre, modifi ez
l’emplacement de l’antenne et passez à l’étape + avant de BALAYER DE
NOUVEAU les chaînes au moyen de votre téléviseur.
Afi n d’améliorer la qualité de la réception, positionnez l’antenne diff éremment
en la disposant près d’une fenêtre ou dans une fenêtre et en l’orientant vers la
tour de radiodiff usion.
Vous pouvez également faire pivoter l’antenne alors qu’elle est debout ou
qu’elle repose à plat pour maximiser davantage la réception.
N’oubliez pas de BALAYER DE NOUVEAU les chaînes au moyen de votre téléviseur.
Chaque fois que vous repositionnez l’antenne ou que vous la faites pivoter, vous
devez de nouveau BALAYER LES CHAÎNES au moyen de votre téléviseur.
For detailed instructions on how to perform a channel scan, please see
the manual provided with your TV.
Pour obtenir des instructions détaillées à propos du balayage des
chaînes (channel scan), veuillez consulter le guide fourni avec votre
téléviseur.
III
III
IV
IV
II
II
II
Tuner Mode
Antenna
Channel Search
Scanning For Channels
IMPORTANT!
IMPORTANT!
IMPORTANT!
IMPORTANT!
USB
USB
(x2)(x2)
TV
OR
OU
MOUNTED
FIXÉE AU MUR
FLAT
FIXÉE SUR SURFACE PLANE
III
III
IV
IV
III
IV
A
A
B
B
C
OR
OU
3
3
www.oneforall-canada.ca
Customer Support:
Service à la clientèle:
14432_712033_CAN.indd 2 29-03-19 15:22

 Loading...