3D- 32 1973 OPEL SERVICE MANUAL
Figure 3D-13 Steering Gear Housing With Rack
Check to insure that three air channels of sintered
metal bushing (See Figure 3D-17) are not obstructed
by lubricant. If air channels are blocked, a vacuum
condition in the bellows may result during operation
of the gear assembly. Under such circumstances, the
bellows will be drawn inward and jam into the rack
teeth.
3. Reassemble pinion shaft into gear assembly so that
spline in pinion shaft meshes with twelfth tooth of
the rack. Use pinion mounting sleeve J-21712 during
installation of pinion shaft to avoid damage to “0”
ring in pinion bushing. When reassembling pinion
shaft into gear housing, be sure that pinion is so
positioned that bolt hole in pinion shaft flexible cou-
pling is on top and parallel to the rack. See Figure
3D-
14.
.~..
~.
..~.
IN FLEXIBLE
COUPLING PARALLEL OR
RIZONTAL WITH R
._..-_
-
-._..
-
Figure 3D-14 Installing Pinion Shaft
4. Reassemble special washer, flat washer, and new
pinion nut onto pinion shaft. Torque pinion nut to 11
Ib.ft.
Do not exceed torque due to possibility ofjam-
ming gear.
5. Place sintered bronze shell into steering gear hous-
ing and fill adjusting hole with Calcium Soap No. 2.
6. Reassemble thrust spring, adjuster screw and lock-
nut on gear assembly.
Final adjustment of adjuster screw is performed after
gear assembly and tie rods are installed in car. See
Maintenance and Adjustments in this section for ad-
justment of steering gear.
7. Place rubber bellows, clamps, and new lock plates
on ball stud portion of tie rods; and screw ball studs
into rack while holding bent tab of lock plate against
flat
ton
rack. Torque ball studs 43
lb.ft.
See Figure
3D-9.
It is important that rack be held secure with
open end wrench to prevent damage to rack teeth.
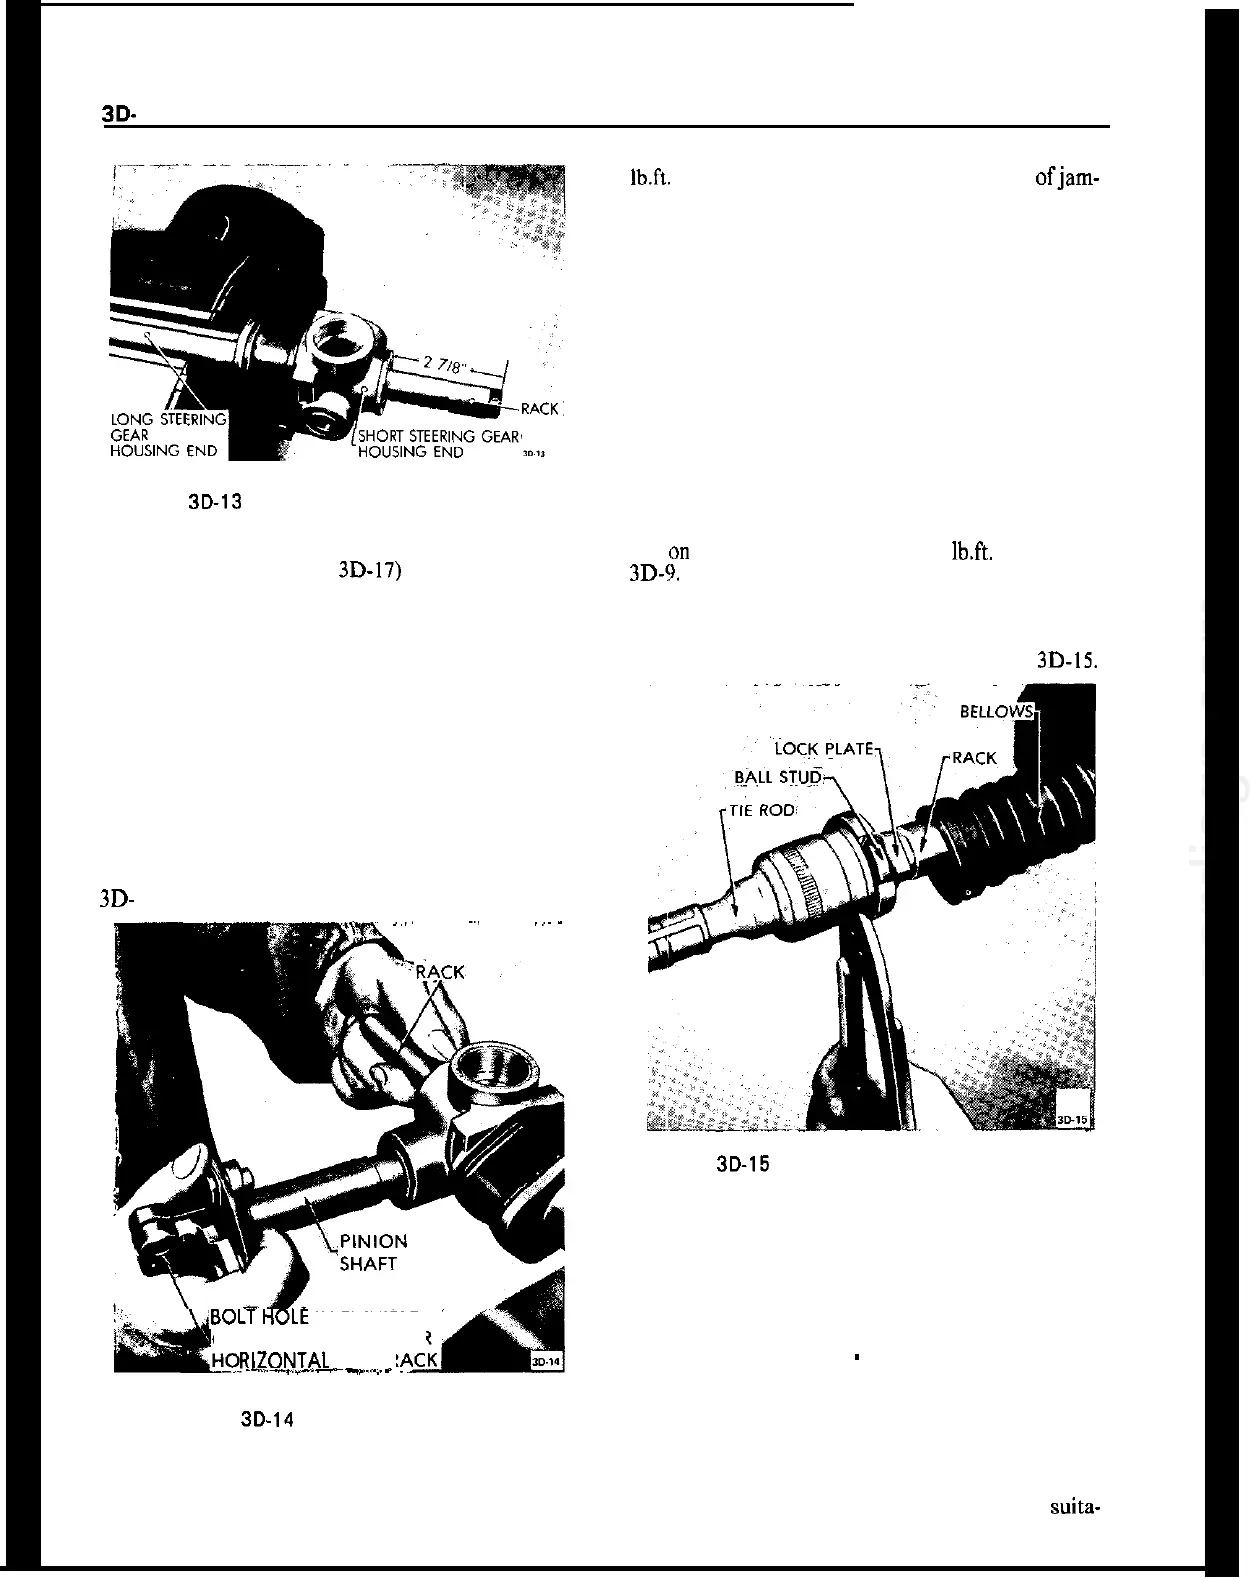
8. Bend round edges of lock plate over flat on ball
stud to lock ball stud in position. See Figure
3D-15.
Figure 3D-15 Bending Lock Plate Over Ball Stud
9. Properly position rubber bellows and clamps over
tie rod and gear housing and adjust clamps so that
ends are pointing same direction as adjusting screw.
Check that bellows is not twisted and will compress
and expand properly.
Reassembly (Opel 1900
-
Manta)
1. Clamp steering gear housing in a soft jaw vise and
reassemble new “0” rings onto retainer and pinion
shaft bushing. Also, install thrust washer onto pinion
bushing.
Coat all moving parts during reassembly with suita-