3A- 4 1973 OPEL SERVICE MANUAL
The two cross-members to body supports are at-
tached to the horizontal part of the cross-member
with two bolts. The
oufererbolt
serves simultaneously
as support for the lower control arm. As the bolt is
inserted from the front, the cross-member to body
support can be removed without the lower control
arm. The inner bolt attaches simultaneously to the
steering.
The stabilizer is U-shaped and supported in rubber
bushings in the two cross-members to body supports.
The complete front suspension is attached to the
underbody in four places.
The engine damper blocks are bolted to the inside of
the inclined parts of the cross-member.
The front wheel bearings are roller bearings.
All front suspension joints are maintenance-free.
MAINTENANCE AND ADJUSTMENTS
FRONT WHEEL BEARING ADJUSTMENT
1. If wheel has not previously been removed from the
car, remove grease cap, cotter pin, and spindle nut.
Discard cotter pin.
2. Torque spindle nut to 18
lb.ft.
while rotating
wheel. This will allow the bearings to settle.
3. Back offspindle nut
l/4
turn. If slot and cotter pin
hole are staggered, further back off nut
l/l2
turn,
but do not tighten, until next slot in nut is in align-
ment with hole in spindle. Install new cotter pin. A
properly adjusted wheel bearing has a small amount
of end play and a loose nut when adjusted in the
above manner.
MAJOR REPAIR
REMOVAL AND INSTALLATION OF FRONT
SUSPENSION
(COMPLETE ASSEMBLY)
Removal GT
1. Prior to raising front end of car, apply parking
brake and block rear wheels.
2. Raise front end of car with a jack. It is recom-
mended that a wood block be placed between the
jack and the front cross member to prevent damage
to the cross member.
3. Support front end of car by placing floor stands
unde:r jacking brackets.
4. Support engine-transmission assembly in upper-
most position with jack stand at rear of engine, or an
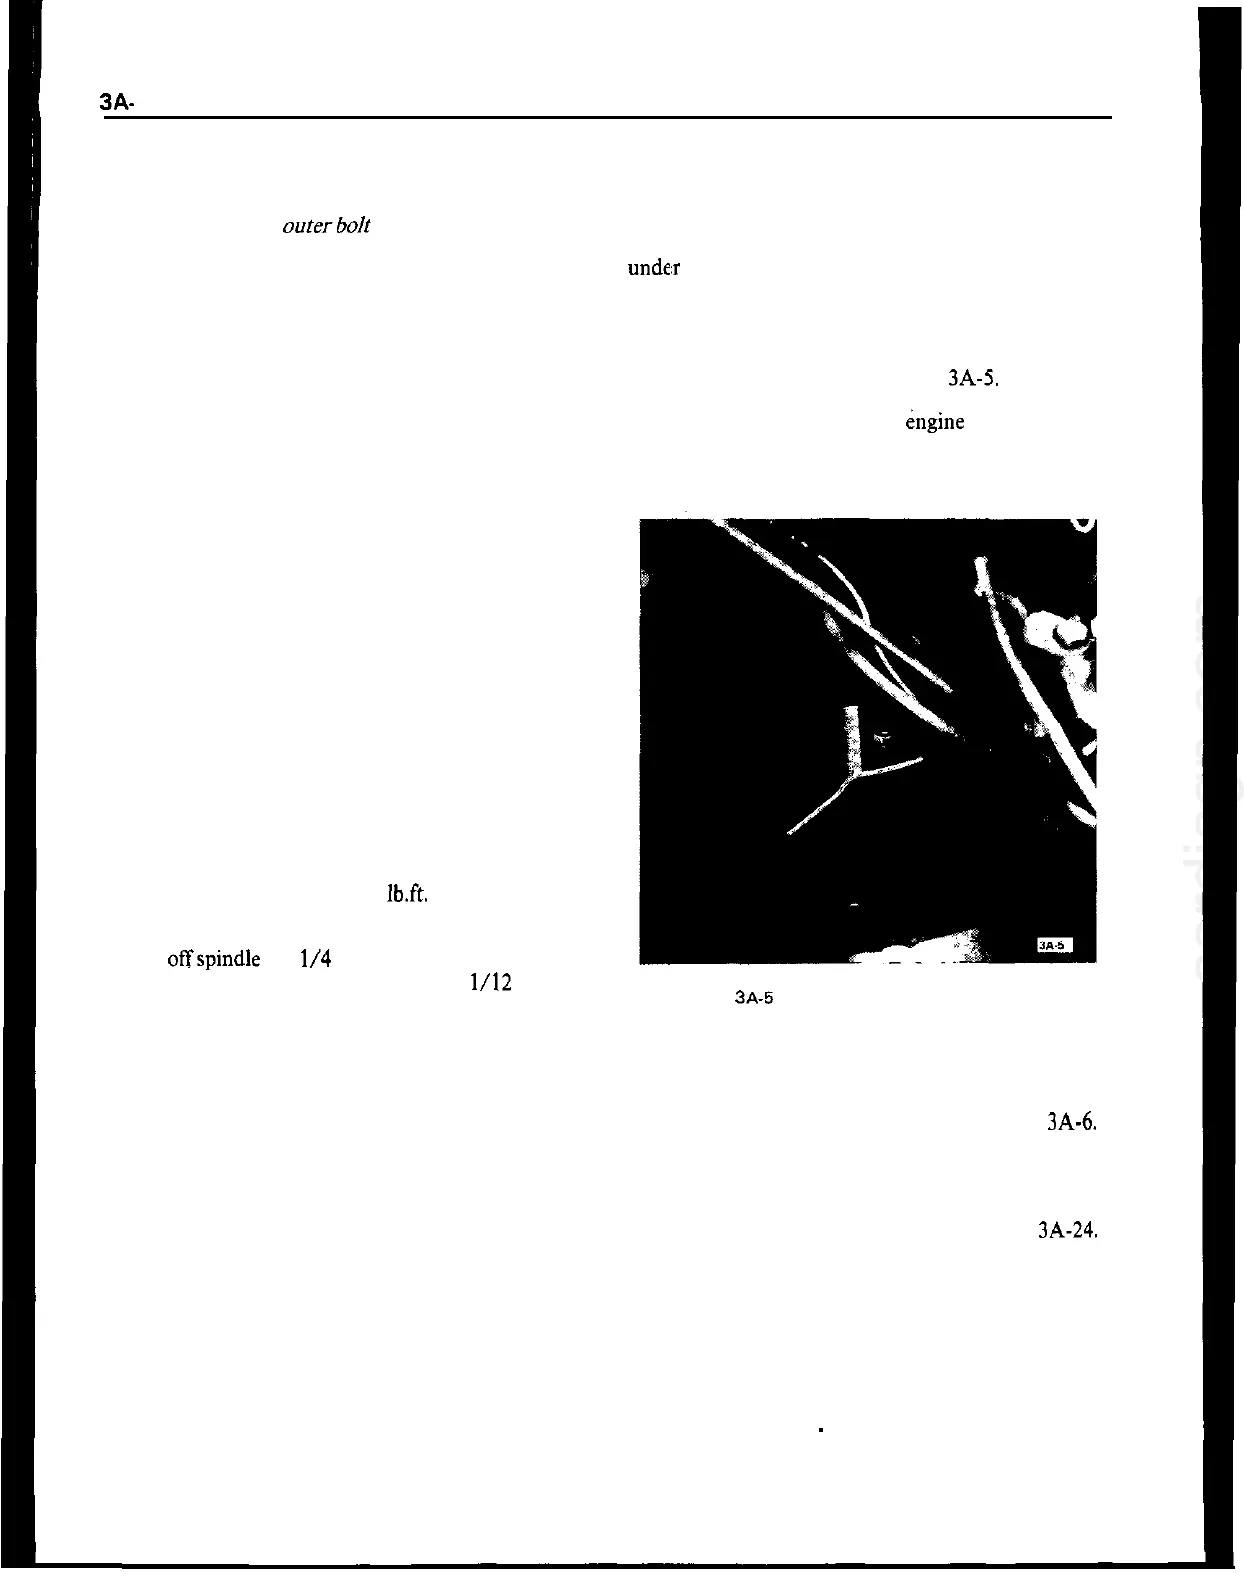
alternate method would be to use Engine Holding
Fixture, Tool J-23375. See Figure 3A-5.
Install tool by removing upper kngine mount nut and
installing fixture. Replace nut and tighten. The en-
gine will now be supported by the tool between the
frame rails.
Figure
3A-5
Engine Holding Fixture Installed
5. Loosen steering mast at the lower universal joint
and take out clamp bolt. Loosen clamp at the upper
universal joint and lift steering mast upwards until it
is free at the lower universal joint. See Figure
3A-6.
6. Disconnect brake lines at brake hose.
7. Disconnect shock absorber at upper mounting. It
is necessary to remove air cleaner. See Figure
3A-24.
8. Disconnect engine mounts at cross member.
9. Remove front suspension cross member attaching
nuts and lower the cross member.
Removal Opel 1900
-
Manta
1. Prior to raising front end of car, apply parking
brake and block rear wheels.