6
7
6 Press SET to confirm the ALARM 1 setting
7 The alarm is switched on and off using the START/STOP button. The Alarm 1 on icon appears just
after the words ALARM 1
8 The use of the START/STOP button also controls the single hour strike beep which is optional, and
controlled in the ALARM 1 mode only
9 The start/stop button controls the alarm 1 and hour strike in the following order each time you press
it: Alarm 1 on only, Alarm 1 and hour strike both on, Alarm 1 off but hour strike on, and Alarm 1 and
hour strike both off.
TO SET THE ALARM 2
1 Press the MODE button to access the ALARM 2 display. (The letters SW will not be visible because
you are not in stop watch mode, but Alarm 2 will show because you are in the alarm 2 mode).
2 Press the SET button and hold it down for 2 seconds. You will hear a 'beep' and the hours will be
flashing.
3 Press ADJUST to alter the hour making sure if you are in 24 hour mode that you are not 12 hours
wrong!
4 Press MODE to confirm and start the minutes flashing. Press ADJUST to alter the minutes.
5 Press SET to confirm the ALARM 1 setting
6 The alarm is switched on and off using the START/STOP button
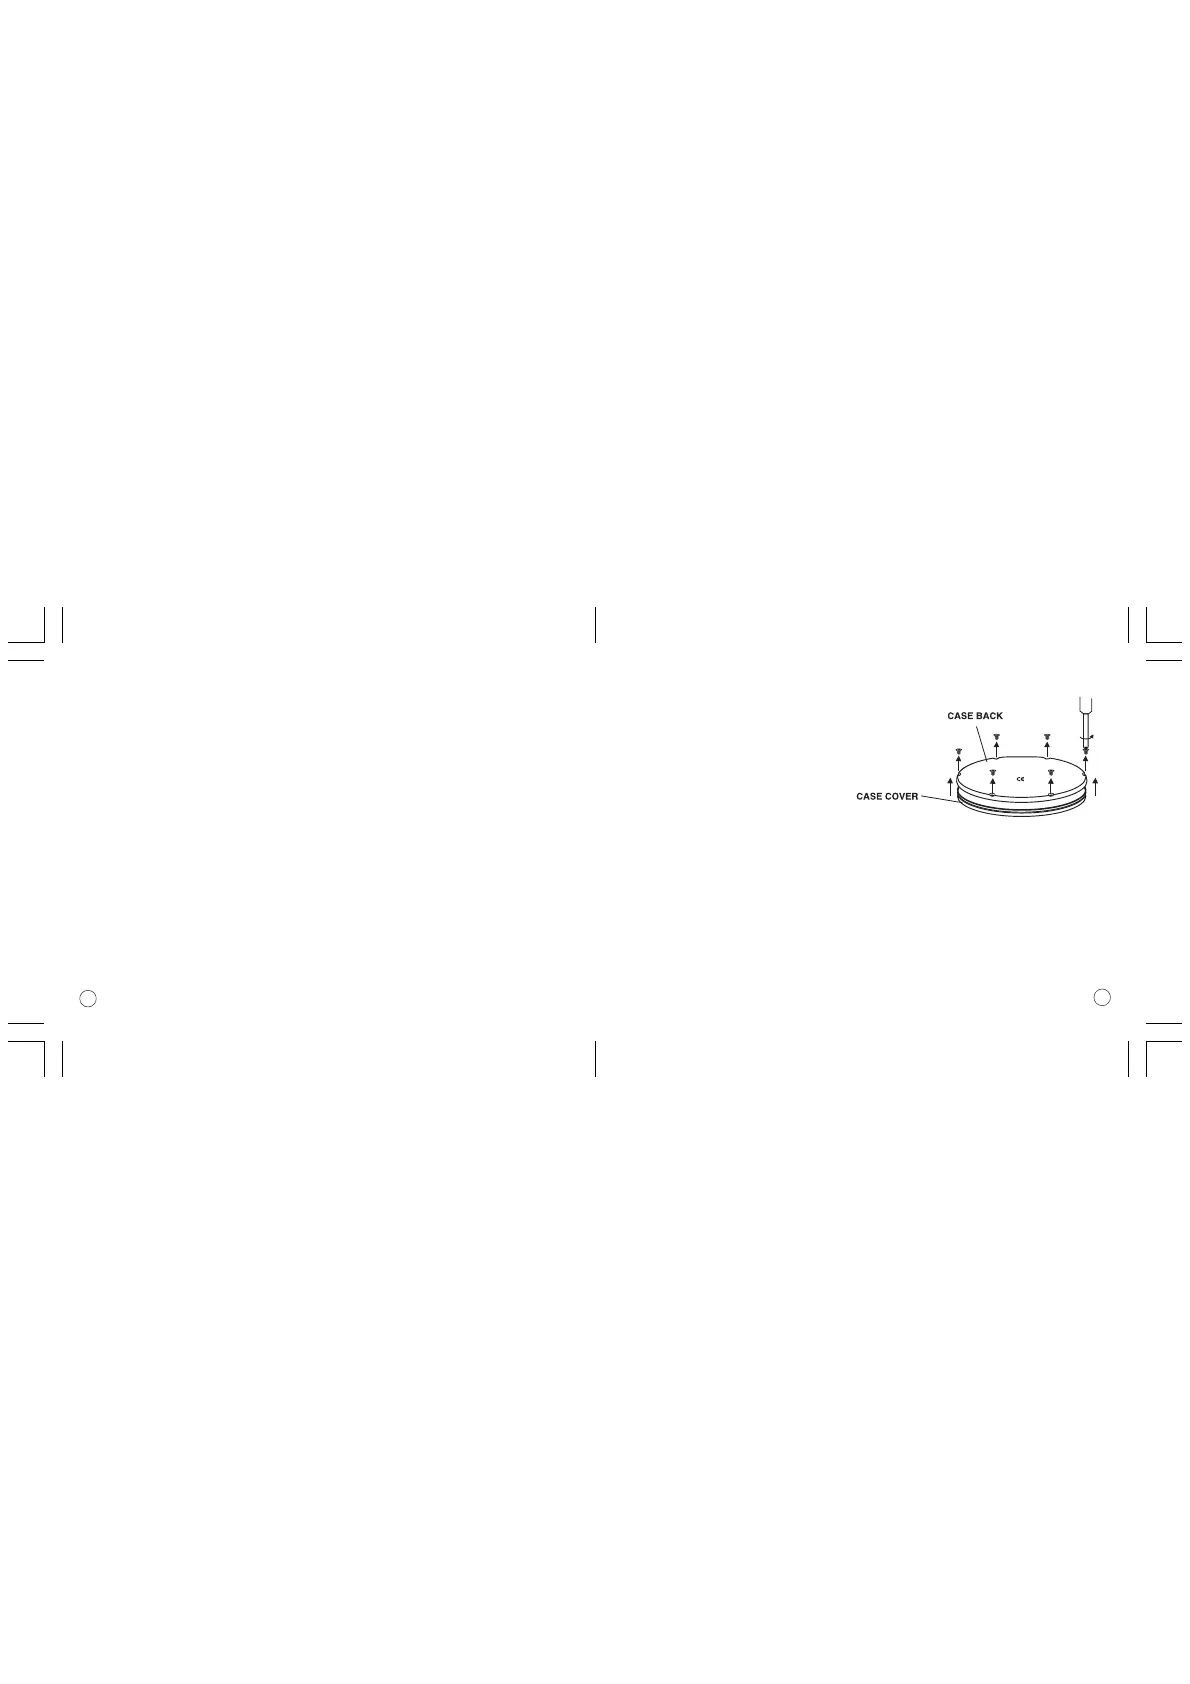
TO CHANGE THE BATTERY
1 Remove the timer from the outer black clip.
2 Carefully unscrew the six screws that hold the back on.
3 Remove the case back noting the arrow pointing
up and the words TOP and BOTTOM to
show which way up the back fits.
4 Remove the old battery taking note of
how it fitted.
5 Fit a new battery carefully in place of the old one. (The battery is a Lithium battery type CR2032).
Make sure you get the positive (+ve) facing upwards.
6 Carefully replace the case back making sure the rubber seal has not come
away from its slot in the case front. Make sure you have the case back the right way up.
7 Carefully replace the six screws making sure you do not over tighten them and strip the threads.
8 Replace the timer unit into the black clip making sure you press it well home so that you hear a
loud 'click' so that it cannot fall out.

 Loading...