

S
Sara GordonSep 9, 2025
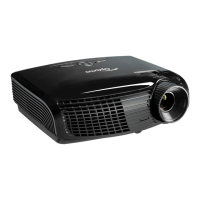
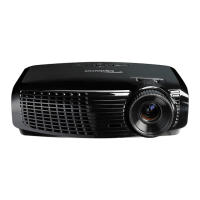
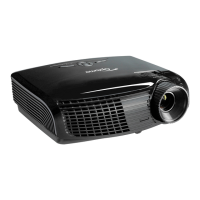
What causes line bars or line defects on my Optoma TX1080?
- RrcunninghamSep 9, 2025
If you're seeing line bars or line defects on your Optoma Projector, check if the Formatter Board and the DMD Board are assembled properly. Also, check the Scaler Board, DMD Board, and DMD Chip.