optris PIX Connect – E2021-05-A
8
The installation wizard will place a launch icon on the
desktop and in the start menu.
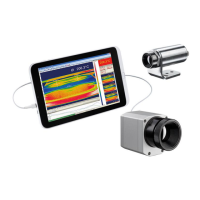
Now you can connect the infrared imager into an USB port
(USB 2.0 or higher) of your PC. After the software has been
started, you should see the live image from the camera
inside a window on your PC screen.
The sharpness of the image can be adjusted by turning the
exterior lens ring at the camera (PI) or by using the distance
function in the software (Xi).
Note
• For installation please be logged in as admin in Windows. When starting the PIX Connect
software you should also have admin rights.
• Using Windows 10: Go to Windows Settings, click Privacy, and under App Permissions, click on
Camera. Activate "Allow apps to access your camera". Restart PIX Connect and also reconnect
the camera.
• Further actions: Deactivation of firewall and/or virus scanner (especially Kaspersky!). Firmware
upgrade in PIX Connect (Tools/Extended/Firmware update). Reload calibration data
(Tools/Extended/Load calibration data/From Internet)
 Loading...