Connecting Bump Bars
Oracle MICROS offers both wired and wireless bump bars as part of the Kitchen
Display System.
• The MICROS Wired Bump Bar is available in 10 and 20 button configurations
(MBB-10 and 20 MBB-20).
• The MICROS Wireless Bump Bar is available in 10 and 20 button configurations
(MWBB-10 and 20 MWBB-20).
Connect a Wired Bump Bar
1. Plug the bump bar USB cable into an available USB port on the KDC-210.
Connect a Wireless Bump Bar
1. Install batteries in the MWBB.
2. Connect the MWBB Dongle to a USB port on the KDC-210.
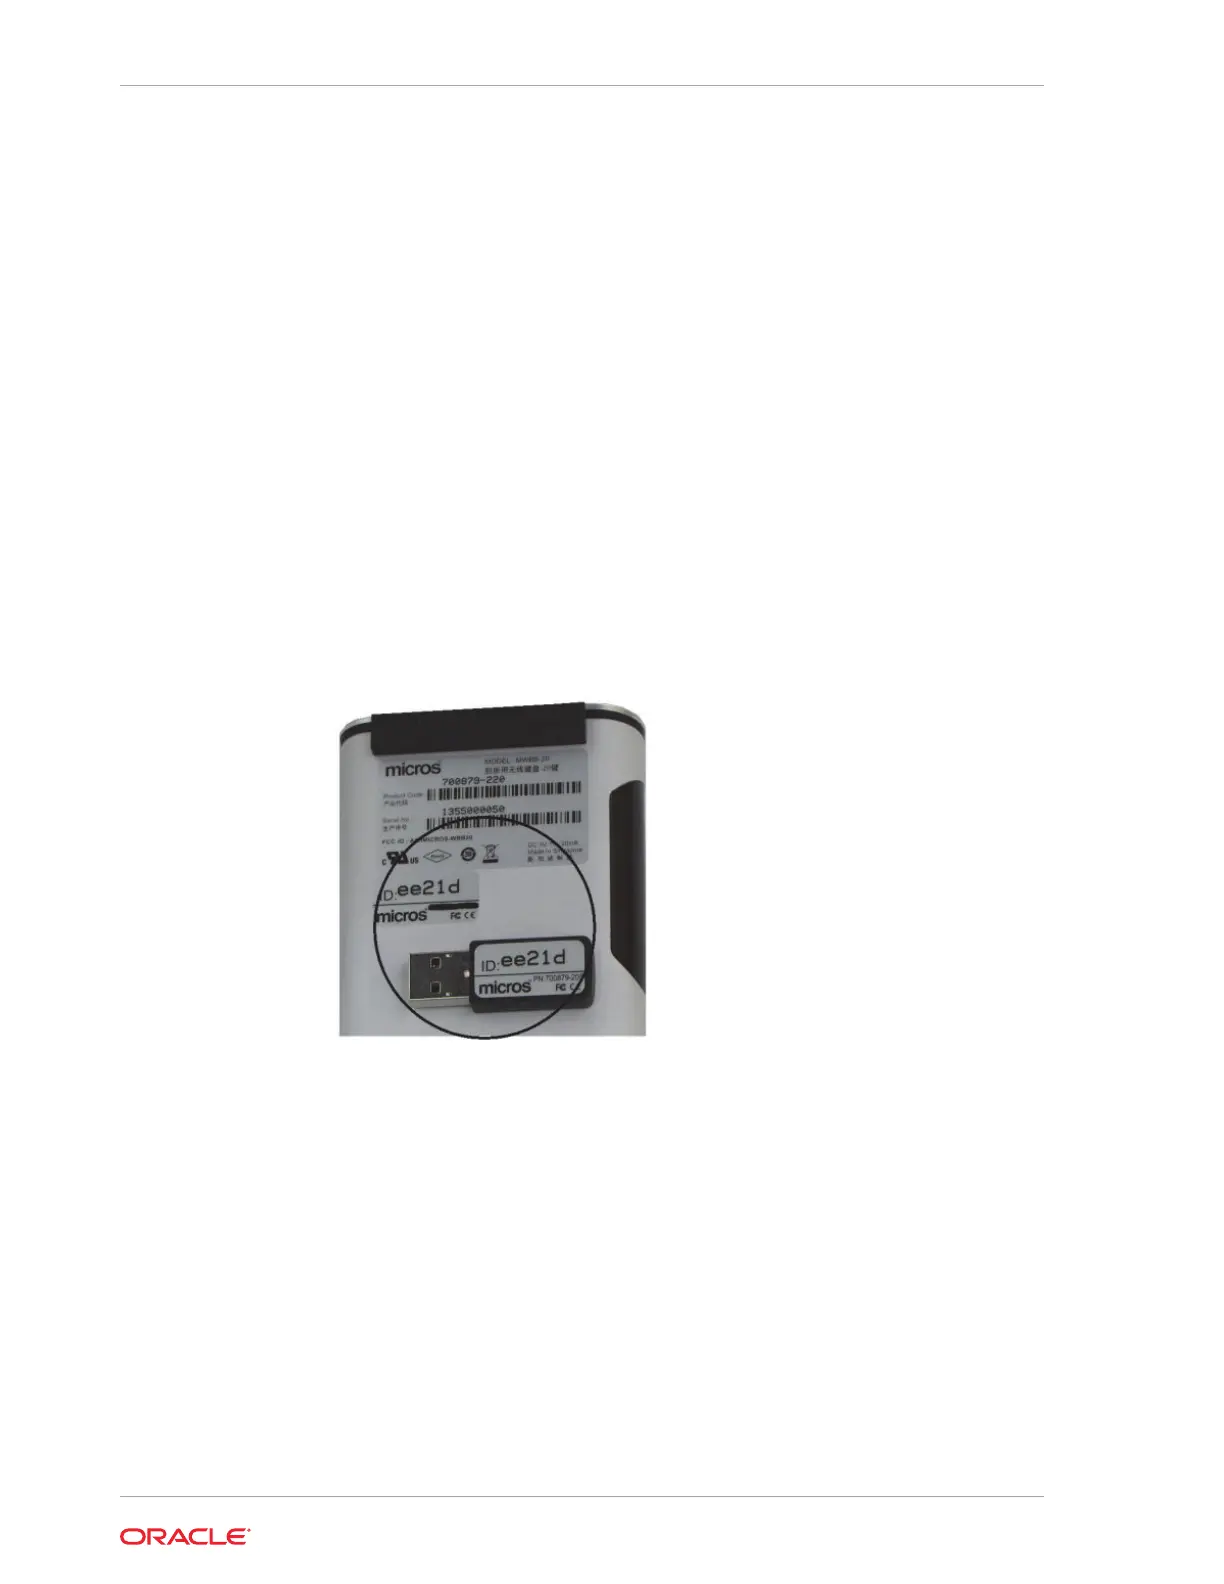
3. The MWBB Dongle and MWBB are paired to the same 5-byte ID at the factory.
The following image shows the MWBB-20 and the MWBB Dongle with a matching
5-byte ID of ee21d.
Refer to The MICROS Bumpbar MBB-10 and MBB-20 User’s Guide and The MICROS
Wireless Bump Bar MWBB-10 and MWBB-20 User’s Guide on docs.oracle.com at
https://docs.oracle.com/cd/E64361_01/index.html for comprehensive bump bar
installation and configuration information.
Supported Monitors
The KDC-210 supports a variety of standard and touch-enabled monitors. Contact
your Oracle MICROS representative for more information.
Supported Power Adapter
Use only the power adapter included with the KDC-210 (Part Number 7118431:
Power supply for Oracle MICROS Kitchen Display Controller 200 Series and Oracle
MICROS Tablet 721 and accessories for Oracle MICROS Tablet 700 Series: 12 V.)
Chapter 3
Connecting Bump Bars
3-2